With more users embracing cloud computing technologies, the deployment of web applications and services on the web is continuously increasing. Such web-based applications are usually at risk of security vulnerabilities depending on firewall settings and web server technologies used to run them. While a firewall issue is easy to fix, the same cannot be said about a compromised web server.
This article guide recognizes Hiawatha as a reputable web server and will therefore walk us through its installation and configuration on Ubuntu 20.04 and later.
Hiawatha Web Server Features
The small and lightweight nature of Hiawatha equips it with the following modern web server features:
- Uses embedded TLS to limit CGI runtime and ban misbehaving clients as a way of coping with DoS (Denial of Service) attacks, Cross-Site Request Forgery (CSRF/XSRF), and Cross-site Scripting (XSS).
- Basic and Digest HTTP Authentication.
- Uses Hiawatha Monitoring Tool to check on webserver activities like cumulative attacks, errors, client requests, and bandwidth usage.
- Support for URL rewriting, SSL and TLS, Reverse proxy, IPv6 Support, and CGI/FastCGI.
It is also worth noting that Hiawatha’s small and lightweight attribute makes it ideal for embedded systems or older hardware and therefore you do not have to worry about acquiring certain modernized hardware performance specs.
Installing Hiawatha Web Server in Ubuntu
First, ensure that your Ubuntu system is up-to-date.
$ sudo apt update
$ sudo apt upgrade
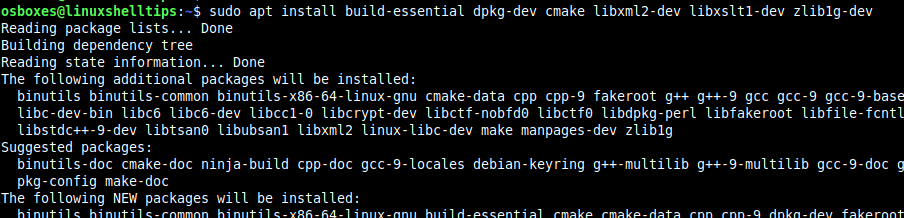
Next, you need to install a few following dependencies to compile and install the Hiawatha webserver from the source.
$ sudo apt install build-essential dpkg-dev cmake libxml2-dev libxslt1-dev zlib1g-dev
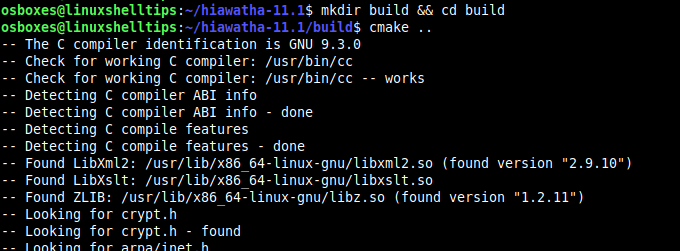
Once installed, you need to download the Hiawatha webserver source tarball using the following wget command and compile it using the following commands.
$ wget https://www.hiawatha-webserver.org/files/hiawatha-11.1.tar.gz
$ tar -xzf hiawatha-11.1.tar.gz
$ cd hiawatha-11.1
$ mkdir build && cd build
$ cmake ..
$ sudo make install/strip
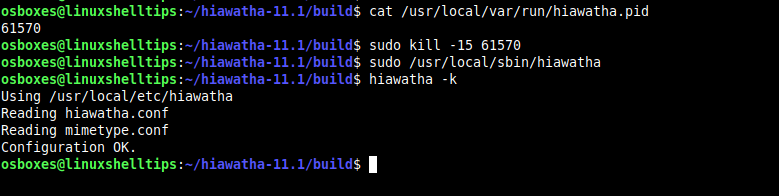
After installation, you need to start and verify that the installation of Hiawatha was a success, execute the following command.
$ sudo /usr/local/sbin/hiawatha
$ hiawatha -k
The command (hiawatha -k) points to the main configuration directory for your Hiawatha installation (/usr/local/etc/hiawatha)

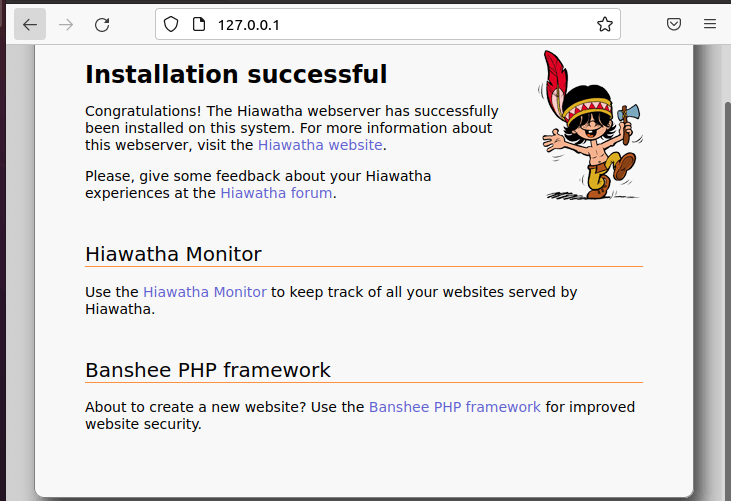
Finally, test the Hiawatha installation by going to the following URL on your web browser.
http://localhost
OR
http://Server-IP
Create Virtual Host in Hiawatha Web Server
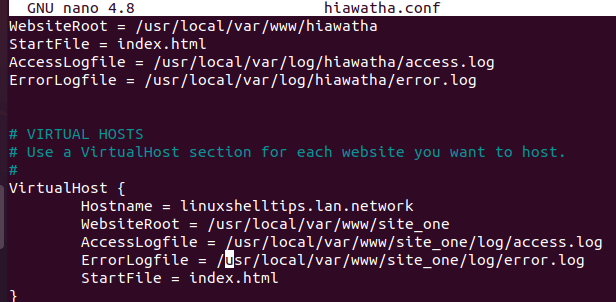
For virtual host support, whereby you wish to host a number of websites, open the Hiawatha main configuration file.
$ sudo nano /usr/local/etc/hiawatha/hiawatha.conf
Add the following configuration to this file:
VirtualHost {
    Hostname = linuxshelltips.lan.network
    WebsiteRoot = /usr/local/var/www/site_one
    StartFile = index.html
    AccessLogfile = /usr/local/var/www/site_one/log/access.log
    ErrorLogfile = /usr/local/var/www/site_one/log/error.log
}
Create the site_one and log directories and an index.html file inside it (site_one).
$ sudo mkdir /usr/local/var/www/site_one
$ sudo mkdir /usr/local/var/www/site_one/log/
$ echo 'Serving Website Using Hiawatha Web Server' | sudo tee -a /usr/local/var/www/site_one/index.html
Next, stop and restart the Hiawatha webserver.
$ cat /usr/local/var/run/hiawatha.pid
$ sudo kill -15 PID
$ sudo /usr/local/sbin/hiawatha
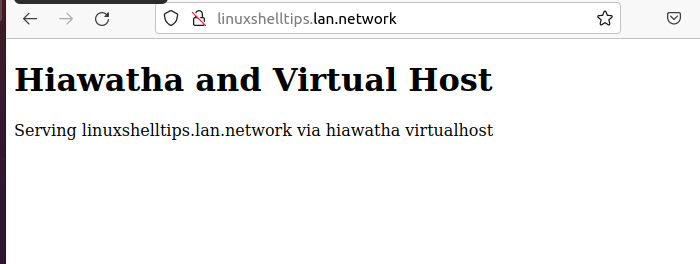
Finally, access your VirtualHost’s hostname from a web browser:
http://linuxshelltips.lan.network
Hiawatha is an exciting addition to your web server resume/portfolio due to its lightweight and secure footprints.
Hello,
My environment: Ubuntu 22.04.4 LTS / hiawatha-11.1 / php 8.1 (php-cgi/php-fpm)
Currently hiawatha is running and localhost page is displayed.
And command (php -v / systemctl status php8.1-fpm.service …etc.) have been successful.
However, the php pages and perl cgi pages are downloaded instead of being displayed.
I already have been running hiawatha/php7 on Puppy (Fossapup64) and referenced the hiawatha.conf on Puppy.
The current hiawatha.conf is as follows.
Please give me some advice on how to run php/perl on the server?
ServerId = webuser ConnectionsTotal = 150 ConnectionsPerIP = 10 SystemLogfile = @LOG_DIR@/system.log GarbageLogfile = @LOG_DIR@/garbage.log Binding { Port = 80 } # Binding ID is for specifying Virtual host Binding { BindingId = CGI Port = 8080 Interface = 192.168.1.213 MaxRequestSize = 128 TimeForRequest = 3,20 } Hostname = 127.0.0.1 WebsiteRoot = @WEBROOT_DIR@ StartFile = index.html AccessLogfile = @LOG_DIR@/access.log ErrorLogfile = @LOG_DIR@/error.log #add this stuff to get a perl script working (pplog)... #QUISP has a binary executable CGI named 'quisp.bin'... MimetypeConfig = /etc/mime.types CGIhandler = /usr/bin/perl:pl,cgi CGIhandler = /usr/bin/php-cgi:php,html CGIextension = pl,bin,cgi,php ExecuteCGI = yes #QUISP puts %0D, %0A (carriage-return, line-feed) chars in the url #(v128), to allow chars below ascii 32 need this... SecureURL = no FastCGIserver { FastCGIid = PHP8.1 ConnectTo = 127.0.0.1:9000 ConnectTo = /run/php/php-fpm.sock Extension = php,html SessionTimeout = 30 } VirtualHost { Hostname = localhost WebsiteRoot = /usr/local/var/www/hiawatha StartFile = index.php AccessLogfile = /var/log/hiawatha/access_log ErrorLogfile = /var/log/hiawatha/error_log TimeForCGI = 3600 ShowIndex = yes ExecuteCGI = yes FollowSymlinks = yes NoExtensionAs = cgi EnablePathInfo = yes UseLocalConfig = yes } VirtualHost { Hostname = 192.168.1.213 WebsiteRoot = /usr/local/var/www/hiawatha StartFile = index.php AccessLogfile = /var/log/hiawatha/access_log ErrorLogfile = /var/log/hiawatha/error_log TimeForCGI = 3600 ShowIndex = yes ExecuteCGI = yes FollowSymlinks = yes NoExtensionAs = cgi EnablePathInfo = yes UseLocalConfig = yes }@soso,
Here are a few steps you can take to troubleshoot and resolve the issue:
in it and place it in your web root directory (/usr/local/var/www/hiawatha) to test if PHP is executing correctly.#!/usr/bin/perlas the shebang line and print"Content-type: text/html\n\n"; print "Hello, Perl!"; in it, and place it in the same directory to test Perl execution.Let me know if you need further assistance or if you encounter any other issues.