A very exciting aspect of using the Linux operating system is the infinite number of packages we can install and explore. However, to install and use a package on a Linux operating system, we are presented with two approaches.
The first approach is to use the package manager associated with your Linux distribution to search and install a targeted application package. The second approach is to download the source code associated with the targeted application package, compile, and install it.
The second approach is universally compatible with all Linux distributions but due to its technical footsteps, it might be discouraging for users who have just started exploring Linux.
Homebrew is a package manager that is not tied to a specific Linux distribution making it applicable on all major Linux platforms. This article will explore Homebrew’s basic commands and its other cheat sheets worth mentioning.
Homebrew Features
Some of the features that make Homebrew a unique package manager candidate for major Linux distributions include the following:
- Software Installation – This feature disregards the need of preceding your software installation commands with a sudo prefix since the targeted software is directly installed on the user’s Home directory.
- Distribution-Free Software – The packaging of the software package you are targeting for installation is distribution-free (not tied to any Linux distribution).
- Up-to-Date Software Versions – When using distribution-dependent package managers to install software packages on old Linux distributions, it might be difficult to get an up-to-date version. However, with Homebrew, you will be installing the latest version of each accessible software package.
- Universal Package Manager – Homebrew does not discriminate hence usable on all major Linux operating system distributions.
Homebrew Basic Commands and Cheat Sheet
To quickly install and start using Homebrew, reference our article on How To Install and Use Homebrew on Linux Systems.
Once installed, let us look at some useful Homebrew commands.
Brew Help Commands
1. Lets you confirm the Homebrew version you are using.
$ brew --version

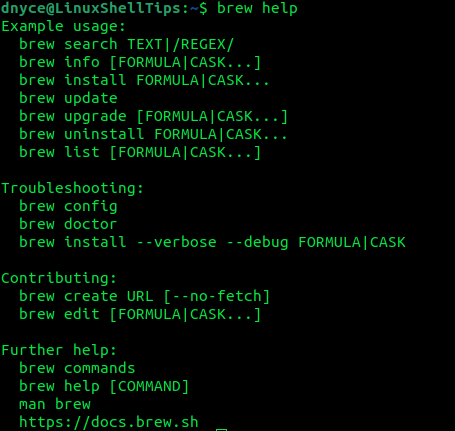
2. Prints out help information related to the use of Homebrew.
$ brew help
3. Prints out help information related to the usage of a specific Homebrew command.
$ brew help <sub-command>

4. Always run the command to check for any system issues before you begin installing software packages.
$ brew doctor

Brew Update Commands
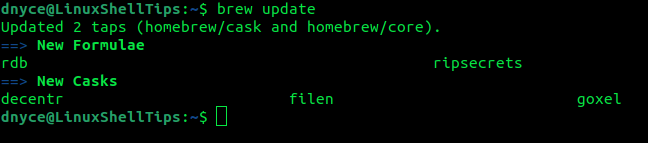
5. Ensures that your brew-installed apps are up-to-date.
$ brew update
6. It will print out the brew-installed apps that need updating.
$ brew outdated
7. It will upgrade all brew-installed packages to the latest release if any.
$ brew upgrade

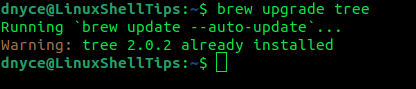
8. It will upgrade a specific pointed-out brew-installed package.
$ brew upgrade <formula>
9. The following command prevents a specific brew-installed app from being upgraded.
$ brew pin <formula>
10. It will allow a specific brew-installed app to be upgraded once a new version release comes out.
$ brew unpin <formula>
Working with Brew Repositories
The brew tap command makes it possible to add extra repositories to Homebrew so as to install additional packages not listed on its default repositories’ set.
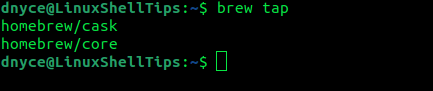
11. Prints a list of tapped repositories.
$ brew tap
12. Use it to tap a formula/package repository.
$ brew tap ravi/linuxshelltips
13. Tap a formula/hosted repository hosted on a specific URL.
$ brew tap <user/repo> <URL>
14. Stop using a specific repository to tap the formula/package.
$ brew untap <user/repo>
Brew Search, Install, and Remove Packages
15. Displays installed packages/formulae.
$ brew list

16. Lists locally available and installable packages.
$ brew search
17. Search for the availability of a package before its installation.
$ brew search <text>

18. Displays information about an existing package/formula.
$ brew info <formula>

19. Install a targeted package/formula.
$ brew install <formula>
20. Remove the installed package/formula.
$ brew uninstall <formula>
Brew Cleanup Commands
21. Remove older versioned packages.
$ brew cleanup
22. If an installed package/formula has older version releases (e.g Python 2.7 and Python 3.10), this command removes the older version.
$ brew cleanup <formula>
23. List the to-be-removed packages.
$ brew cleanup -n
This article has unlocked all the cheats you need to use while installing and managing brew-installed packages.