As per the humorous abstract quote from the creator of the NeoMutt e-mail client (Michael Elkins), all e-mail clients suck but the NeoMutt e-mail client just happens to suck less.
The use of e-mail clients in our day-to-day transaction/exchange of email messages is something that has transformed into a permanent culture. Right now, it is possible to carry on with one’s daily activities without worrying about text messages. However, when it comes to e-mail addresses, the urge to access our mailboxes is like an unstoppable itch.
For most Linux users, whose personal work and projects revolve around a personal computer, their mailbox is one web browser tab away. Also, these same Linux users tend to spend most of their productive time in a command-line environment.
[ You might also like: How to Send Email Using Curl Command in Linux ]
Therefore, the random switch between the command-line environment and the web browser tab in order to access, compose, or reply to an email message can be tiring sometimes. But with NeoMutt, you can flexibly access your email messages from the Linux terminal environment.
This article will walk us through the installation and basic usage of the NeoMutt command-line mail reader in Linux.
Install NeoMutt Mail Client in Linux
The following instructions will guide you on how to install NeoMutt for all supported Linux distributions.
For RHEL, CentOS Stream, Rocky Linux, and AlmaLinux systems:
$ sudo dnf makecache
$ wget https://copr.fedorainfracloud.org/coprs/flatcap/neomutt/repo/epel-8/flatcap-neomutt-epel-8.repo
$ sudo cp flatcap-neomutt-epel-8.repo /etc/yum.repos.d/
$ sudo yum install neomutt
For Fedora Linux.
$ sudo dnf makecache
$ sudo dnf install dnf-plugins-core
$ sudo dnf copr enable flatcap/neomutt
$ sudo dnf install neomutt
For Debian, Ubuntu, and Linux Mint systems:
$ sudo apt update
$ sudo apt install neomutt
For Arch Linux and Manjaro systems:
$ sudo pacman -Sy
$ sudo pacman -S neomutt
For openSUSE Leap and Tumbleweed systems:
$ sudo zypper refresh
$ sudo zypper install neomutt
Using NeoMutt Mail Client in Linux
To launch NeoMutt, key in the following command on the Linux terminal:
$ neomutt
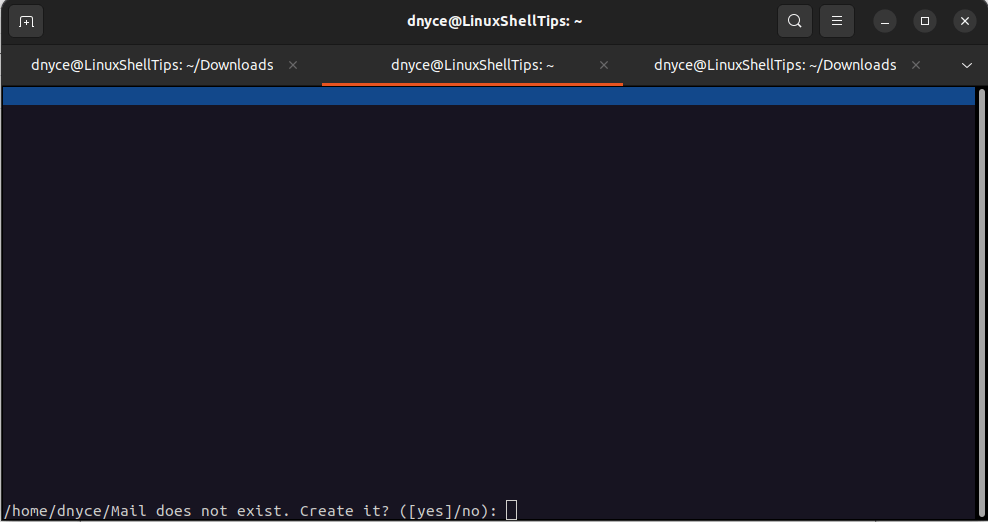
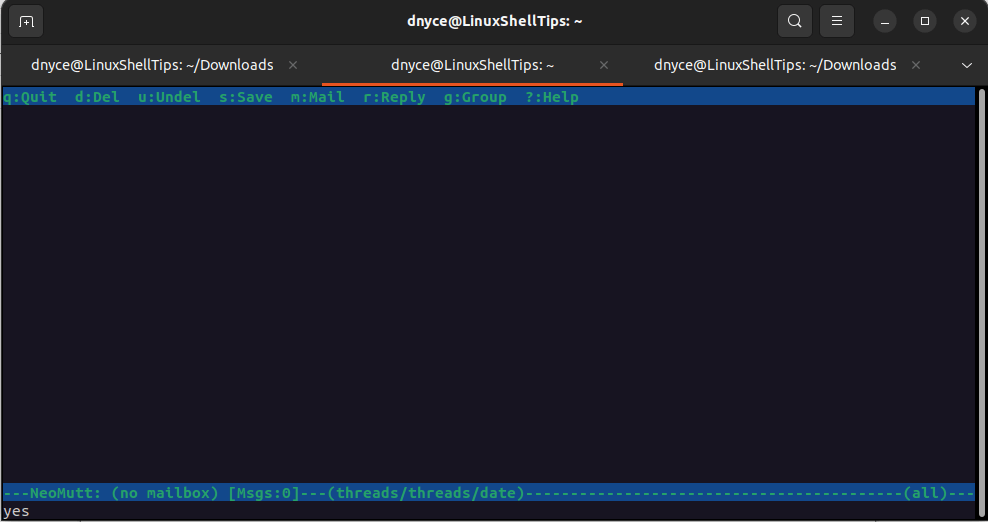
Key in “y” to create the $HOME/Mail directory.
NeoMutt Configuration in Linux
Create the NeoMutt user configuration file and populate it in reference to the provided example file.
$ nano ~/.neomuttrc
The settings associated with ~/.neomuttrc file includes the mailbox you will use and other Imap configurations associated with the mail server solution you may have implemented on your end. Neomutt will read from this file once you re-launch it.
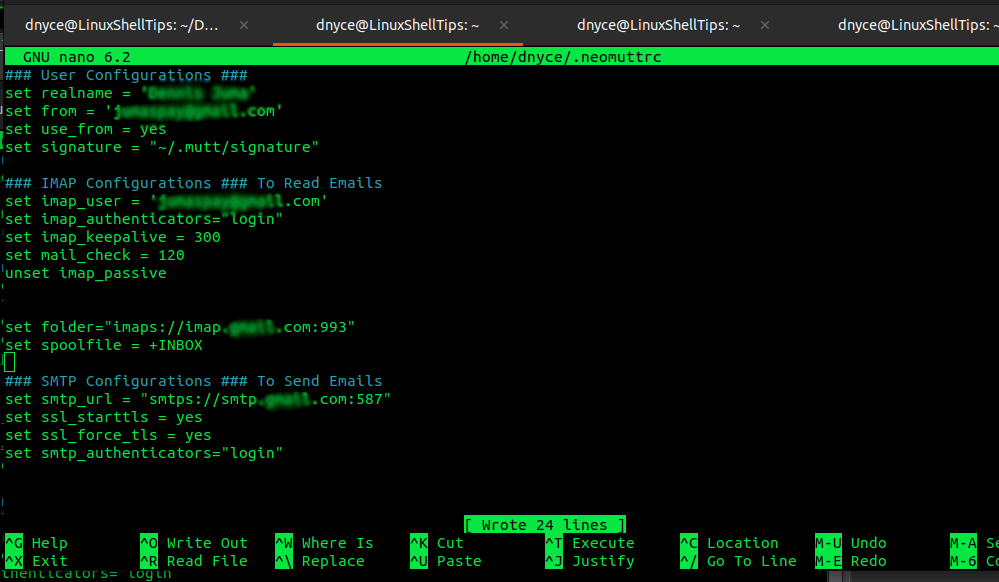
In the User Configurations section, the line entry points to an email signature text file. All composed emails will have this signature.
### User Configurations ###
set realname = 'YOUR USER NAME'
set from = 'YOUR USER EMAIL'
set use_from = yes
set signature = "~/.mutt/signature"
IMAP (Internet Message Access Protocol) makes it possible for users to access and read remote mailboxes. OAuth2 prevents less secure apps from accessing/creating raw user passwords.
### IMAP Configurations ### To Read Emails
set imap_user = 'EMAIL ADDRESS'
set imap_authenticators="login"
set imap_keepalive = 300
set mail_check = 120
unset imap_passive
set imap_pass="imap password"
set folder="imaps://imap.IMAP_URL:993"
set spoolfile = +INBOX
SMTP (Simple Mail Transfer Protocol) makes it possible for users to remotely compose and send emails. The line entries ssl_starttls = yes and ssl_force_tls = yes enforce secure connections via TLS.
### SMTP Configurations ### To Send Emails
set smtp_url = "smtp://SMTP_URL:587"
set ssl_starttls = yes
set ssl_force_tls = yes
set smtp_authenticators="login"
set smtp_pass="smtp password"
Once you are done with keying in the configurations, save and close the file. Neomutt will read from this file once you re-launch it.
$ neomutt
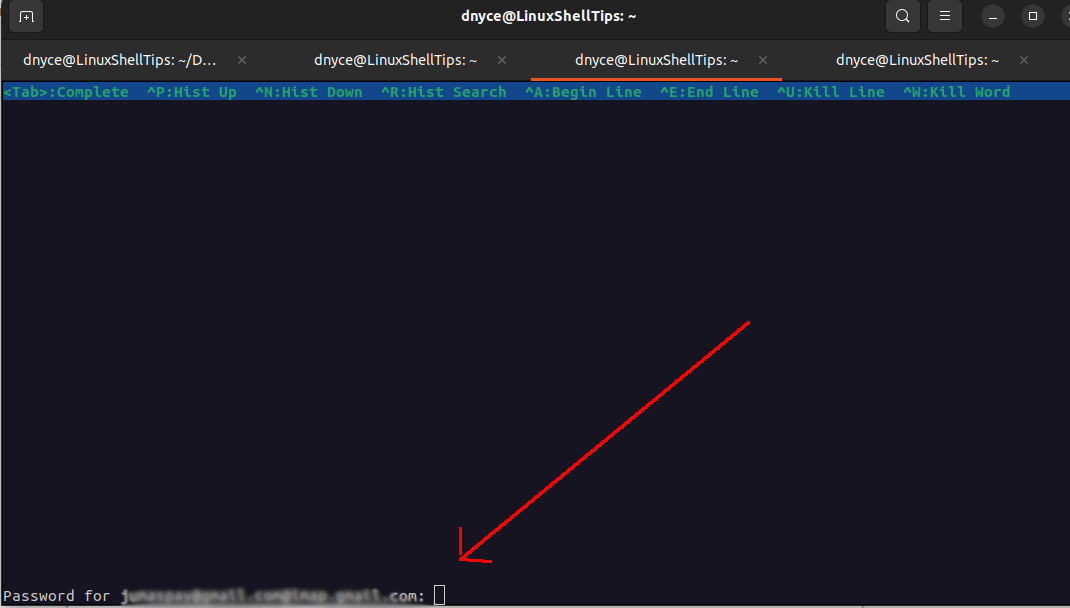
You should be able to provide your email credentials and access your mailbox.
NOTE: The above configuration does not work with Gmail SMTP since it no longer supports “less secure” apps. Even if we adjust the configuration to something like:
set imap_authenticators="oauthbearer"
set imap_oauth_refresh_command="/system/path/to/oauth2.py --quiet --user=[email_address]\
    --client_id=[client_id] --client_secret=[client_secret]\
    --refresh_token=[refresh_token]"
Whereby the oauth2.py file can be downloaded from Github, we will still have a problem generating the --refresh_token variable value for the above code snippet via the command:
$ python3 /path/to/oauth2.py --generate_oauth2_token
It is because of oauth2.py incompatibility with Python3.
NeoMutt Usage in Linux
Once you log into Neomutt, its interactive menu will guide us through sending emails and performing other email-related tasks like adding file attachments (-a), loading specific mailbox (-f), and find help (-h).
More configuration options for the ~/.neomuttrc file can be referenced on Github. You can also refer it its manual page:
$ man neomutt
or
$ neomutt -h
NeoMutt makes it easy to access your mailbox without jumping to a graphical user interface like a web browser.
If someone finds a way to enable neomutt to work with Gmail, please post your solution.
@Richard,
To use Neomutt with Gmail, you need to enable IMAP and SMTP access in your Gmail account settings.
https://myaccount.google.com/.Next, create or edit Neomutt’s configuration file located at ~/.config/neomutt/neomuttrc.
Replace “Your Name“, “
[email protected]“, and “your_gmail_password” with your actual name, Gmail email address, and password or App Password, respectively.