Since it is already established that the Linux operating system is the jack of all computing trades through the numerous Linux command line tips and articles you have come across on this site.
It is time to further grow the reputation of this operating system. As part of Linux file management, we will be looking at ways to shuffle lines in a file residing under a Linux operating system environment.
Shuffling lines in a file on a Linux operating system environment can take two approaches. Under approach one, you might be looking to shuffle/rearrange the lines in a targeted file to appear in a specific required order. In such a case, a sort command is called upon.
Under approach 2, you are not mindful of the order in which the final lines in the targeted file should appear. In such cases, a shuf command is called upon.
This article will take us through different Linux techniques of randomly shuffling lines in a file in Linux.
Problem Statement
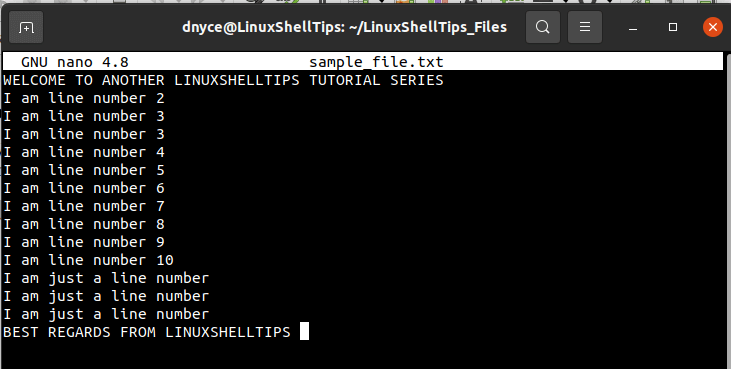
We will need to create a sample text file with a few lines which we will be referencing while implementing and executing various to-be-discussed Linux shuffling commands.
$ sudo nano sample_file.txt
We can use the cat command for the numbered view of this entire file:
$ cat -n sample_file.txt

The cat command output tells us that we are dealing with a text file with a total of 15 lines. Also, as you might have noted, lines 12 to 14 are repetitive. The occurrence of these three lines will help us understand how different shuffling commands work.
Shuffling Lines Using the Shuf Command in Linux
Since the GNU Coreutils package hosts shuf command, it should be installed by default in your Linux operating system distribution. The main function of the shuf command is to generate random permutations based on an input fed to it.
The working mechanism of the shuf command is as follows; it first loads the input data into memory, references if the free memory is larger than the input data/file size before proceeding with its execution.
It’s syntax is as follows:
$ shuf [TARGET_INPUT_FILE]
In our case, its implementation will be as follows:
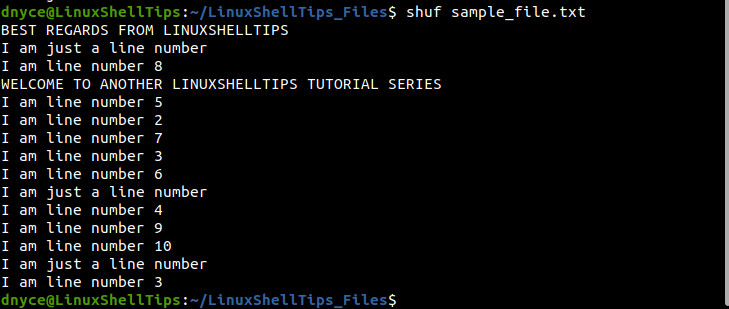
$ shuf sample_file.txt
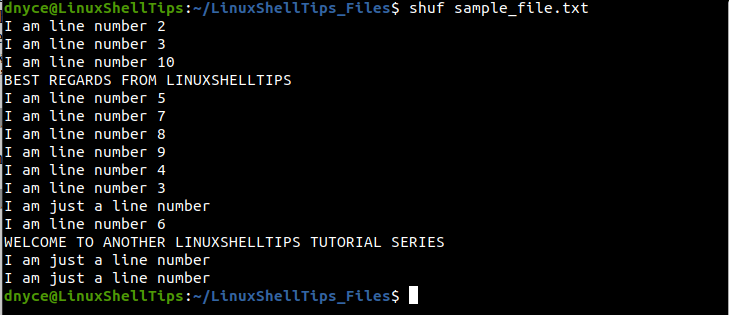
As you can see, we have managed to randomly shuffle the lines in our sample text file. If you run the shuf command, again and again, you will get a different result each time:
$ shuf random_file.txt
Use Sort Command to Shuffle Lines in Linux
While the sort command is mainly used to rearrange a file’s lines in a specific fashion, we can randomize these file lines if we combine the sort command with the -R option.
$ sort -R sample_file.txt
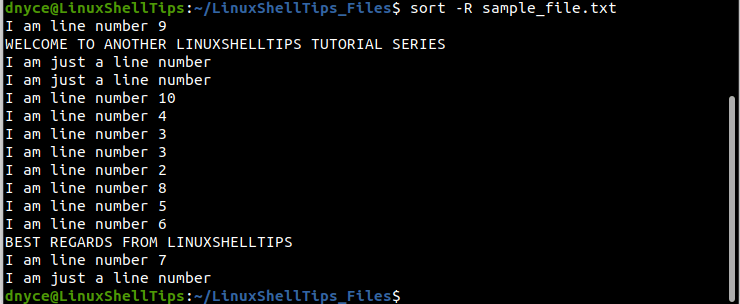
Running the command over and over again should produce different results each time.
Use Awk Command to Shuffle File Lines in Linux
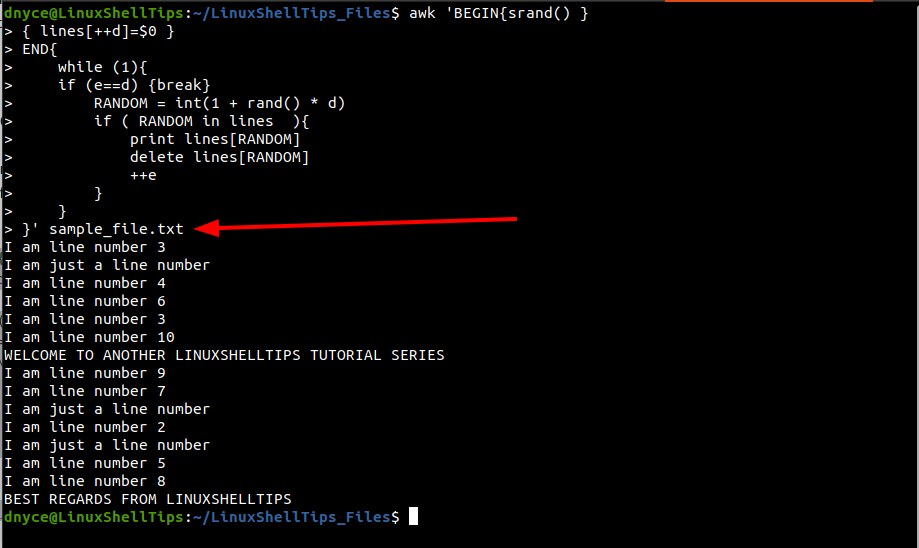
As per its Linux man page (man awk), awk is a perfect pattern scanning and text processing programming language. However, to understand its usage in shuffling lines, you will need some exposure to programming concepts like variables, loops (while loops), and statements (if statement) as demonstrated below:
awk 'BEGIN{srand() }
{ lines[++d]=$0 }
END{
    while (1){
    if (e==d) {break}
        RANDOM = int(1 + rand() * d)
        if ( RANDOM in lines  ){
            print lines[RANDOM]
            delete lines[RANDOM]
            ++e
        }
    }
}' sample_file.txt
We are now comfortable with shuffling lines in a file in Linux.