Images are an important aspect of everyone’s Linux operating system experience. They hold special information like screenshots of invaluable Linux commands implementation and execution, and also screen captures that are vital to your finished projects’ documentation.
Saving your images to a single PDF file is an ingenious way of storing and managing them without having to worry about their whereabouts if some get misplaced.
This article seeks to walk us through various approaches to converting or Merging multiple images into PDF in Linux.
Problem Statement
The purpose of this article walk-through is to successfully convert/merge the following 4 sampled image files into a single PDF file.

To convert multiple images to a single pdf file in Linux, we will need the help of several tools. Let us look at them one by one.
Method 1: Using ImageMagick Tool
ImageMagick is an effective tool for creating, editing, composing and converting digital images. It supports the reading and writing of images existing in various formats like PNG, JPG, TIFF, EXR, GIF, WebP, DPX, SVG, PDF, and HEIC.
This free software is presented as a ready-to-run binary distribution. It has numerous features capable of achieving any of your image manipulation objectives.
ImageMagick is not installed by default on Linux, therefore, reference one of the following installation commands in relation to the Linux operating system distribution you are using.
$ sudo apt install imagemagick         [On Debian, Ubuntu and Mint]
$ sudo yum install ImageMagick         [On RHEL/CentOS/Fedora and Rocky Linux/AlmaLinux]
$ sudo emerge -a media-gfx/imagemagick [On Gentoo Linux]
$ sudo pacman -S imagemagick           [On Arch Linux]
$ sudo zypper install ImageMagick      [On OpenSUSE]
If you run the man page of ImageMagick image tool, you will be able to see some of its associated commands.
$ man imagemagick
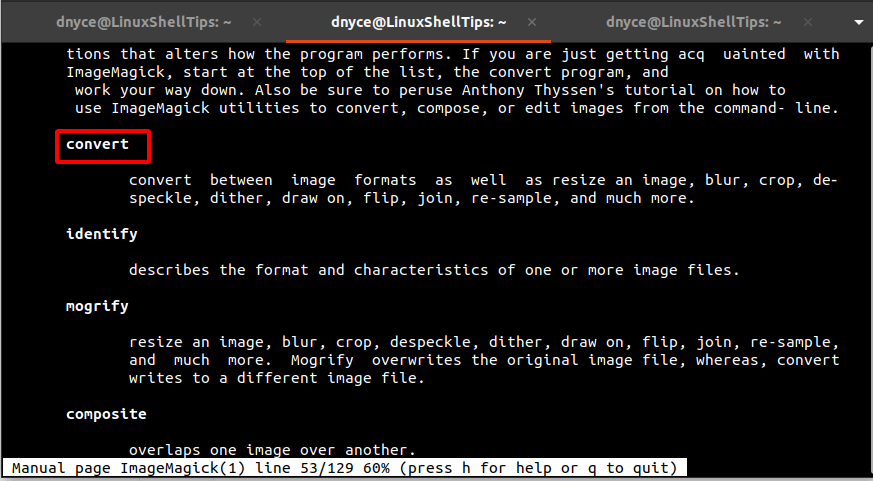
In this case, we are interested in the convert command associated with strong>ImageMagick image manipulation software suite.
The syntax for convert command is as follows:
$ convert image1 image2 … output_file.pdf
Before we implement the above command, navigate to the /etc directory and identify your ImageMagick installation directory and then open the file policy.xml.
$ sudo nano /etc/ImageMagick-6/policy.xml
Comment out the highlighted line as shown below.
<!-- <policy domain="coder" rights="none" pattern="PDF" /> -->

Save the file changes and close it.
In relation to our sample image files, we can implement the convert command in the following manner.
$ convert consult.jpeg cover.jpeg pictured.jpg script.jpeg final_images.pdf
To confirm that the multiple images were converted/merged to a single PDF file, open the generated/output PDF file created from the execution of the above command using your preferred PDF reader.

As expected, our images have been successfully imprinted into a single PDF file.
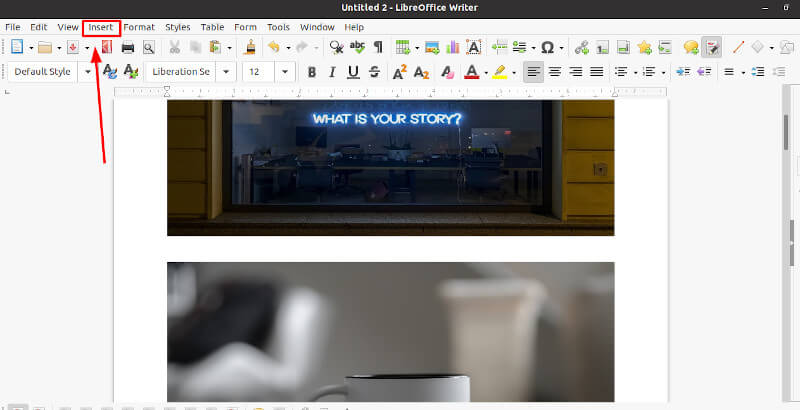
Method 2: Using LibreOffice Draw or Writer
LibreOffice comes pre-installed in almost all Linux operating system distributions. You just need to insert your images inside this word processing software.
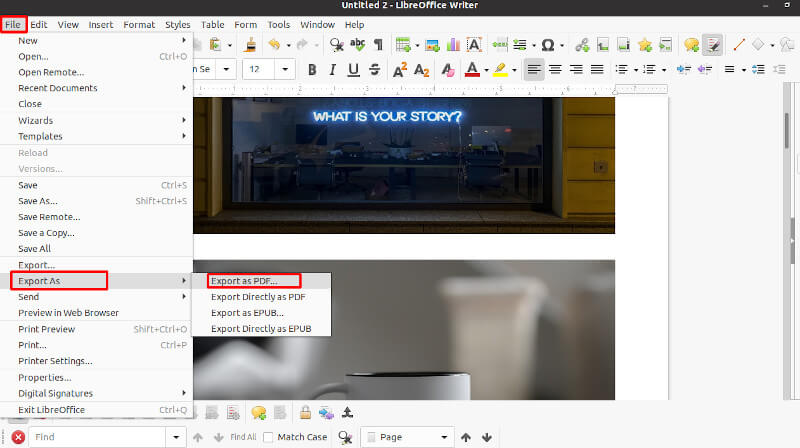
Go to the File menu and select Export as PDF to export.
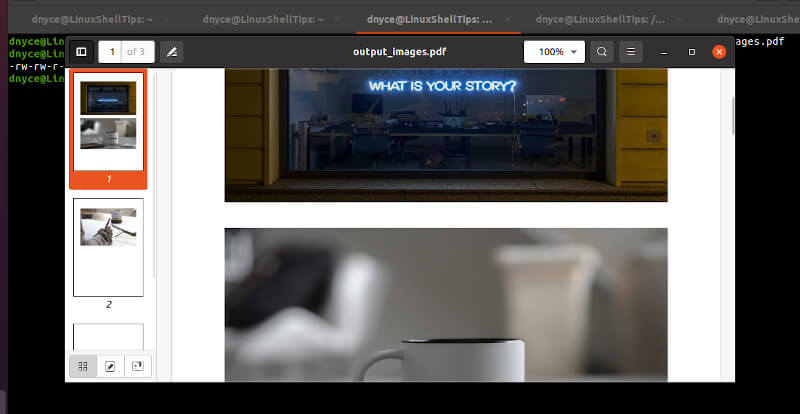
Open the PDF file with a PDF reader to be sure the images were merged.
We now know two ways of converting/merging multiple images to PDF in a Linux OS environment.