When you start out as a coder or software developer under a Linux operating system environment, you start to make reasonable milestones due to the flexibility and open-source nature of the various Linux distributions.
A developer with an enterprise mindset will always want to improve their code to better versions. Such a mindset gets you thinking of a platform that can keep track of the growth steps of your developer code.
[ You might also like: How to Compare Two Files in Linux Terminal ]
This article is here to introduce you to Git; a version control system for all your coding projects.
What is Git?
A version control system gives developers an upper hand in tracking file changes related to their developer code. With Git, all versions of project files you ever worked with are kept on record together with the various changes implemented on each file. You have the freedom of switching between these project file versions whenever you feel like it.
With Git, a repository acts as the base storage location for your first project file uploads and will keep track of every change that will affect those files with inclusion to other file uploads that may follow.
Install Git in Linux
The wide footprint of Git makes it a compatible candidate for all Linux operating system distributions. Depending on the Linux operating distribution you are using, you can easily install the Git version control package by referencing either of the following installation commands:
$ sudo apt-get install git-all     [On Debian, Ubuntu and Mint]
$ sudo yum install git-all         [On RHEL/CentOS/Fedora and Rocky Linux/AlmaLinux]
$ sudo emerge -a sys-apps/git-all  [On Gentoo Linux]
$ sudo pacman -S git-all           [On Arch Linux]
$ sudo zypper install git-all      [On OpenSUSE]
Configuring Git in Linux
As mentioned earlier, Git uses a repository as its base storage location. A repository or repo can be local or remote. With local repositories, project files reside on a local machine or server whereas, with remote repositories, project files reside on a remote machine or server.
Now that you have the Git version control system installed, you need access to a cloud service like GitHub or GitLab for hosting the various Git repositories you will be creating, updating, and tracking.
For this Guide, let us go with GitHub.
Create a GitHub Account
Create a GitHub account if you do not have one.
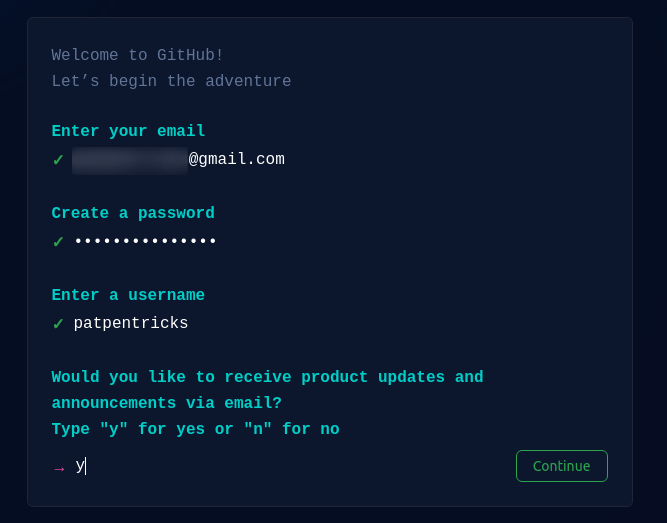
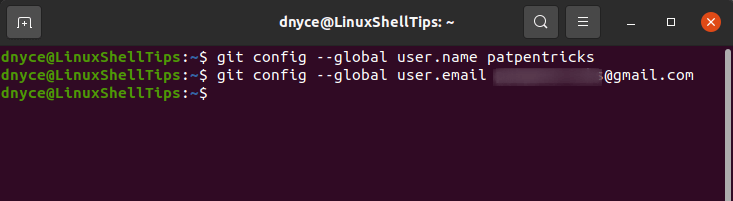
For first time use, you will need the username and email of your GitHub account to configure a global variable that will inform the GitHub cloud service that it is you making changes to your project repo each time you need to upload a file, remove a file, or update a file.
From your Linux terminal, do the following:
$ git config --global user.name "Your GitHub Username"
$ git config --global user.email "Your GitHub Email"
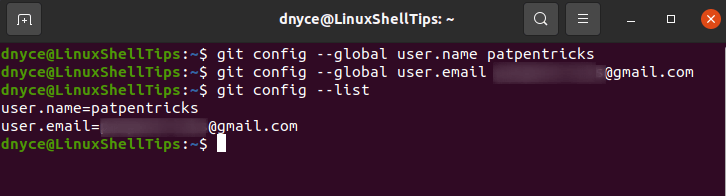
We can re-check or confirm the configurations we made with this git command.
$ git config --list
Setting up Git Repositories in Linux
Since a repository holds all your project files and directories, making changes to these files and directories is through commits. It is through commits that we are able to execute repository changes whether we want to revert a change or proceed with new changes.
Create a directory on your local machine that will be holding your projects.
$ mkdir linuxshelltips_repo
$ cd linuxshelltips_repo
Initialize git inside this directory.
$ git init
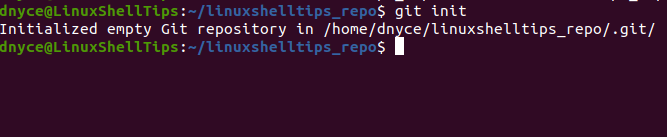
The above command tells Git to start tracking all changes inside the linuxshelltips_repo directory when you are adding or removing something.
Next, let us create a random file with some text:
$ sudo nano linuxshelltips.txt

Add this file to git.
$ git add linuxshelltips.txt
If you have many files inside your repo directory and you want to add them all, use the command:
$ git add .
Next, commit the file(s). Your file commits should be associated with a message so that you know exactly what you did to that file when you later revise the project repository.
$ git commit -m "My first LinuxShellTips Repo"

If you want to ignore committing some files or directories like the ones associated with configuration files and virtual environments, create a .gitignore file, and inside it, specify the files and directories it should ignore.
$ sudo nano .gitignore
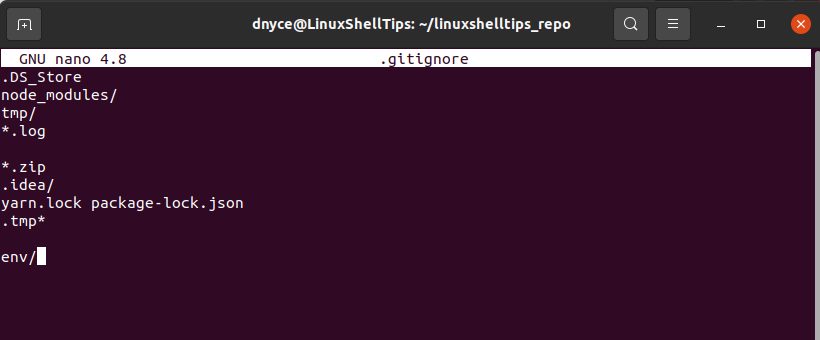
Git will not add and commit anything specified in this file.
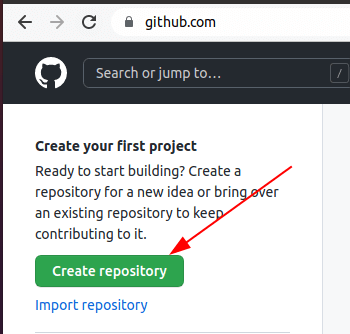
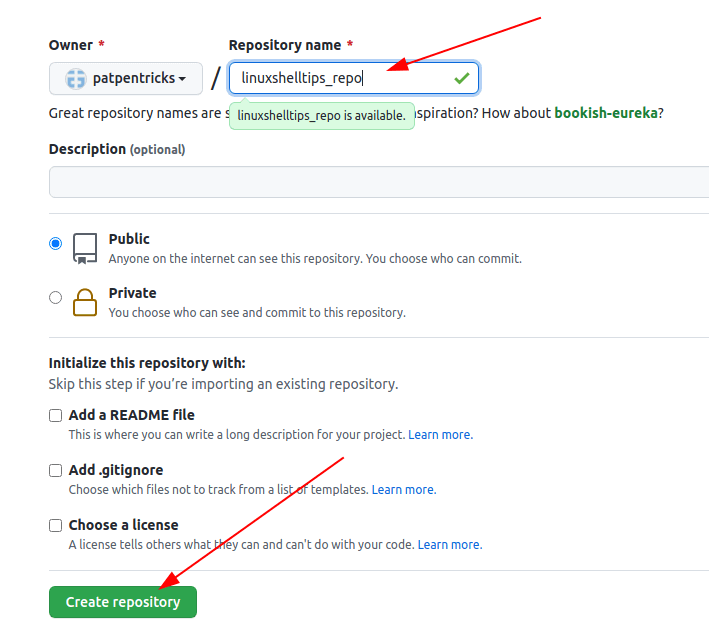
Create a Remote Repo on GitHub
Create a remote repo on GitHub that will receive our local repo files.
Add the origin of this created remote repo to sync with your local repo.
$ git remote add origin https://github.com/[YOUR_GITHUB_USERNAME]/linuxshelltips_repo.git
You will run into the following authentication error trying to push your first repo to GitHub.

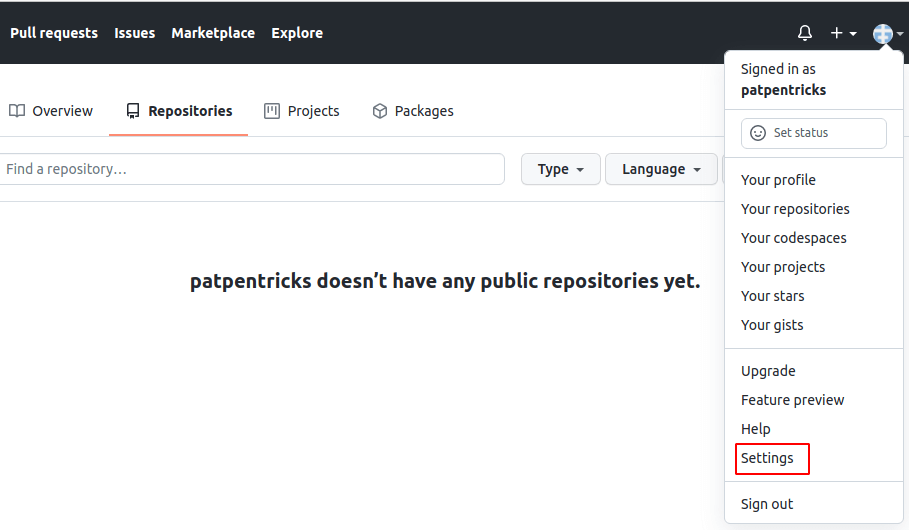
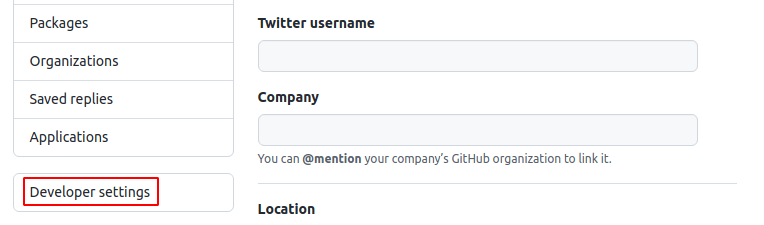
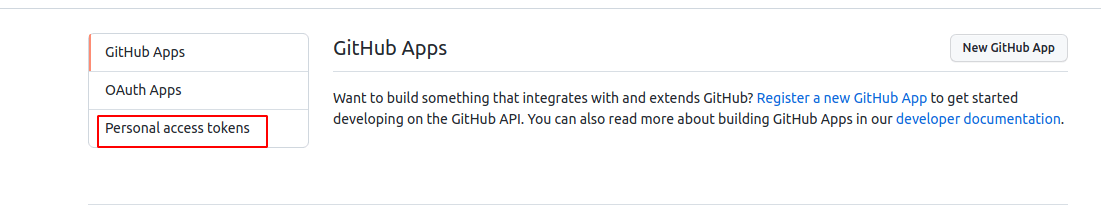
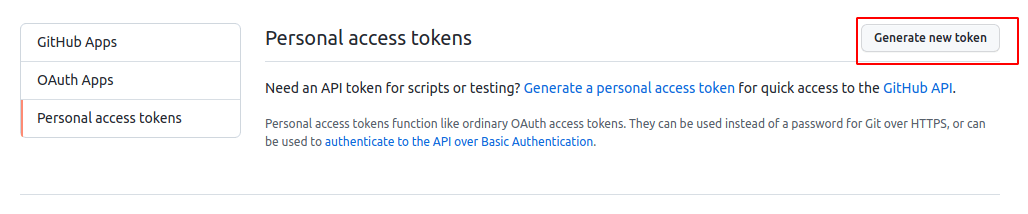
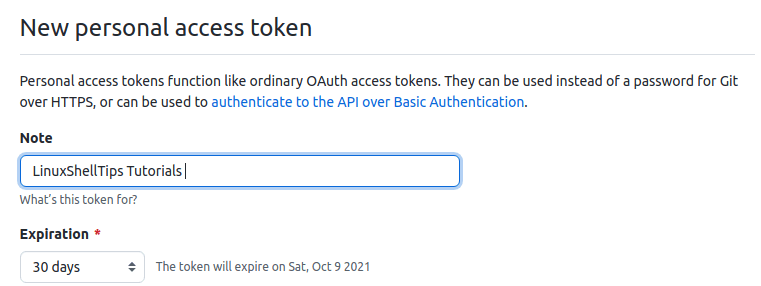
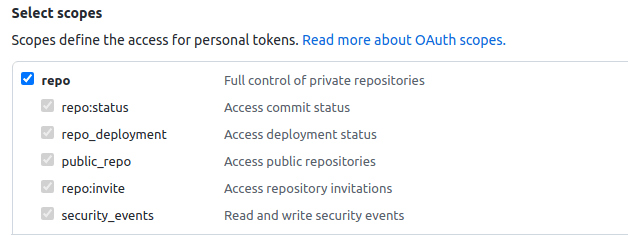
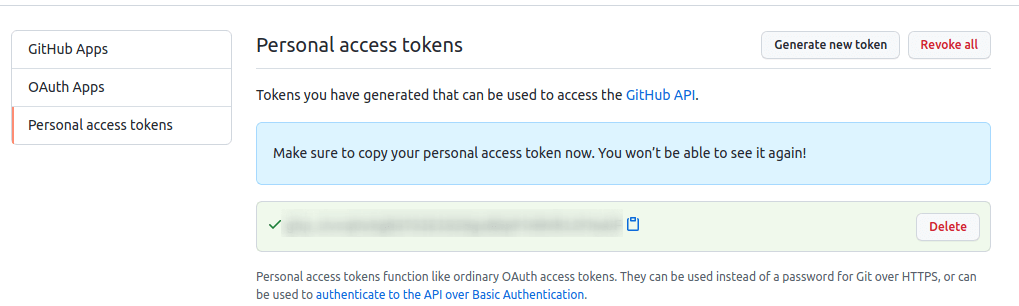
Since GitHub no longer supports password authentication from the command line, we will need to use a token in place of a password. Follow these screen captures from your GitHub account to set up your authentication token.
Now let us check on the status of our unpushed repo.
$ git status

Let us re-try the above steps again.
$ git add linuxshelltips.txt
$ git status
$ git push -u origin master
When prompted for a password, remember to use the token key you generated earlier.
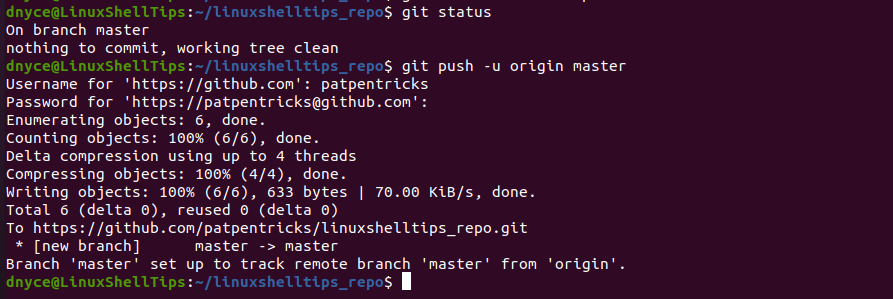
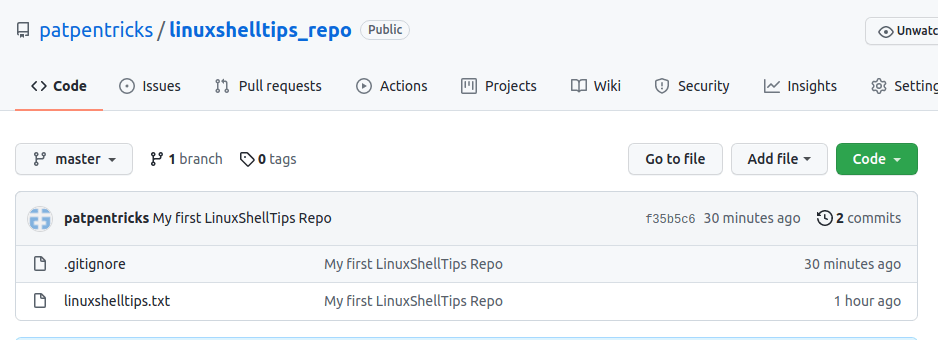
Our file should have been successfully pushed to GitHub.
You have successfully installed the git version control package and pushed your first project to GitHub. When your project continues to grow, remember to use the following repetitive git commands cycle to push your code to GitHub and keep track of your project’s milestones.
$ git add .
$ git status
$ git commit -m "message about project change"
$ git push -u origin master