Hey Debian Users, are you looking for a comprehensive guide for installing the latest stable version of Debian 12? If yes, then welcome to this guide which will cover the whole installation process of Debian 12 (codenamed “Bookworm”).
Debian recently launched Debian 12 (codenamed “Bookworm”) with five years of support, impressive features, and better security. It supports nine architectures and offers numerous desktop environments.
You can install Debian 12 either by booting it on your hardware or by creating a virtual machine utilizing virtualization. If you want to boot it directly on your machine, you can use tools like Etcher, Rufus, or UNetbootin to create a bootable USB from its ISO file.
However, if you want to create a virtual machine (VM), you can use VirtualBox, VMware, or QEMU by using the Debian 12 ISO file.
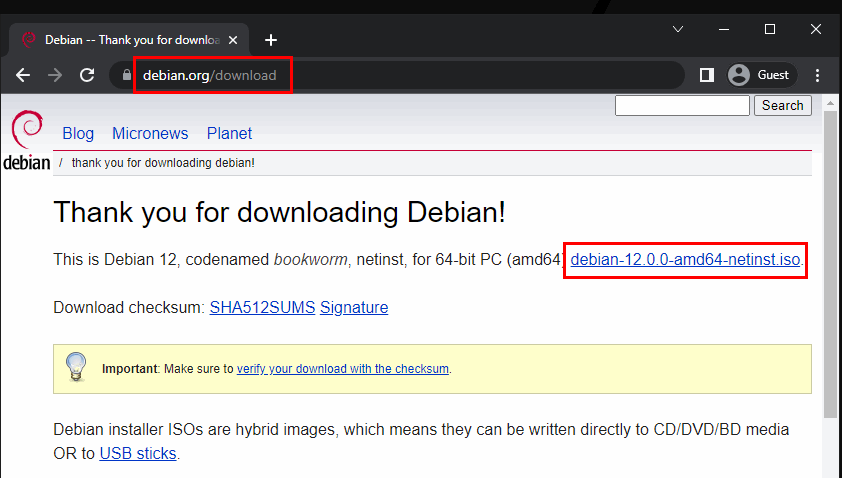
You can choose any of the preferred methods to boot your Debian ISO, which can be downloaded from its official page.
Installation of Debian 12 (Bookworm)
After booting the installation media from your preferred way, follow the steps stated below to install Debian 12.
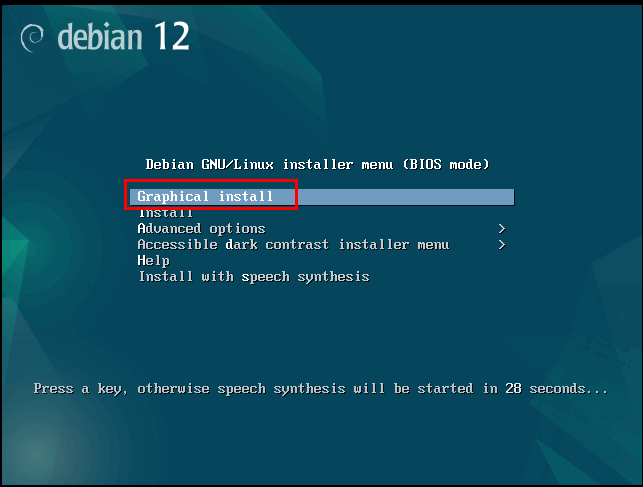
1. Select the “Graphical install” option from the Debian installer menu to begin the installation process.
2. Then, you will be asked to select the default language for the installation process as well as the installed Debian 12. Here, we have selected “English”. Then, press the “Continue” button.

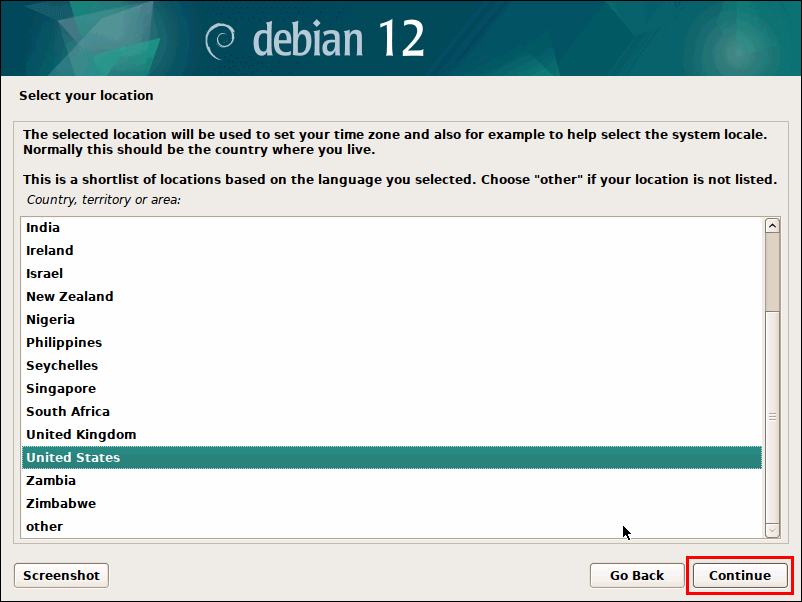
3. After selecting the language, you will get the option to choose your location for setting the timezone.
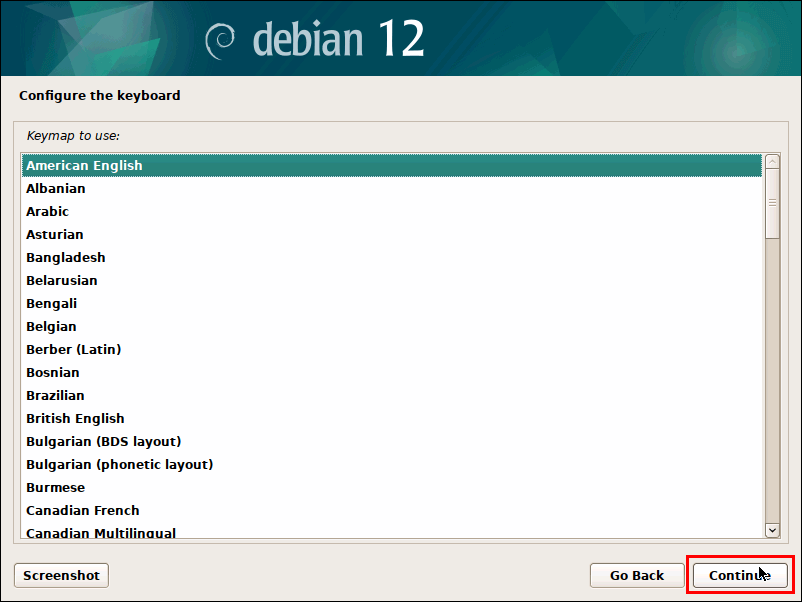
4. Moving forward, it’s time to select your desired keyboard layout and press the “Continue” button to proceed. Here we selected the “American English” keyboard.
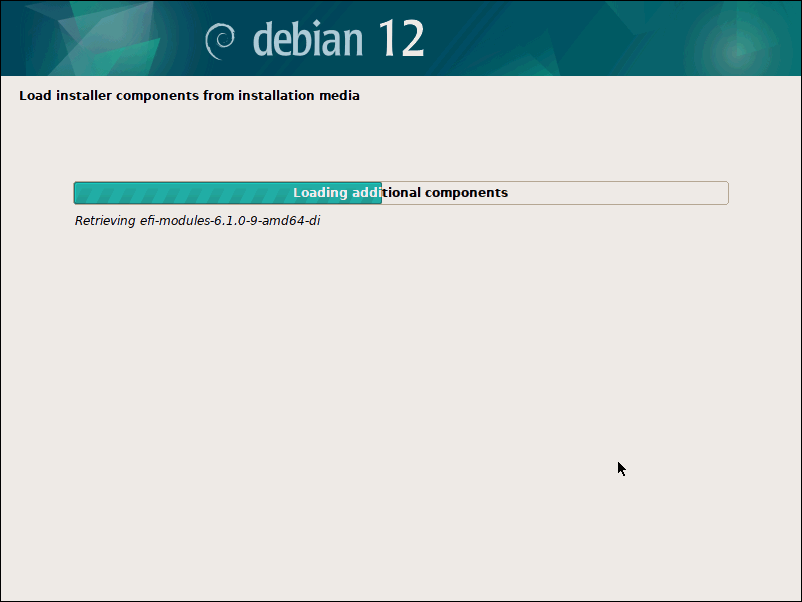
The installer components will automatically begin to load, wait for this process to complete.
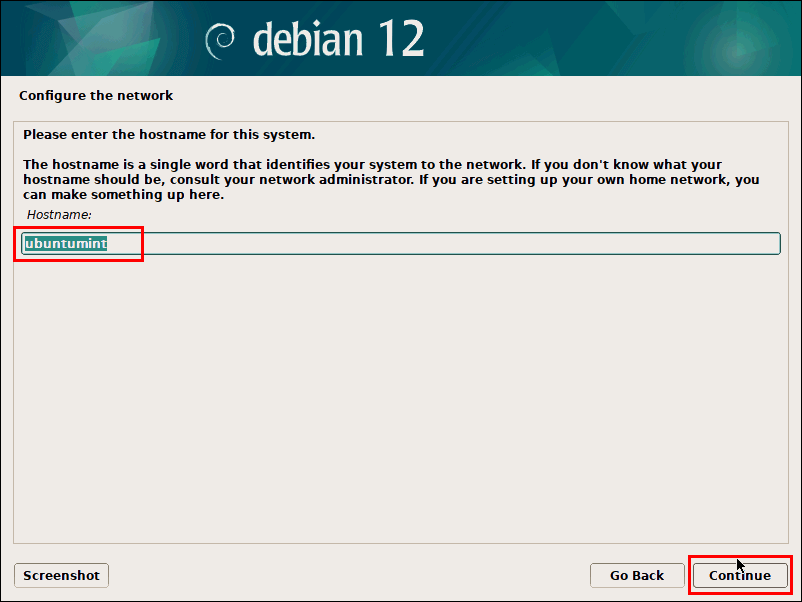
5. Your IP, DHCP and such settings will automatically configure. However, you will be asked to set the Hostname and Domain name for your machine.
The hostname is one word which identifies your machine over a network. Let’s just set it as “ubuntumint” and click on the “Continue” button:
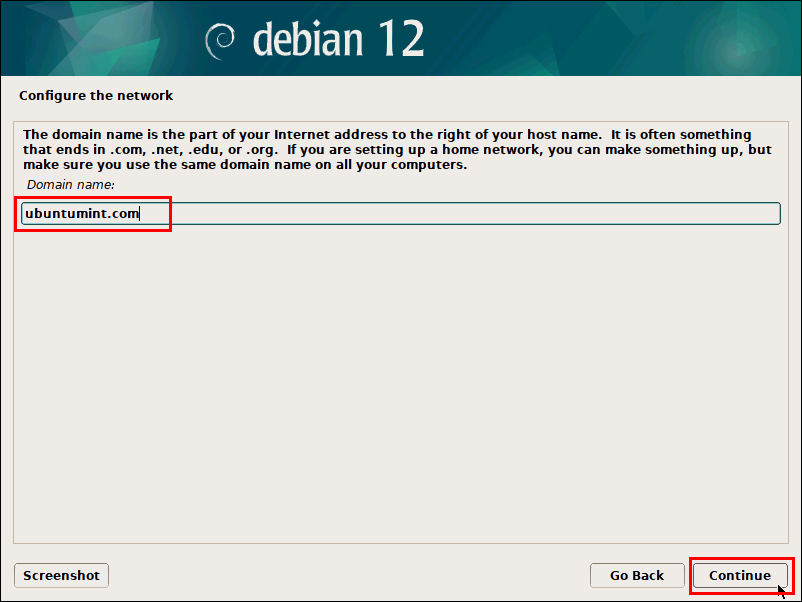
6. You can also set the domain name for your host; however, this step is entirely optional. Here, we will leave it empty and proceed further.
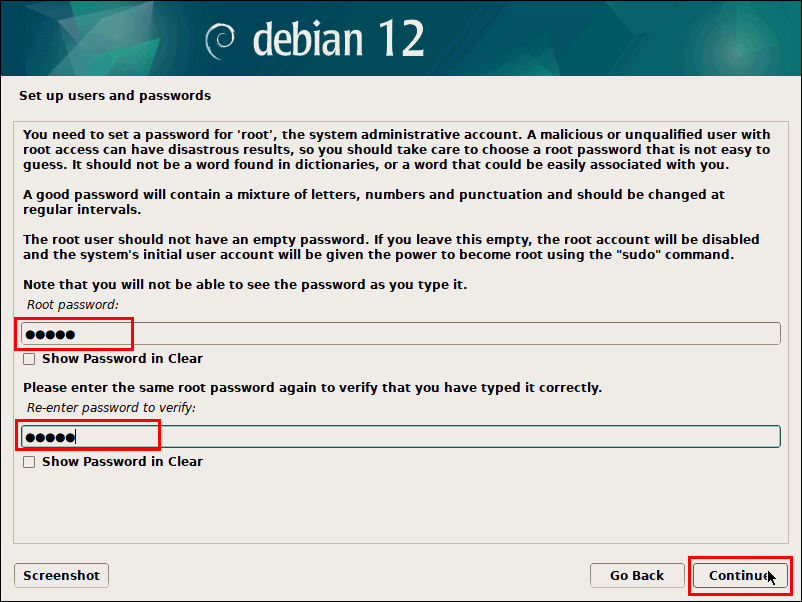
7. Next, it’s time to set the password for the root user.
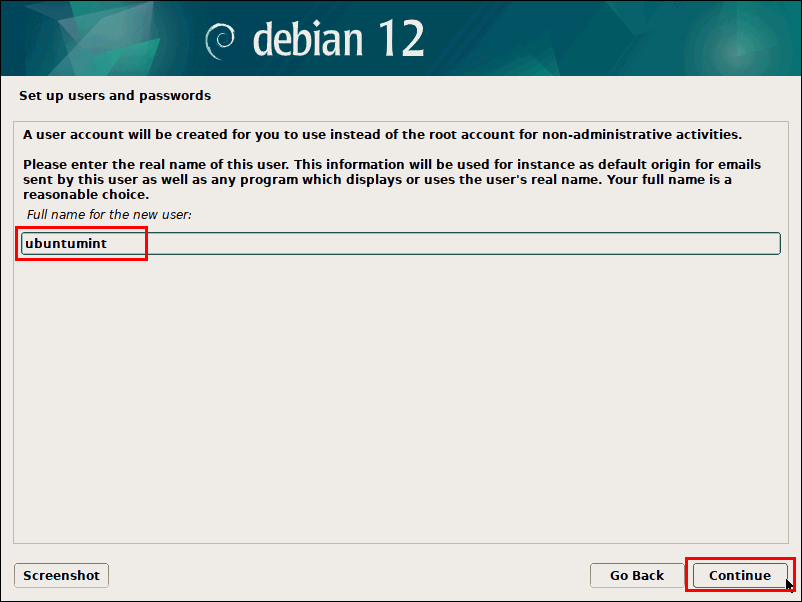
8. After setting the password for the root user, it’s time to create a user for Debian. To do so, type the full name of the user and continue.
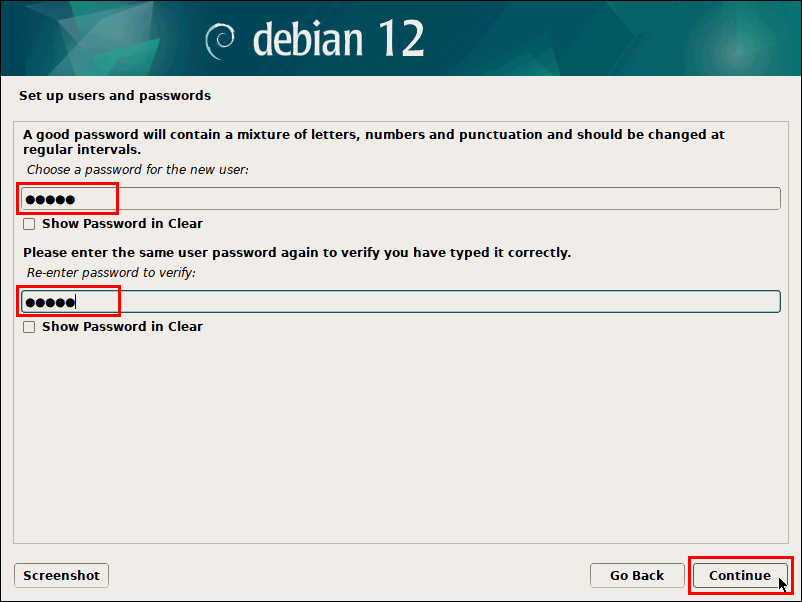
9. Now, set the password for this new user and proceed further.
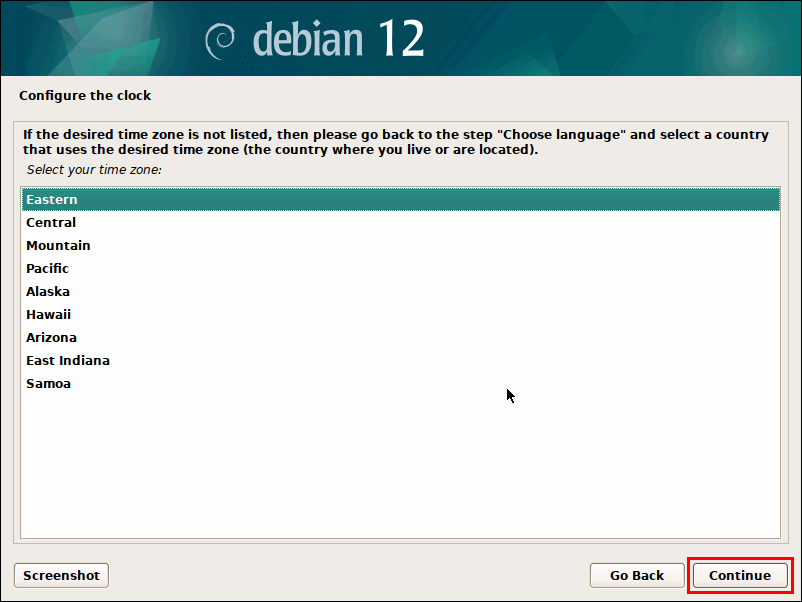
10. You will get a list of options to select the time zone for the configuration of your clock. After selecting the preferred option, press the “Continue” button.
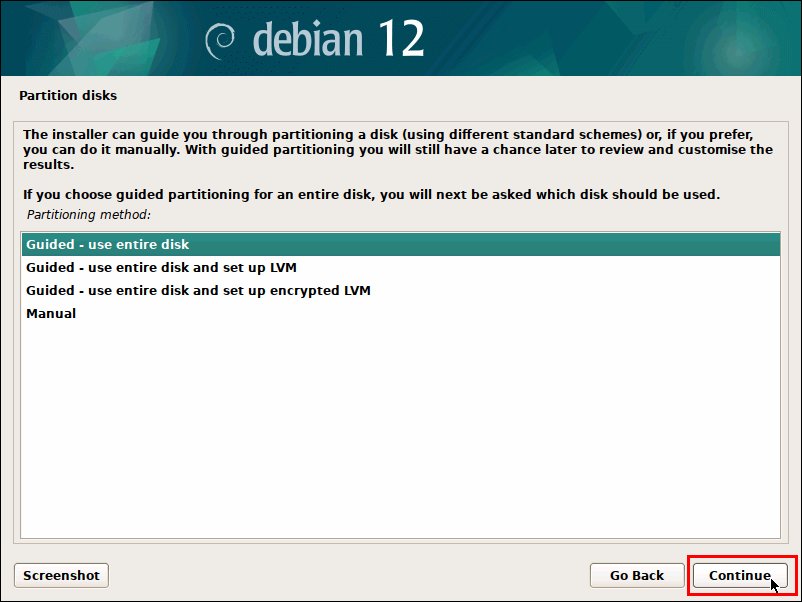
11. Moving forward, it’s time to do disk partitioning for your Debian 12. If you are an experienced Debian user, you can choose the “Manual” option to have full control over the disk partitioning process.
However, the installer also provides other options. In this guide, we will choose the option “Guided – use entire disk” so that the installer can automatically partition the disk for us.
12. Choose the disk to partition and hop to the next step.

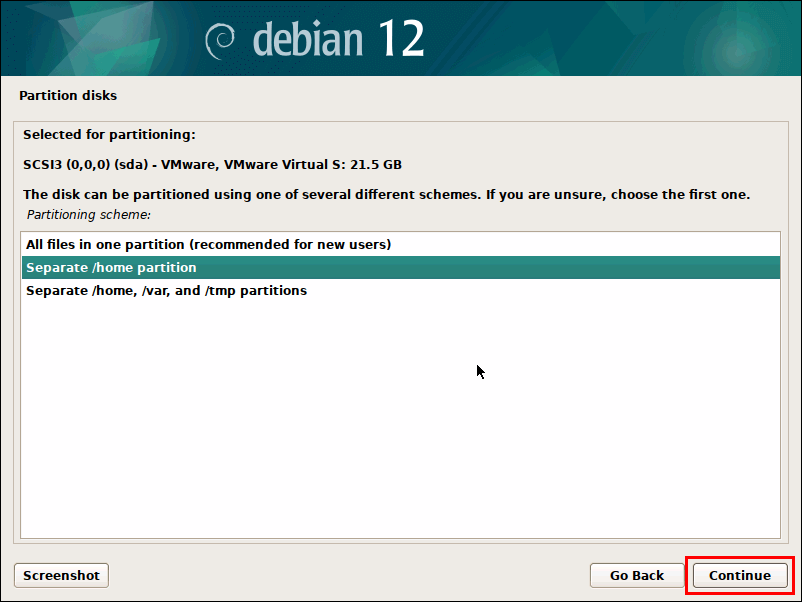
13. Choose the partitioning scheme that suits you best and continue.
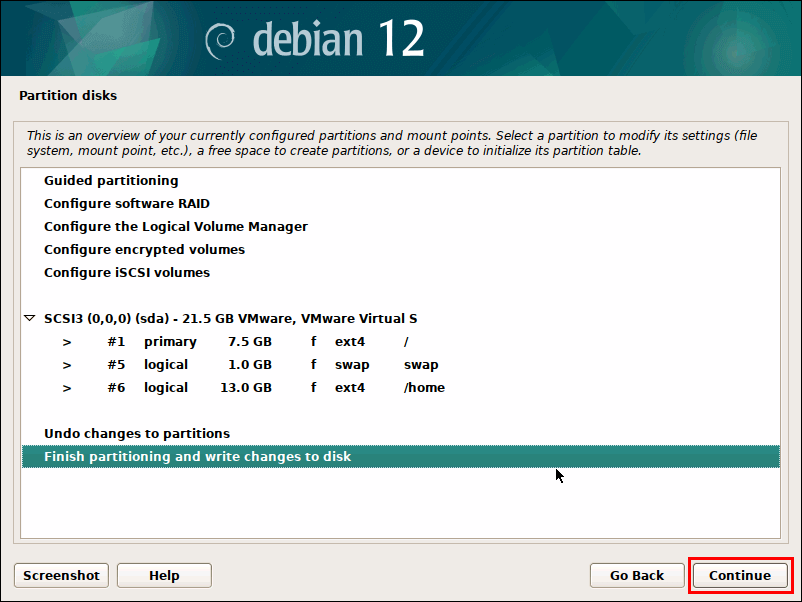
14. Review the overview of your disk partitioning choices for your Debian 12 and select the option “Finish partitioning and write changes to disk”.
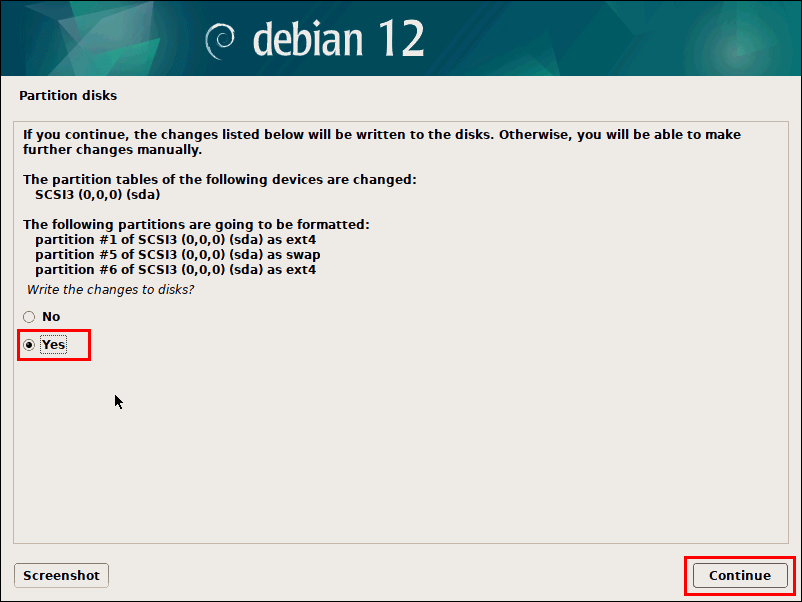
15. Finally, choose “yes” to write changes on disks.
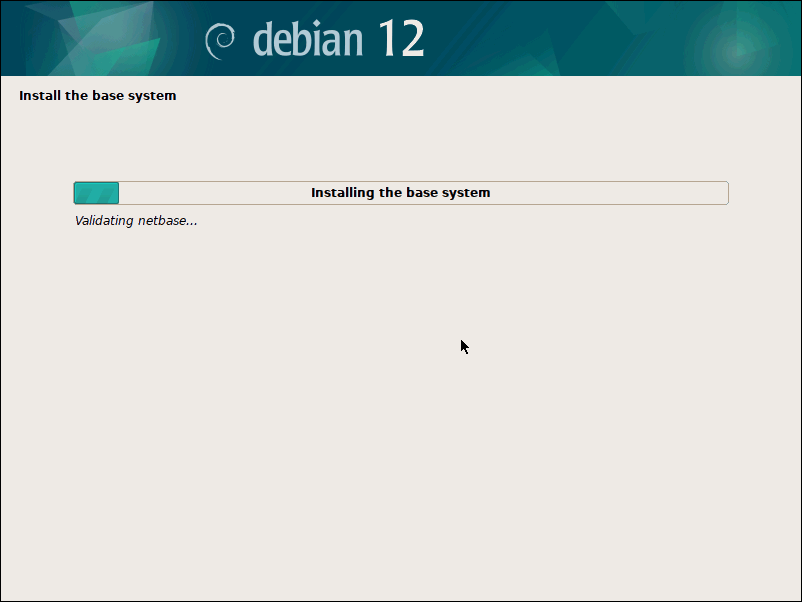
The base system installation process will take a few minutes, wait for its completion.
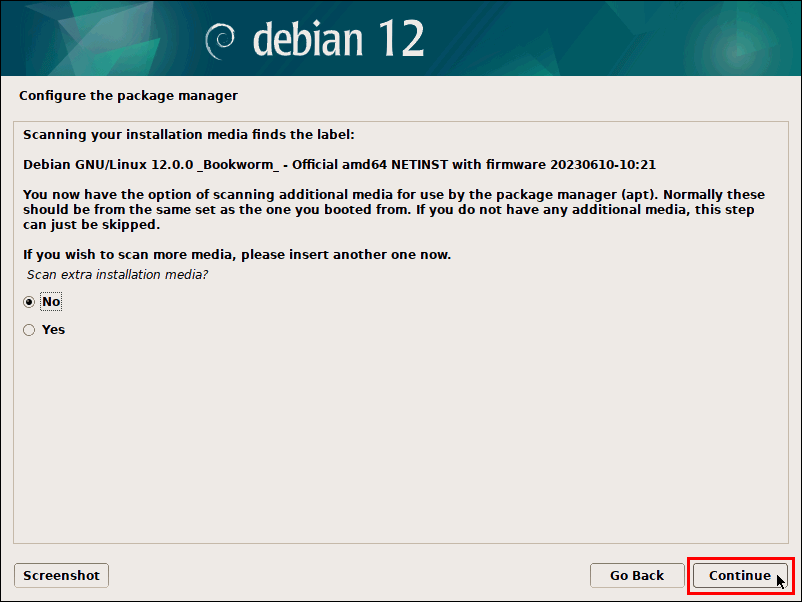
16. Now that the base system installation is completed, the installer will ask you if you want to scan additional media for configuring the package manager. Select “No” and continue.
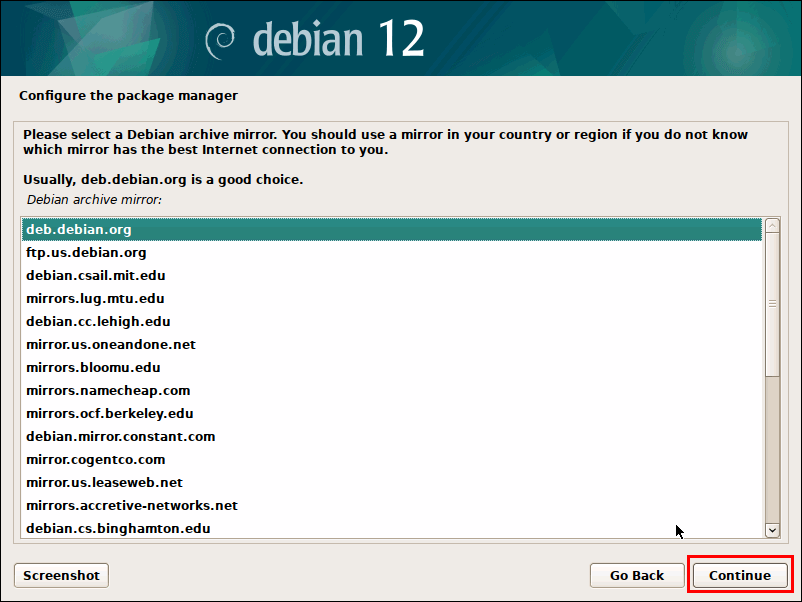
17. Select the Debian archive mirror country whichever is located near you and continue to proceed further.

Additionally, you also have to select the Debian archive mirror, whicht is recommended to choose “deb.debian.org”.
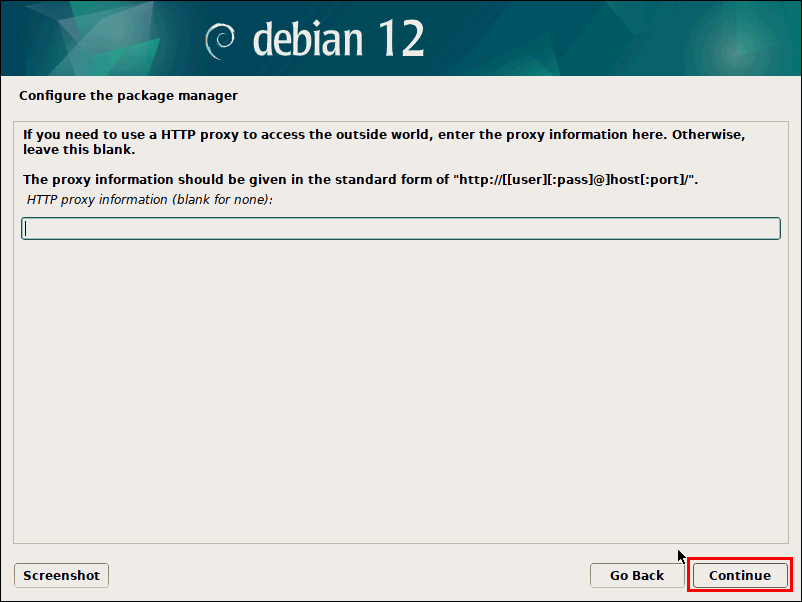
18. Leave the proxy information empty.
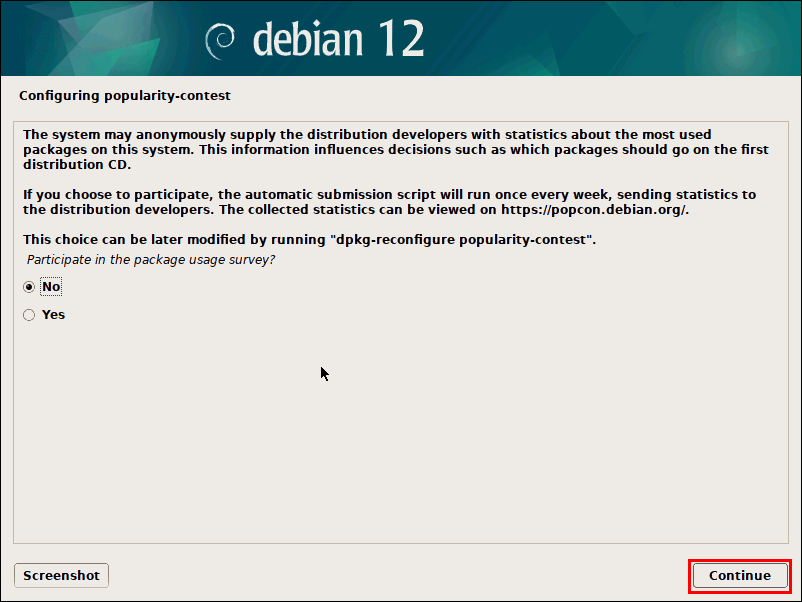
19. Next, press “yes” or “no” based on your will to participate in the package usage survey.
20. After doing so, next the installer will display options for selecting the additional software. Here, we will select the desktop environment of our choice and some additional software if required.
In this blog, we will also choose “SSH Server” and “standard system utilities” and then, click on the “Continue” button:

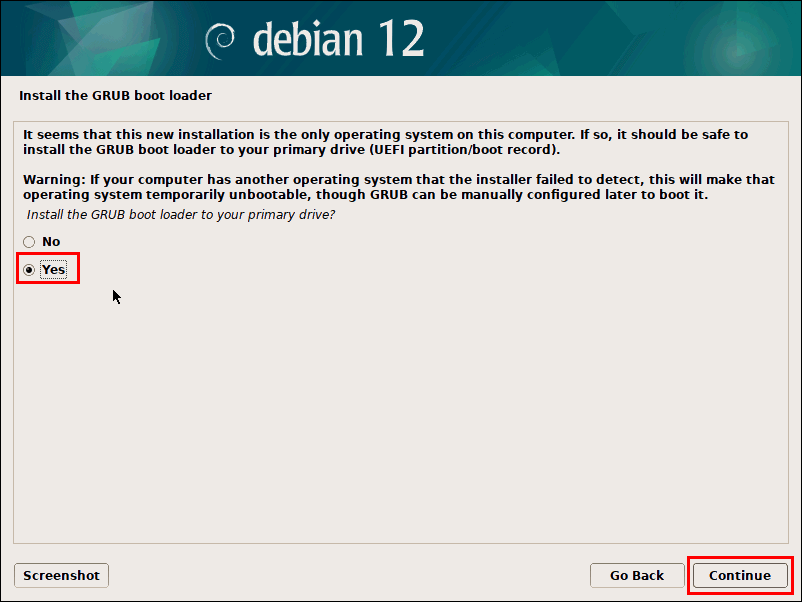
21. In this step, let’s install and configure the GRUB boot loader on your primary drive. Select the option “yes” for its installation and click on the “Continue” button.
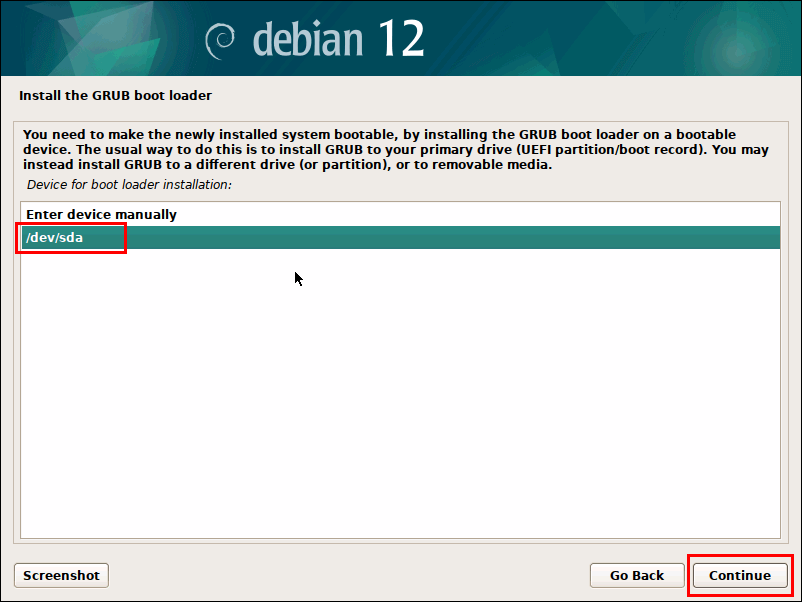
22. Select the device “/dev/sda” for the boot loader installer and then click on the “Continue” button:
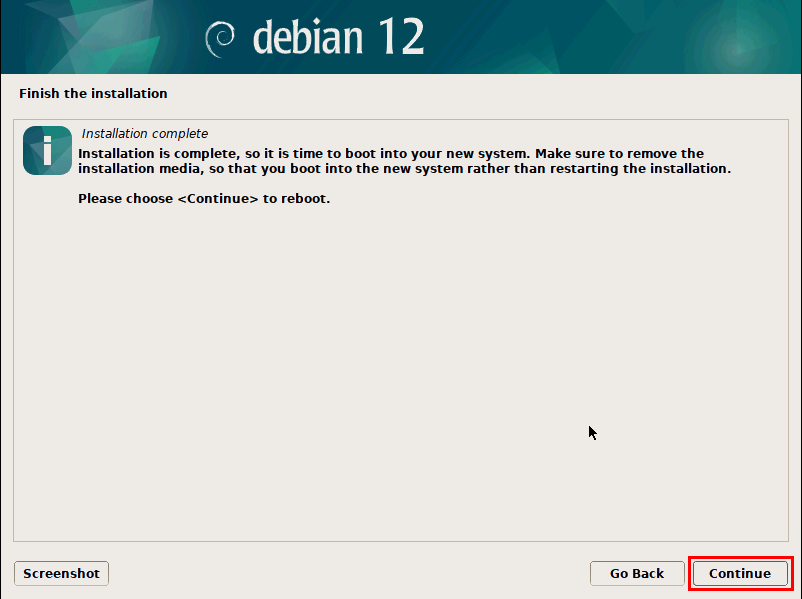
23. The installation is complete, you must reboot by clicking on the “Continue” button to enter your Debian 12.
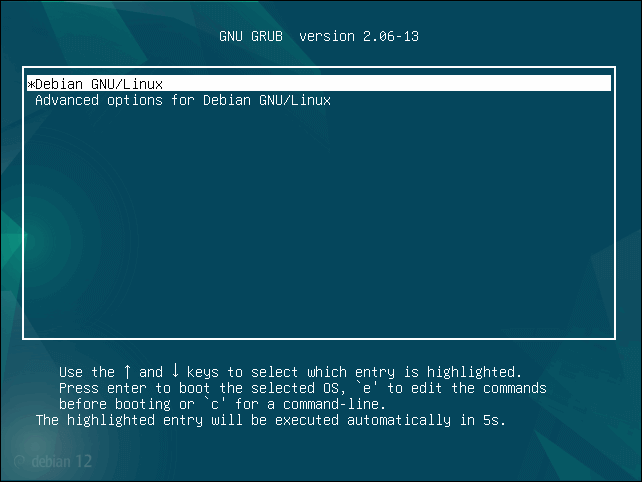
24. On the GNU GRUB menu, select “Debian GNU/Linux” and hit the “Enter” key.
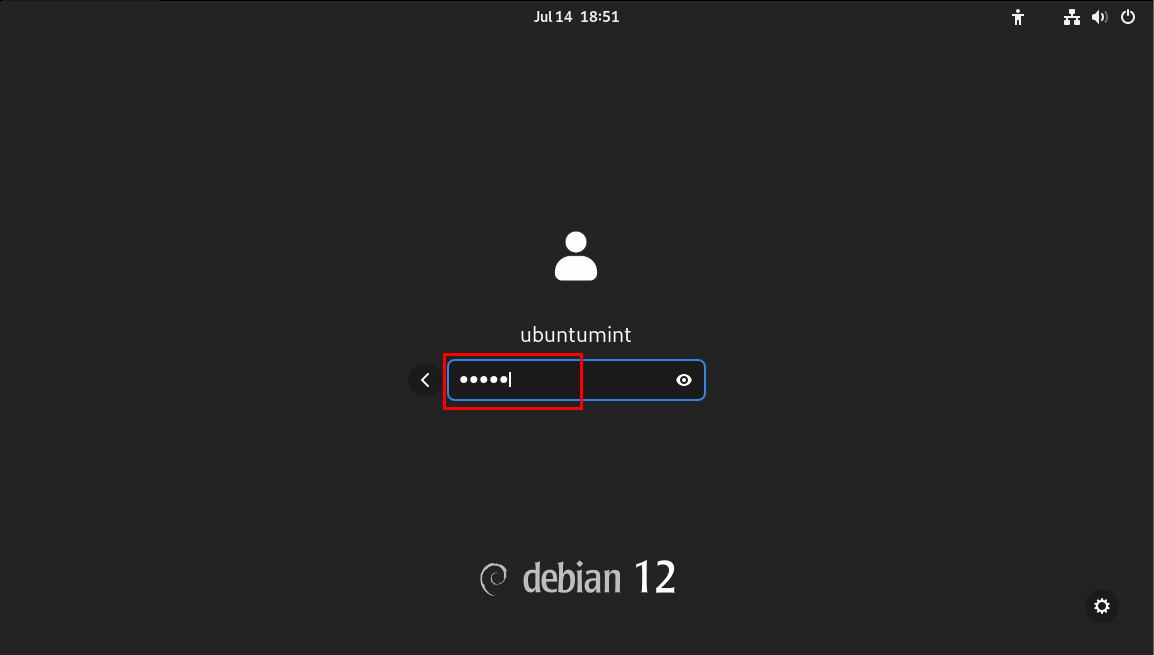
25. Once the system is booted, you will get a user login screen. Type your user’s password and press “Enter” to successfully log in to your Debian 12.
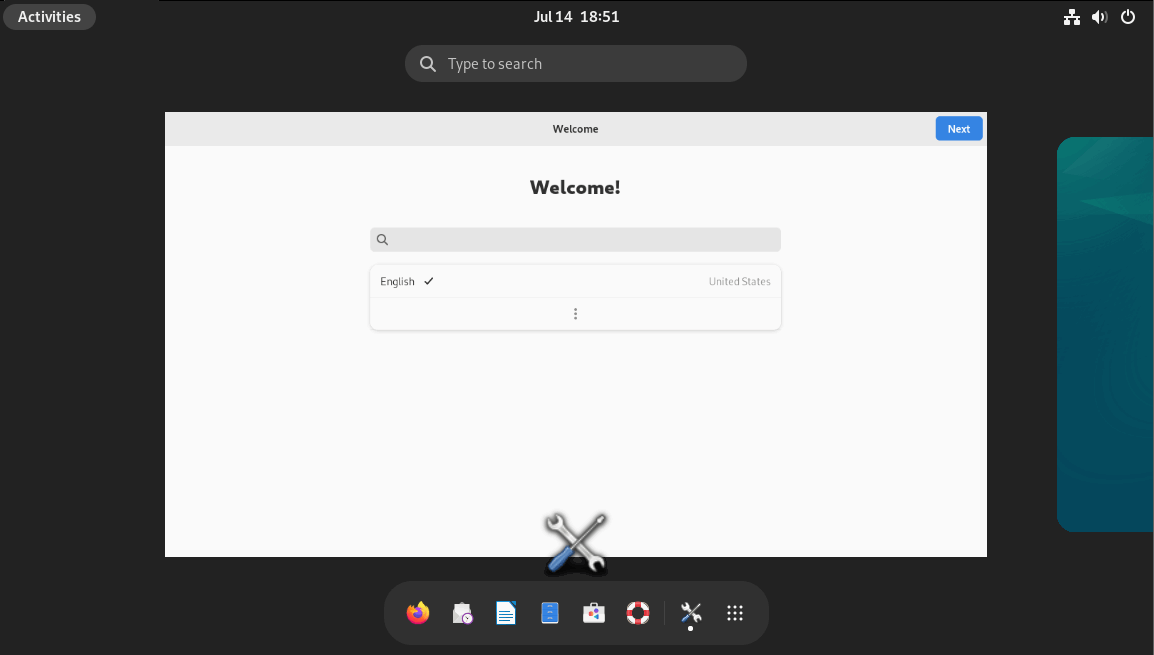
26. Now that you have logged in to your Debian 12 for the first time, the welcome dialog box will appear to aid you in personalizing your Debian 12.
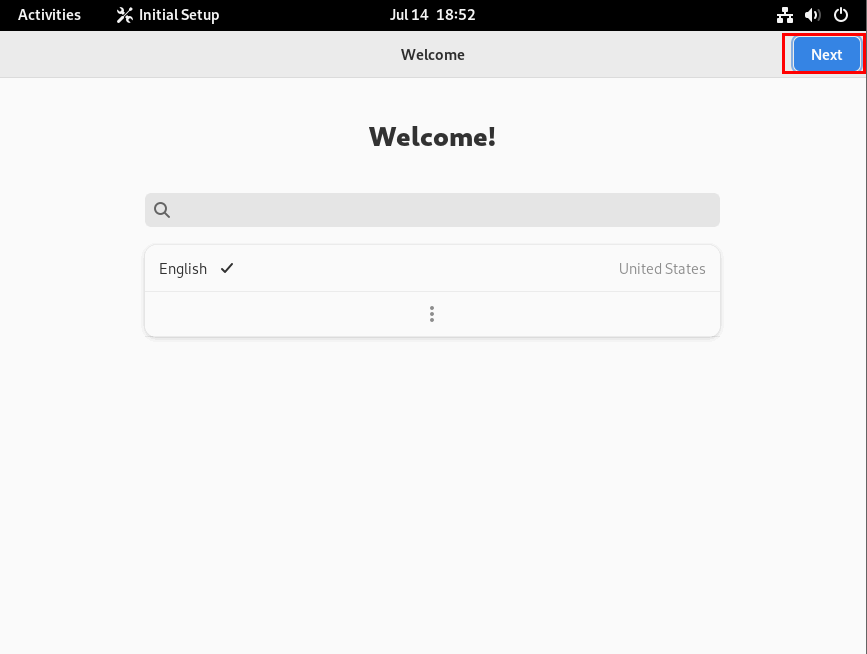
27. Simply select your desired language and press the “Next” button.
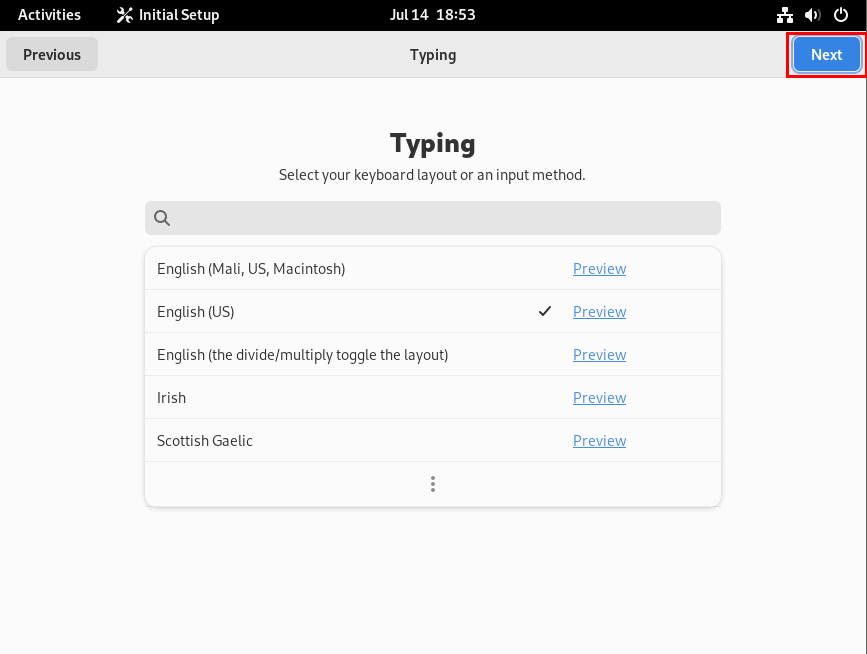
Also, choose the keyboard layout style. Here we have selected “English (US)”.
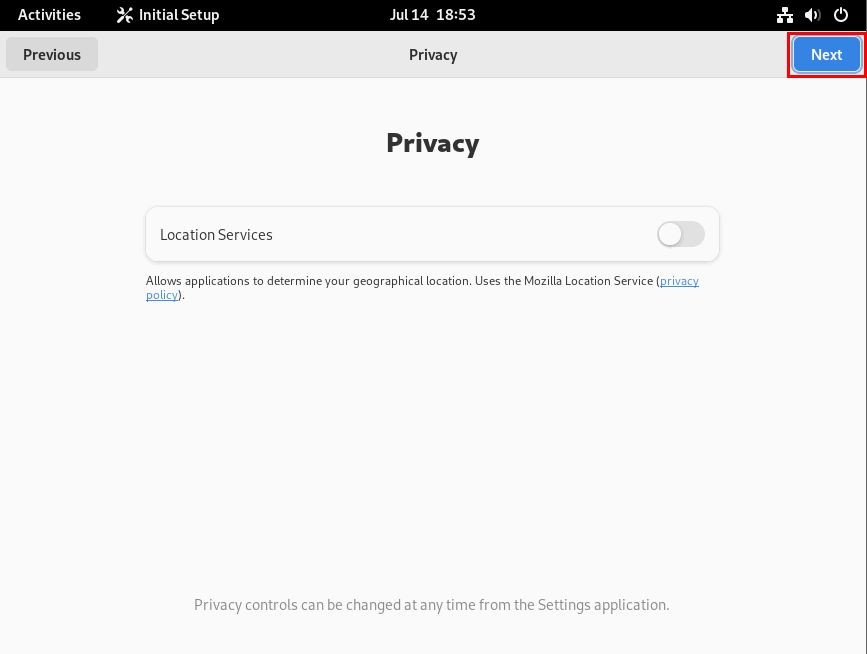
28. Once you are asked about location, skip it by pressing the “Next” button.
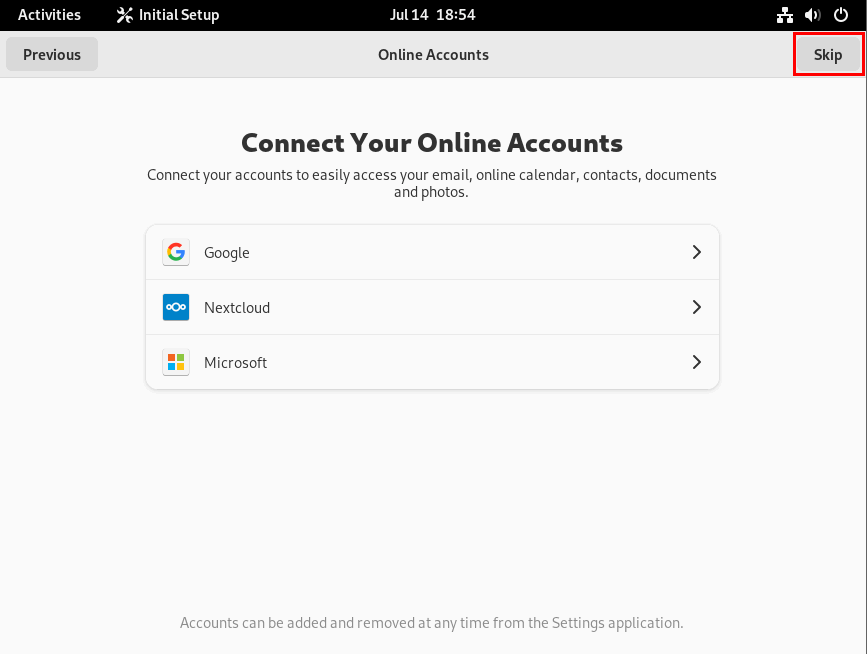
29. You can even connect your accounts, such as Google, Nextcloud, and Microsoft to create a more personalized environment. However, for now, let’s skip this step.

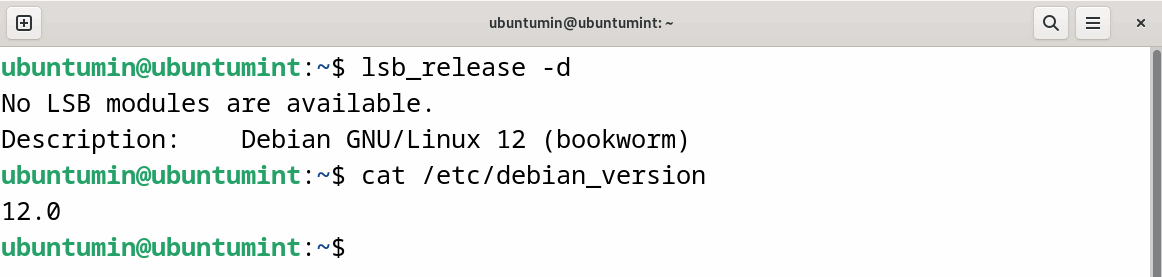
30. Open the terminal of your Debian, to verify its details by executing the “lsb_release -d” command.
$ lsb_release -d
Here you can see your Debian 12 (Bookworm) is installed and running smoothly.
Conclusion
Debian 12 stable version was released recently with five years of support, new features and better security. The users can get Debian 12 by installing it or by upgrading their existing Debian 11 to Debian 12.