Docker stands out as one of the most popular technologies for running containers, which can be thought of as lightweight virtual machines. These containers have become ubiquitous throughout the IT landscape, serving a wide range of purposes from development to production environments.
This article is intended for beginners who are looking to start with Docker and containers in Ubuntu.
The installation of Docker Community Edition is based on the Ubuntu Desktop 22.04.2 LTS and you require privileged access to your system as root or via the sudo command.
You have 2 ways to install Docker on your Ubuntu system:
- The default installation is based on the official Docker documentation. In this case, your system is connected to Docker’s APT repository and compliant with Ubuntu 20.04, 22.04, 22.10, and 23.04.
- A simple but incomplete installation based on the Ubuntu APT repository. In this case, the Docker’s version is older than the Docker’s repository installation and does not install Docker Compose by default (only Docker Engine and containerd).
This article focuses on the default installation. At the end of the article, however, you will find a quick description of the second way of installation.
Install Docker in Ubuntu
The Docker official documentation describes how to install Docker step-by-step from the official Docker APT repository.
Let’s start the Docker installation:
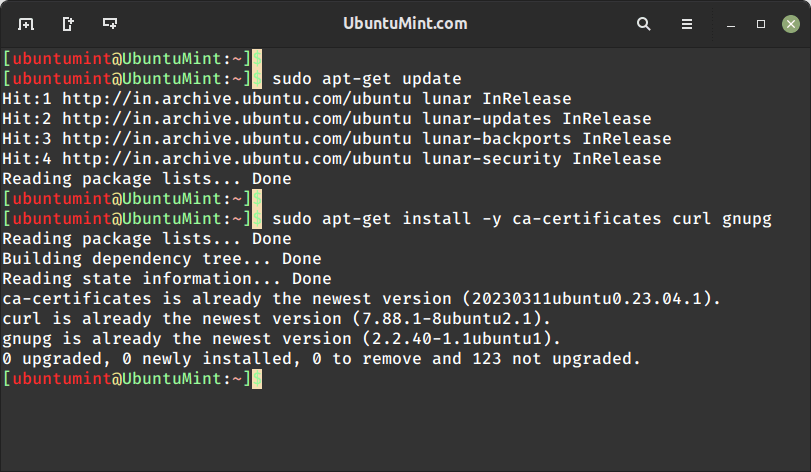
1. First, update the apt package cache and install the packages to allow apt to use a repository over HTTPS (if not already installed):
$ sudo apt-get update
$ sudo apt-get install -y ca-certificates curl gnupg
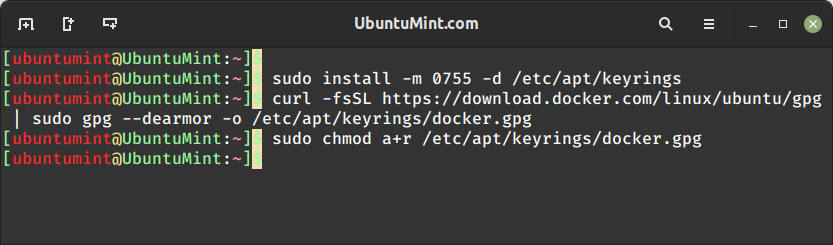
2. Next, download Docker’s official GPG key and install it locally on your system using curl and chmod commands:
$ sudo install -m 0755 -d /etc/apt/keyrings
$ curl -fsSL https://download.docker.com/linux/ubuntu/gpg | sudo gpg --dearmor -o /etc/apt/keyrings/docker.gpg
$ sudo chmod a+r /etc/apt/keyrings/docker.gpg
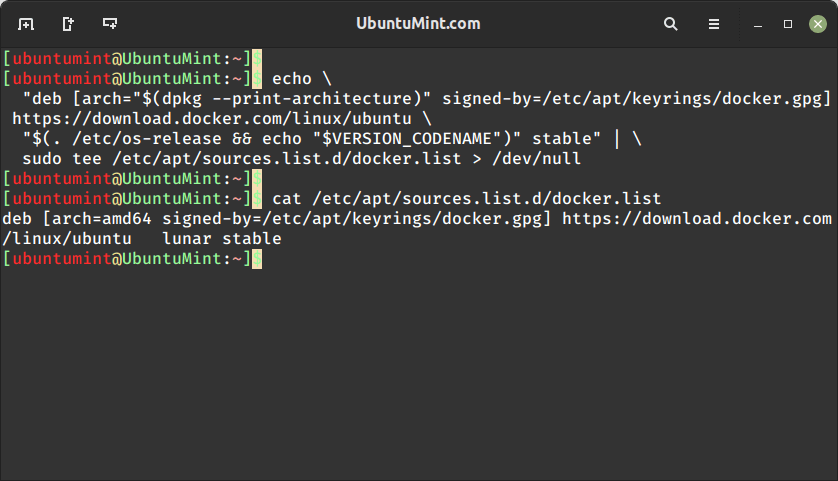
3. Add the Docker repository to the sources.list.d directory by creating a file named “docker.list“.
$ echo \
  "deb [arch="$(dpkg --print-architecture)" signed-by=/etc/apt/keyrings/docker.gpg] https://download.docker.com/linux/ubuntu \
  "$(. /etc/os-release && echo "$VERSION_CODENAME")" stable" | \
  sudo tee /etc/apt/sources.list.d/docker.list > /dev/null
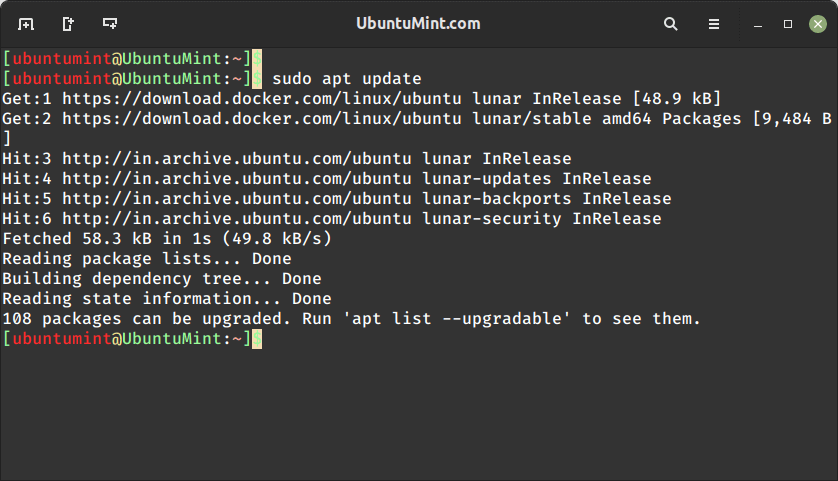
4. Once you’ve added the Docker repository to your system, you can update the APT package cache:
$ sudo apt-get update
You can see now that the Docker repository appears when you update the APT cache of your system (download.docker.com):
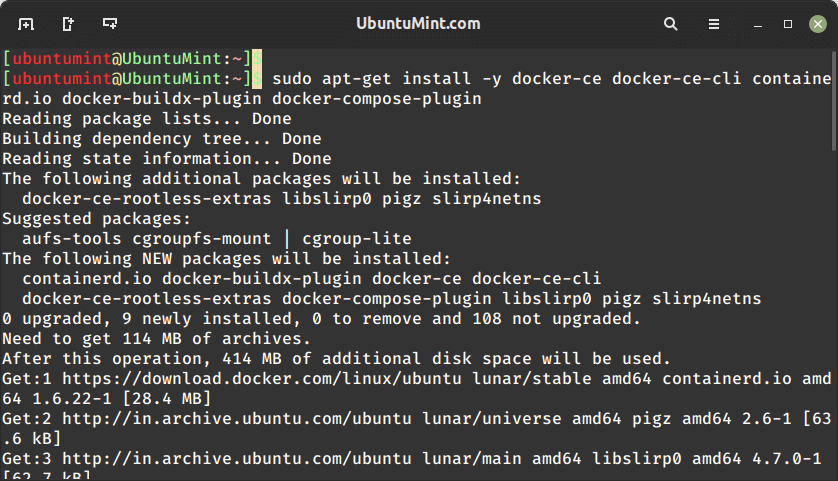
5. Now the Docker resources are accessible so you can install Docker Engine, contained, and its plugin Docker Compose:
$ sudo apt-get install -y docker-ce docker-ce-cli containerd.io docker-buildx-plugin docker-compose-plugin
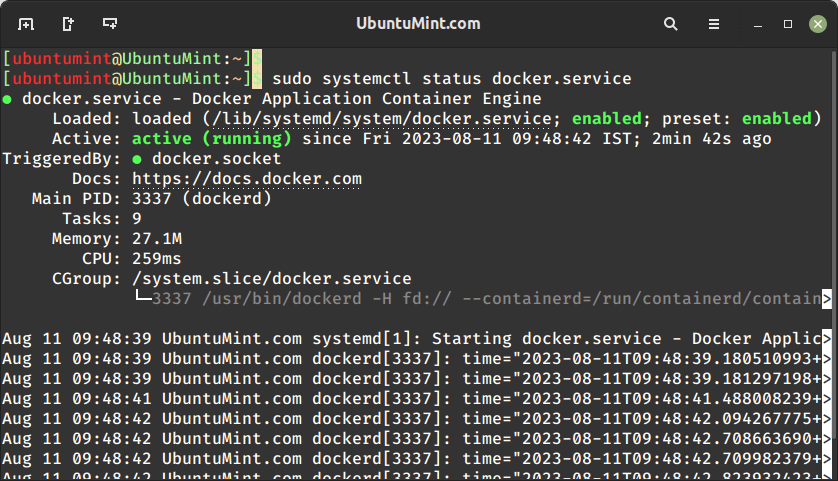
6. After completing the installation, the Docker service should be up and running.
$ sudo systemctl status docker.service
If it is not the case, you can start and enable it to ensure it is up and running whenever the system is rebooted:
$ sudo systemctl start docker.service
$ sudo systemctl enable docker.service
7. Now you are ready to start your first Docker image with the default hello-world image:
$ sudo docker run hello-world
This command runs Docker with the following steps:
- Docker search locally if the image exists in the cache.
- If the image doesn’t exist (our case), Docker downloads it (the equivalent of
docker pull <image>command: see pull command). - Once the image is in the local cache, Docker runs it.
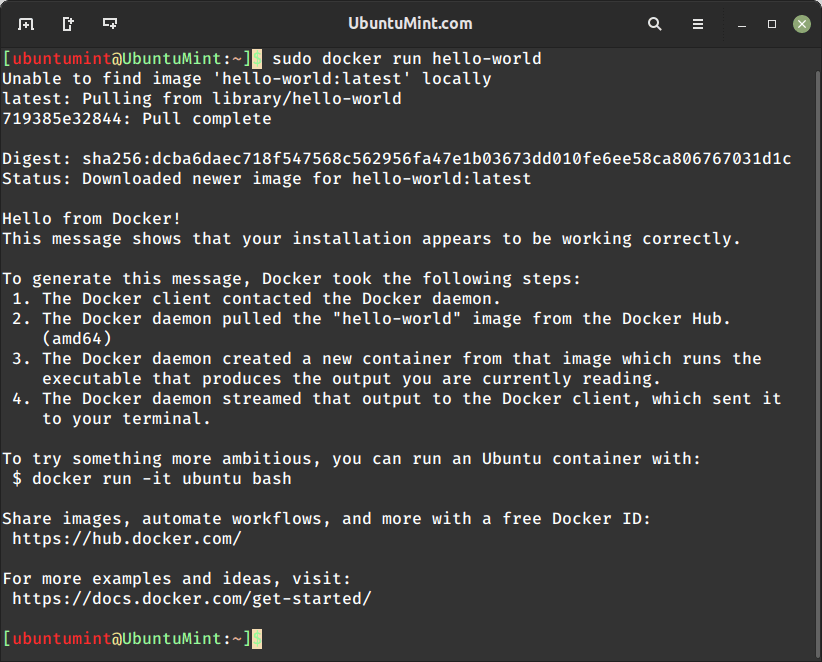
Congratulations, you ran your first Docker image!
Run Docker as Non-root User
8. If you want to run the docker command without sudo, you must add all the non-root users who are supposed to access docker in the docker group as follows.
$ sudo usermod -aG docker ubuntumint
$ newgrp docker
$ groups
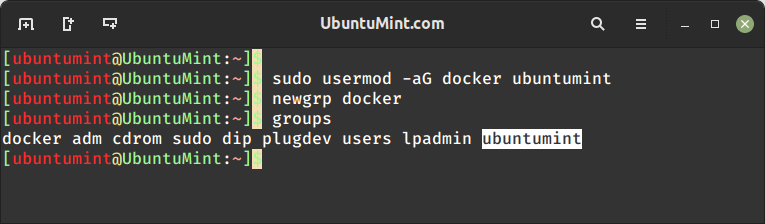
Replace the ubuntumint with the user’s account name who wants to access to Docker group.
Getting Started with Docker in Ubuntu
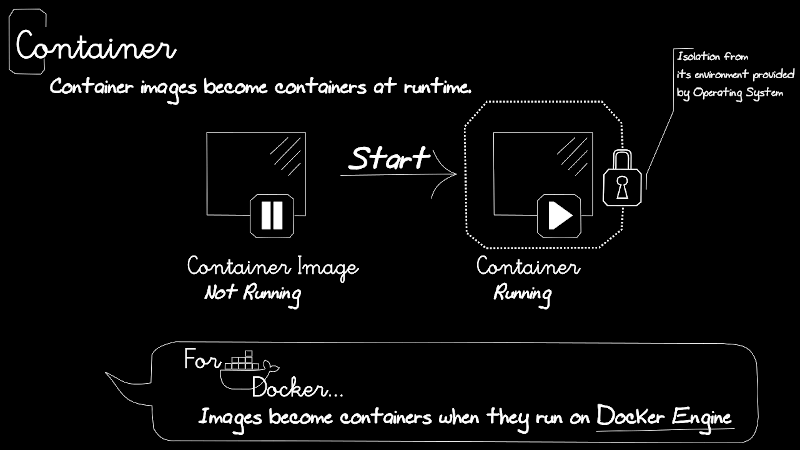
Before starting using Docker, you must understand that Docker Engine manages 2 categories of objects:
- Images – these files provide all the necessary resources to run a container. An image is made of layers and each layer represents an existing image, a volume, a command, etc.
- Containers: Containers represent the running context of an image.
By default, each time you run an image (command sudo docker run ... <image>...), each time you create a new container to run your image.
If you want to restart an image in a specific context with a specific container, you need to run the container based on its name (sudo docker container start <container>).
The following image describes those concepts:
Manage Docker Images
In Docker, managing images is crucial for efficient containerization.
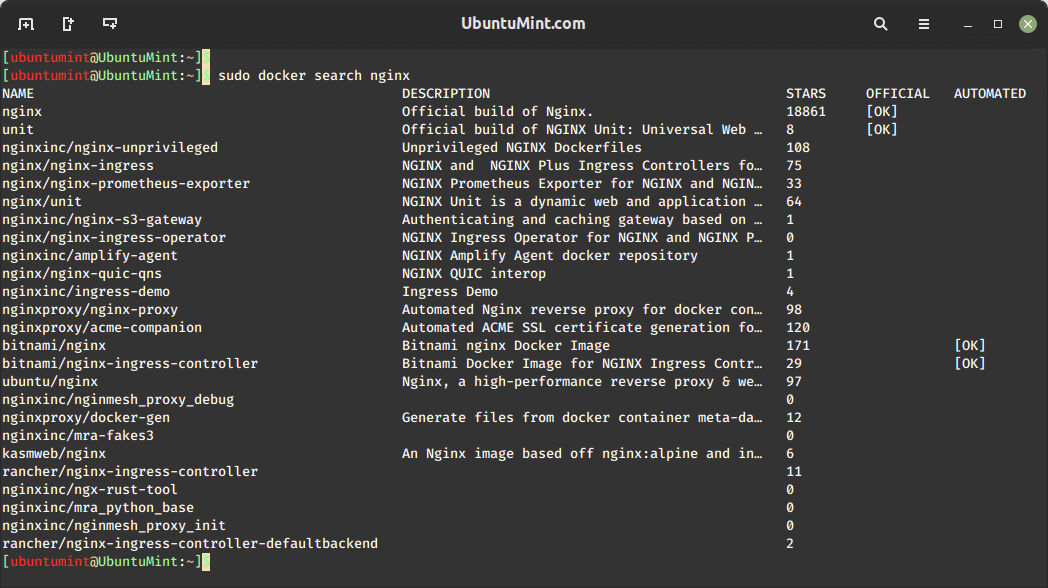
Search for a Docker Image
Before pulling or running an image, you can search images in the Docker Hub (public Registry):
$ sudo docker search <image>
Where <image> is the image name in the repository.
Run Docker Image
Running an image means that you download (pull) the image before running it if it is not previously downloaded in your local system.
$ sudo docker run <image>:<tag>
Here’s what each part of the command means:
- <image> is the image name in the repository.
- <tag> is optional but allows you to run a specific version of the image. An image can have multiple versions.
You can run an image without mentioning its tag and in this case, the latest tag value is applied by default.
$ sudo docker run -i -t debian:bookworm-slim
Here debian is the image name and bookworm-slim is the tag.

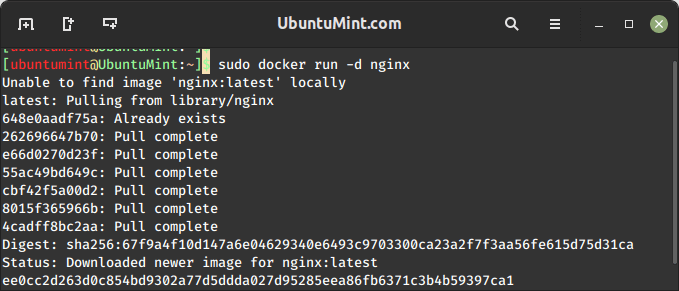
Run Docker Image in Detached Mode
By default, the run command executes the image in the main process of the terminal without releasing it to the user. If you add the -d parameter, you “detach” the container process and you run the image in the background.
$ sudo docker run -d nginx
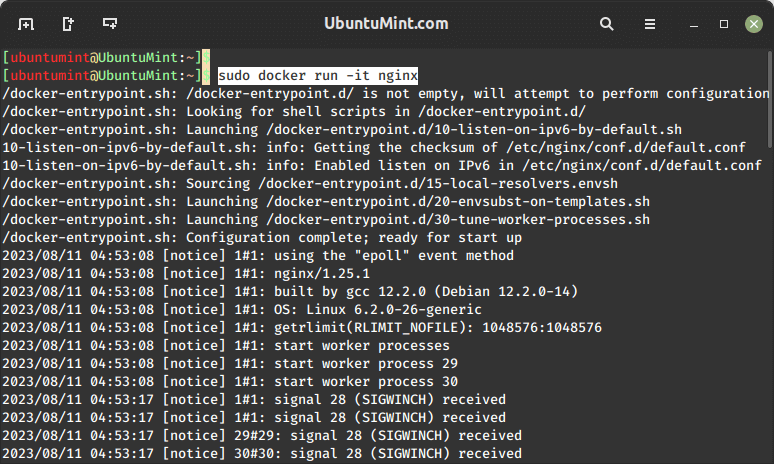
Run Docker Image in Interactive Mode
The -i and -t parameters allow you to interact with the content of the image. It should be an option to build your own image (use the commit command) before using Dockerfile files.
$ sudo docker run -i -t <image>
Here’s what each part of the command means:
-ior--interactive– Keep STDIN open even if not attached.-tor--tty– Allocate a pseudo-terminal.
You can combine the 2 parameters like this to shorten the command.
$ sudo docker run -it <image>
Practically speaking, if you want to interact with your running image, run it with -d, -i and -t parameters:
$ sudo docker run -d -it <image>
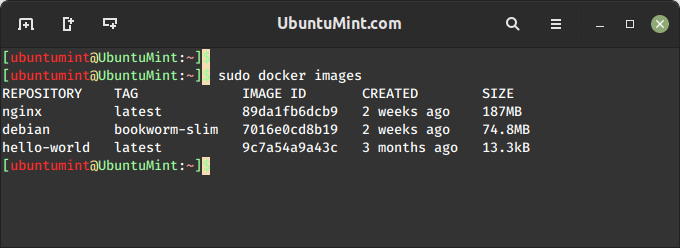
List Docker Images
Retrieves the list of images stored locally on your system:
$ sudo docker images
The command displays a table with columns:
- REPOSITORY – Image name in the repository.
- TAG – image version (number, name).
- IMAGE ID – unique identifier of the image.
- CREATED – Creation date of the image but on the local host, not in the repository.
- SIZE – Size of the image containing all the layers (so the real size on the disk is normally lower).
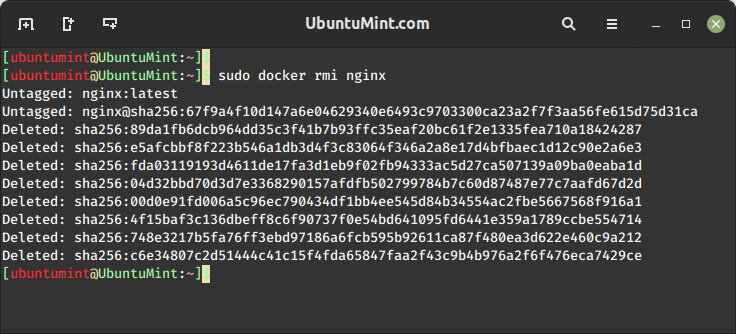
Delete Docker Image
To delete a Docker image, you can use the docker rmi command followed by the image’s ID or name.
$ sudo docker rmi <image>
Manage Docker Containers
In Docker, managing containers is crucial for efficient containerization.
List Running Docker Containers
To list all the Docker containers, you can use the following command, which will show you a list of running containers.
$ sudo docker ps
The command displays a table with columns:
- CONTAINER ID – Unique identifier of the container.
- IMAGE – Image name used to instantiate the container.
- COMMAND – Command line used in the Dockerfile to initiate the process.
- CREATED – Date of container’s creation.
- STATUS – Status of the container (running, exited) with its status code.
- PORTS – Network ports exposed by the container.
- NAMES – Name of the container.
If you also want to see stopped containers, you can use the -a option as shown.
$ sudo docker ps -a
Start a Docker Container
To start a Docker container, you need to use the following command with the container’s ID or name.
$ sudo docker start <container_id_or_name>
The --name option is used to create and start a new Docker container while specifying a custom name for the container.
$ sudo docker run --name=<new_name> <image>
Stop a Docker Container
To stop a Docker container, you can use the following command with the container’s ID or name.
$ sudo docker stop <container_id_or_name>
Install Docker Using Ubuntu Repository
If you want to use Docker Engine alone and quickly, you can install Docker directly from the official Ubuntu apt repository.
$ sudo apt update
$ sudo apt install -y docker.io
At the end of the installation, you can verify the version of docker by running:
$ sudo docker version
You must have the following output:
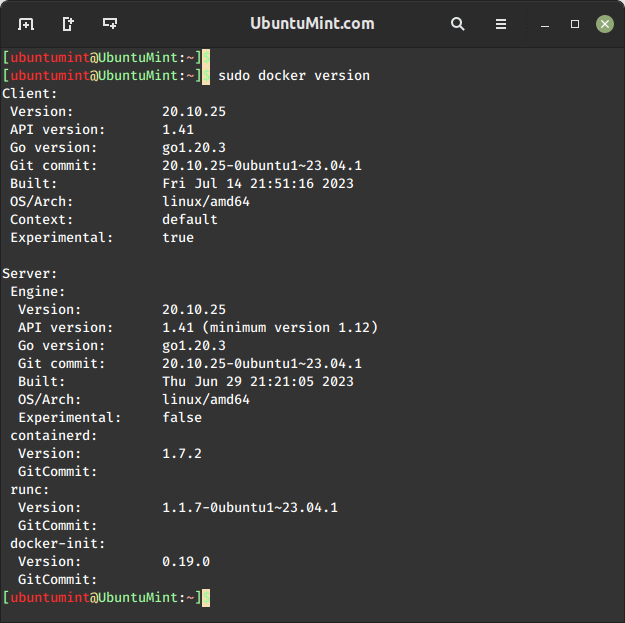
In this case, the Docker Engine version is 20.10.21: older than Docker’s official which is 24.0.2. The Docker Compose is not installed by default, you need to install it additionally and manually.
Summary
We hope you found this article useful to start with Docker on the next version of Ubuntu LTS. If you want to deep dive into this solution, you can find high-quality documentation on the docs.docker.com website.
Don’t hesitate to drop us a note if you have any questions or suggestions about this article.
An excellent introduction to Docker, thanks.
I await your further series with some examples of how to administer Docker images.
For instance, how to change any parameter in the Nginx/Apache config file inside an image, how to use Docker Compose, etc.
Hello Alexey,
Happy to see that you find this article interesting.
Yes in the next articles we will explore how to modify and build images, how to use Docker Scout, Docker Compose and probably Docker Swarm.
The idea is to have a progressive set practical articles around Docker.
I work on it 🙂
Thanks for your feedback!