Brief: This article guide takes us through the installation, configuration, and testing of MySQL database server software on an AlmaLinux 9 and AlmaLinux 8 distribution.
MySQL, the most popular open-source database management software solution, is developed, distributed, and supported by Oracle Corporation. However, if linked with Linux, Apache/Nginx, and PHP/Python/Pearl, it creates a complete LAMP or LEMP stack solution, which makes data query and management possible through its implementation of SQL (Structured Query Language) and relational models.
Step 1: Installing MySQL on AlmaLinux
An up-to-date Linux operating system distribution provides a better performance spectrum for installed software:
$ sudo dnf update
We will use AlmaLinux’s default repository to fetch and install the latest MySQL package (mysql-server) alongside needed MySQL dependencies.
$ sudo dnf install mysql-server
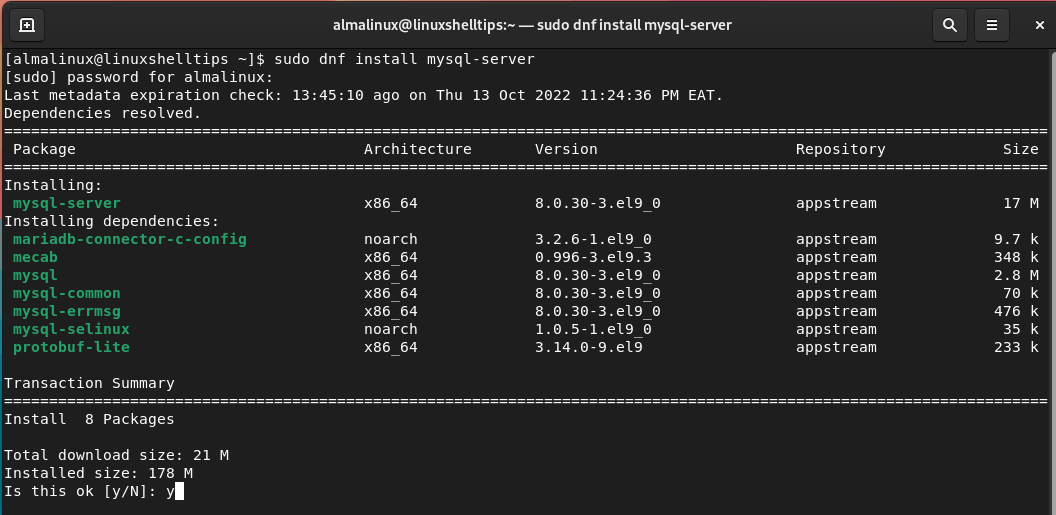
Once the installation command finishes its execution, we can proceed to confirm the installed MySQL version:
$ mysql --version

mysql Ver 8.0.30 for Linux on x86_64 (Source distribution)
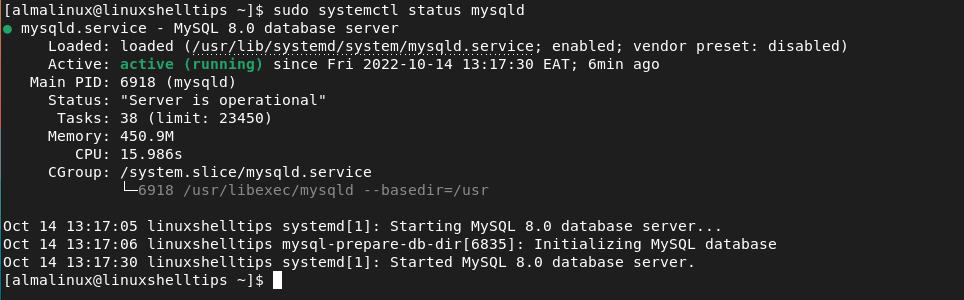
MySQL does not automatically start running after its installation, you need to start it, enable it to start at system startup, and verify the status by running the following commands.
$ sudo systemctl start mysqld
$ sudo systemctl enable mysqld
$ sudo systemctl status mysqld
If you later feel like disabling MySQL service so that it does not automatically run after system startup, execute:
$ sudo systemctl disable mysqld
Step 2: Securing MySQL on AlmaLinux
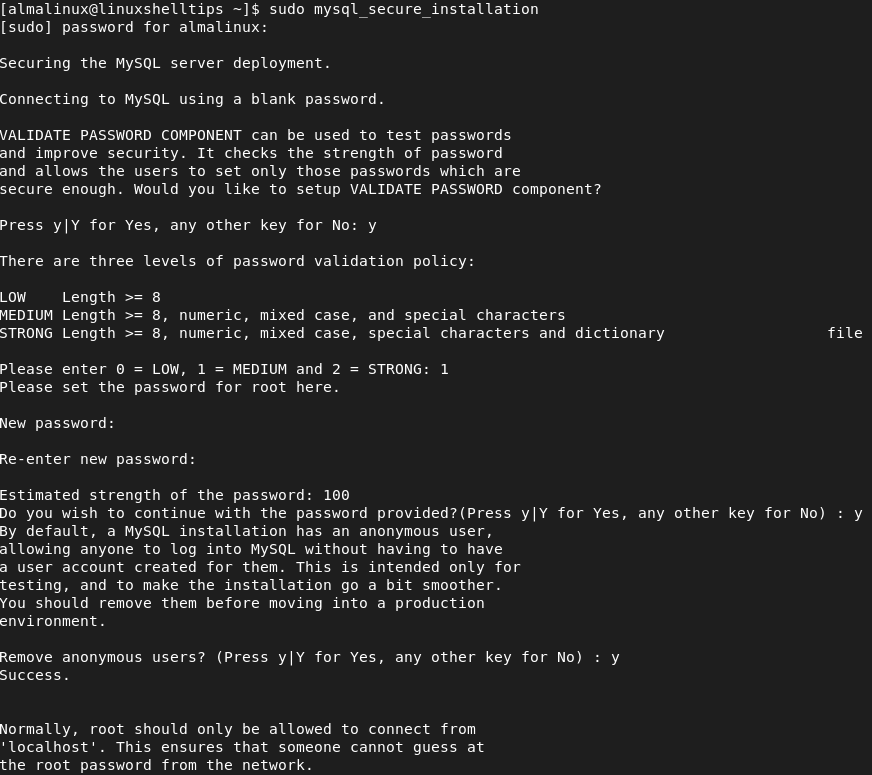
To improve MySQL security, change some of its default configuration options by executing the following MySQL security script.
$ sudo mysql_secure_installation
You will be taken through a series of interactive prompts that will enable you to choose whether to:
- validate your password
- remove anonymous users
- disallow root login remotely
- remove test database
- reload table privileges
Step 3: Testing MySQL in AlmaLinux
You can verify your MySQL installation and view some of its information using the mysqladmin command, a client tool for performing administrative operations as shown.
$ mysqladmin -u root -p version
If you would like to connect to MySQL and start creating data on it, run the following:
$ mysql -u root -p
From here, you should be able to create and load databases or execute queries related to your database projects.
[ You might also like: MySQL Database Commands Cheat Sheet for Linux ]
With MySQL software installed on AlmaLinux, you should be able to pursue your database-driven projects to their full potential comfortably.