Wondering, how to install Graylog on your Ubuntu 22.04 or Ubuntu 20.04? Look no more, stick to this comprehensive guide and your Graylog will be ready for log management and analysis.
Before diving into the installation process of Graylog, it’s necessary to understand Graylog.
What is Graylog?
Graylog is an open-source log management and analysis tool which aids in collecting, storing, and analyzing log data from multiple sources in a centralized location.
It has the ability to analyze structured as well as unstructured logs in a readable format. Additionally, it supports numerous data sources including application, system and network logs.
Install Prerequisites for Graylog on Ubuntu
To install the latest version (5.1) of Graylog on Ubuntu, you will require MongoDB (version 6.x or later), OpenSearch (version 2.x or later), and OpenJDK (version 17 or later).
The OpenJDK is included with Graylog, so you only need to install and configure MongoDB and OpenSearch before proceeding with the installation.

MongoDB serves as the database for storing log messages and metadata while OpenSearch is a free and powerful search engine that aids in searching, filtering, and analysis of log data.
Let’s make our system ready for the installation of Graylog by installing and configuring all the required dependencies.
Install MongoDB on Ubuntu
Firstly, let’s update the local repositories cache and upgrade the installed packages to ensure a smooth installation journey by executing apt command stated below:
$ sudo apt update && sudo apt upgrade -y
Now, run the following command to ensure that we have all the packages which will be required throughout this installation process of Graylog:
$ sudo apt install -y apt-transport-https uuid-runtime pwgen curl dirmngr gnupg
The next step is to install MongoDB in your Ubuntu. For that purpose, import the GPG key of MongoDB by running the provided wget command.
$ wget -qO - https://www.mongodb.org/static/pgp/server-6.0.asc | sudo apt-key add -
After adding the GPG key, its time to add MongoDB 6.0 repository configuration to the system’s sources list directory by using the following command:
$ echo "deb [ arch=amd64,arm64 ] https://repo.mongodb.org/apt/ubuntu jammy/mongodb-org/6.0 multiverse" | sudo tee /etc/apt/sources.list.d/mongodb-org-6.0.list
As we made changes in the repository, it is encouraged to update the repository. To do so, execute the “apt update” command:
$ sudo apt update
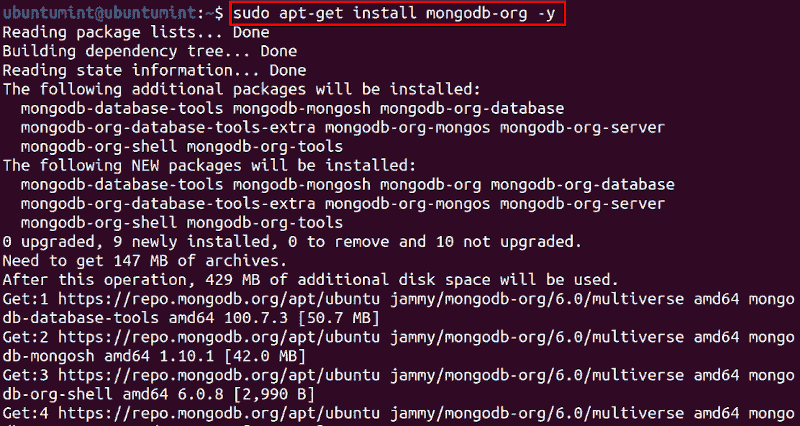
Finally, let’s execute the given command to install MongoDB in your Ubuntu:
$ sudo apt-get install mongodb-org -y
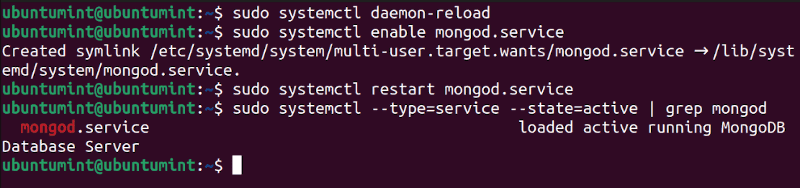
Now that MongoDB is installed, let’s reload the systemd daemon configuration. Then, enable MongoDB services to start automatically after reboot.
$ sudo systemctl daemon-reload
$ sudo systemctl enable mongod.service
Afterward, we will execute these commands to restart the MongoDB services and check the status of actively running MongoDB services:
$ sudo systemctl restart mongod.service
$ sudo systemctl --type=service --state=active | grep mongod
Moving on let’s see the process of installing and configuring OpenSearch.
Install OpenSearch on Ubuntu
To install OpenSearch, let’s first add its GPG key to the system by executing the following curl command:
$ curl -o- https://artifacts.opensearch.org/publickeys/opensearch.pgp | sudo apt-key add -
After doing so, the next step is to add OpenSearch 2.0 repository configuration to the system by utilizing the given command:
$ echo "deb https://artifacts.opensearch.org/releases/bundle/opensearch/2.x/apt stable main" | sudo tee -a /etc/apt/sources.list.d/opensearch-2.x.list
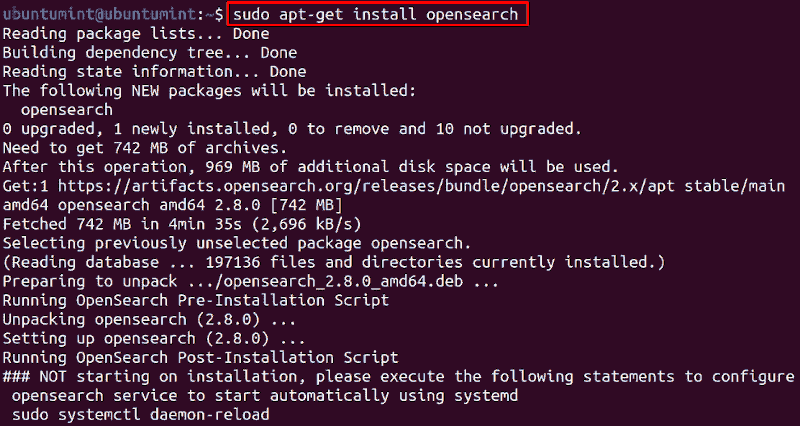
The next step is to update the package repository and stable version of OpenSearch as shown.
$ sudo apt update
$ sudo apt-get install opensearch
After installing OpenSearch successfully, let’s configure it for Graylog. For that purpose, open the configuration file “opensearch.yml” with the help of the nano editor:
$ sudo nano /etc/opensearch/opensearch.yml
Once the file is open, update the fields as shown below to achieve a single minimum insecure running state node:
cluster.name: ubunutmint-graylog
node.name: ${HOSTNAME}
discovery.type: single-node
network.host: 0.0.0.0
action.auto_create_index: false
plugins.security.disabled: true
After modifying the configuration file of OpenSearch, save it and press the “CTRL + O” keys to exit the file.
Configure JVM on Ubuntu
Now, let’s configure the JVM (Java Virtual Machine) memory for OpenSearch. For this purpose, open the “jvm.options” file by running the given command:
$ sudo nano /etc/opensearch/jvm.options
Finally, inside the file update the “Xms” and “Xmx” settings according to desired memory allocation from the installed system memory. Here, both settings are configured with 1 gigabyte of memory.
-Xms1g
-Xmx1g
Let’s understand the above-given lines:
- The
“-Xms1g”sets the initial heap size for the JVM as 1 gigabyte. - The
“-Xmx1g”declares the maximum heap size for the JVM as 1 gigabyte.
Moving on, it’s time to configure kernel runtime parameters by executing the provided commands to ensure the optimal operation of OpenSearch:
$ sudo sysctl -w vm.max_map_count=262144
$ sudo /bin/su -c "echo 'vm.max_map_count=262144' >> /etc/sysctl.conf"
As we did some configuration so it is required to reload the systemd daemon configuration by using the command stated below:
$ sudo systemctl daemon-reload
After reloading the systemd daemon configurations, execute these commands to start the OpenSearch service and enable it, ensuring that service starts automatically after a reboot:
$ sudo systemctl enable opensearch.service
$ sudo systemctl start opensearch.service
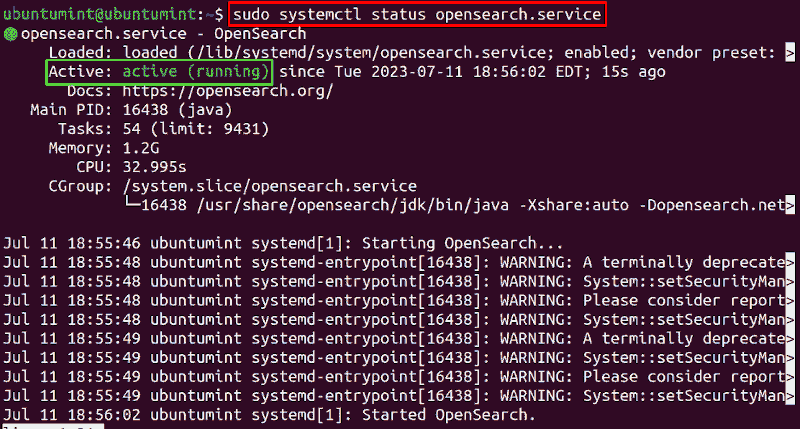
We can verify if our OpenSearch service is in an active state or not by running the “systemctl status” command:
$ sudo systemctl status opensearch.service
Congrats, you installed and configured all the required prerequisites for installing your Graylog. Let’s now quickly set up the Graylog and access it.
Install Graylog on Ubuntu
To install the Graylog, navigate to the directory where you want to download its repository package file named “graylog-5.1-repository_latest.deb” by executing these commands:
$ cd Downloads
$ wget https://packages.graylog2.org/repo/packages/graylog-5.1-repository_latest.deb
Now, use the dpkg package manager to install the Graylog repository package file:
$ sudo dpkg -i graylog-5.1-repository_latest.deb
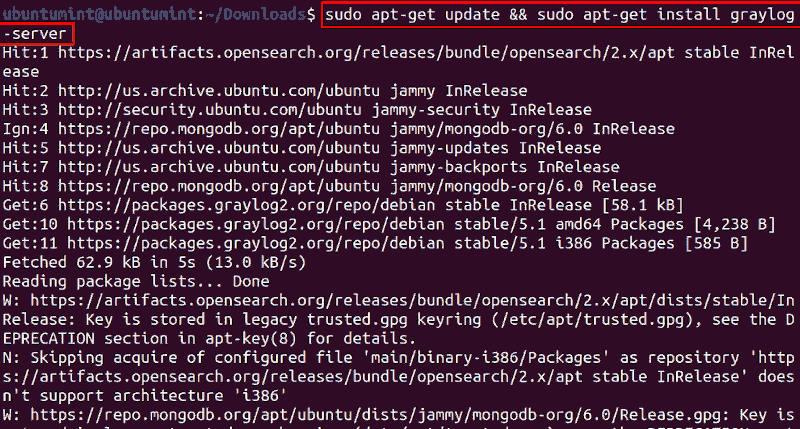
Finally, execute the following command to update the local repository and install the Graylog server:
$ sudo apt-get update
$ sudo apt-get install graylog-server
Graylog 5.1 is installed in your Ubuntu. Now, let’s configure Graylog.
Configure Graylog on Ubuntu
For the configuration of Graylog, you will require a 96-character random string and a 64-character hash of the server’s password.
To generate a 96-character random string, use the “pwgen” utility that creates a 96-character random string having special characters in it.
$ pwgen -N 1 -s 96
Create a strong password (such as “UbuntuMintPass”) for your Graylog server and generate its 64-character hash by using the command stated below:
$ echo -n UbuntuMintPass | sha256sum
Copy the generated hash and random string.

Now, open the configuration file of the Graylog server.
$ sudo nano /etc/graylog/server/server.conf
Inside the file, paste the random string for the “password_secret” field and hash for the “root_password_sha2” field:
password_secret = <96_characters_random_string>
root_password_sha2 = <64_characters_hash_of_admin_password>
Also, place your Ubuntu’s IP address in value of “http_bind_address” field as displayed below:
http_bind_address = server_ip_address:9000
Note: If you are unaware of your Ubuntu’s IP address, execute “ip a” command.
After doing so, save and exit the Graylog configuration file.
The next step is to reload the systemd daemon configuration by executing this command:
$ sudo systemctl daemon-reload
After that enable and start the services of the Graylog server by utilizing the command provided below:
$ sudo systemctl enable graylog-server.service
$ sudo systemctl start graylog-server.service
You can also verify that either the service is running by executing the “systemctl status” command:
$ sudo systemctl status graylog-server
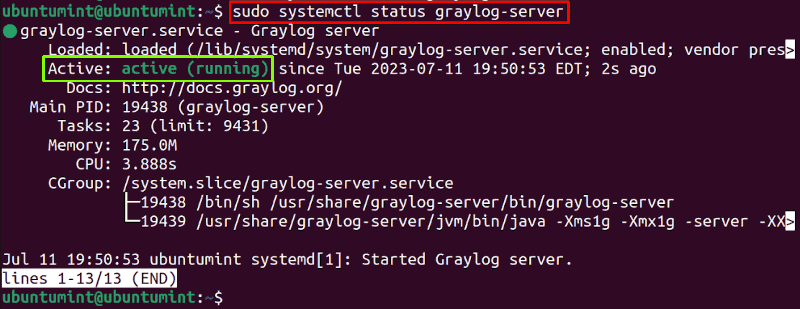
Your Graylog server service is active and running which means you can access the Graylog server by utilizing a web browser.
Access Graylog Web on Ubuntu
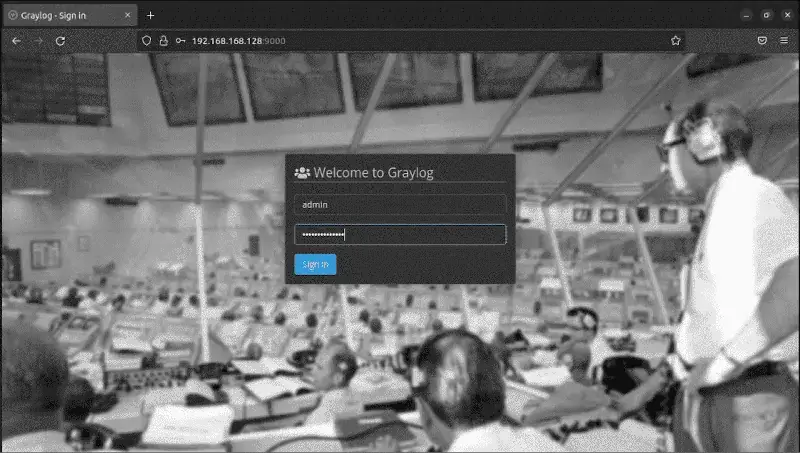
To access Graylog, open any web browser of your choice and search URL format “http://<ip_address_of_graylog_server>:9000” in the address bar.
For example, if the IP address of your Graylog server is “192.168.168.128“, enter “http://192.168.168.128:9000” in the browser’s address bar to access Graylog.
A Graylog sign-in webpage will display, enter the server’s password and username as “admin”, then, click on the “Sign in” button:
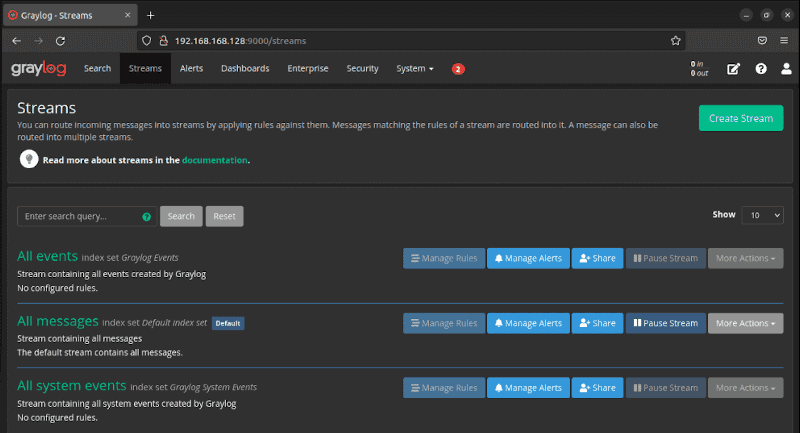
The Graylog dashboard will load in some time:
Conclusion
Graylog is an open-source log monitoring and analyzing tool which aids in collecting, storing, and monitoring logs gathered from multiple sources.
This guide demonstrated the procedure for installing Graylog server along with all required prerequisites configuration.
In the Graylog config, the elastic search/opensearch needs to be set as: