Now that you landed on this guide, I assume that you want to install the Pure-FTPd server on Ubuntu 22.04 or Ubuntu 20.04. In this case, you are at the right place!
This blog offers a comprehensive step-by-step guide for installing and configuring the Pure-FTPd server on your Ubuntu. Additionally, it includes a method for accessing this server from a Windows machine.
Before directly heading towards the installation process, how about knowing a little bit about the Pure-FTPd?
What is Pure-FTPd?
Firstly, you must get familiar with the term “FTP” for a better understanding of Pure-FTPd.
FTP (stands for “File Transfer Protocol”) is a standard network protocol that aids in transferring the file from one machine (Server) to another (Client) over a network.
By utilizing the FTP, a client machine can perform numerous tasks related to file management including copying, pasting, renaming, downloading, uploading, and moving files. There are multiple FTP server and client software options available for use, such as FileZilla, CuteFTP, LFTP, and ProFTPD.
Pure-FTPd is a fast open-source FTP server with high security and efficiency, which supports most Unix-like operating systems including Linux, BSD, DragonflyBSD, Solaris, OpenBSD and macOS.
Moreover, Pure-FTPd is available in many languages, which makes it convenient for people having different native languages than English.
Install Pure-FTPd on Ubuntu
Open the terminal in your Ubuntu and run the apt command, which will refresh the cache of the package repository and upgrade the installed packages:
$ sudo apt update && sudo apt upgrade -y
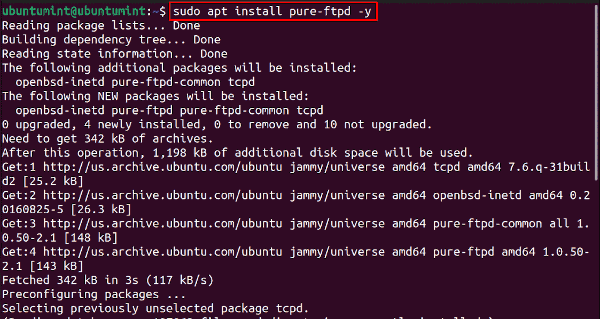
After updating and upgrading the system, you can simply install the Pure-FTPd server by utilizing Ubuntu’s official repository.
$ sudo apt install pure-ftpd -y
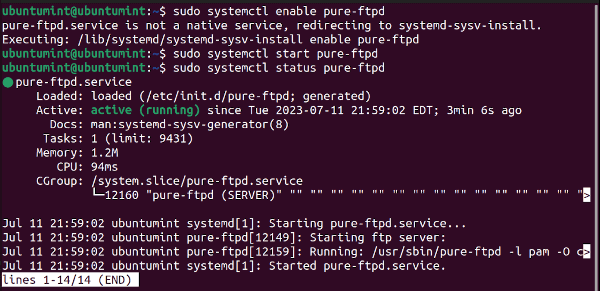
Now that the server is installed, let’s execute the “systemctl enable” command to automatically start the Pure-FTPd service after every reboot:
$ sudo systemctl enable pure-ftpd
The next step is to start the service of Pure-FTPd service by running the command provided below:
$ sudo systemctl start pure-ftpd
You can even check the status of the Pure-FTPd service by utilizing the “systemctl status” command:
$ sudo systemctl status pure-ftpd
It is visible that our Pure-FTPd server service is in a running and active state:
You can now configure this Pure-FTPd server.
Configure Pure-FTPd on Ubuntu
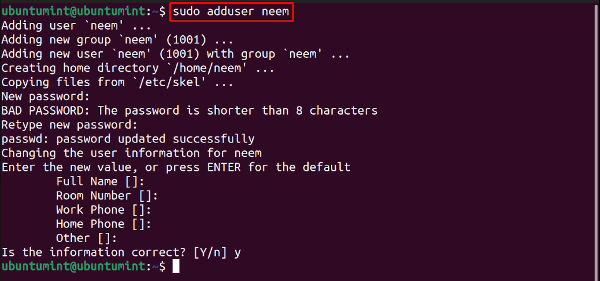
To configure the Pure-FTPd server, we first need to create an FTP user named “neem” by executing the command stated below:
$ sudo adduser neem
Note: Replace the user name according to your preference.
The terminal will prompt for different values about the user, enter the required values, then, type “y/Y” for information confirmation to create the user.
Create SSL Certificate for Pure-FTPd
After creating a user, it’s necessary to generate a self-signed certificate for this server to ensure security.
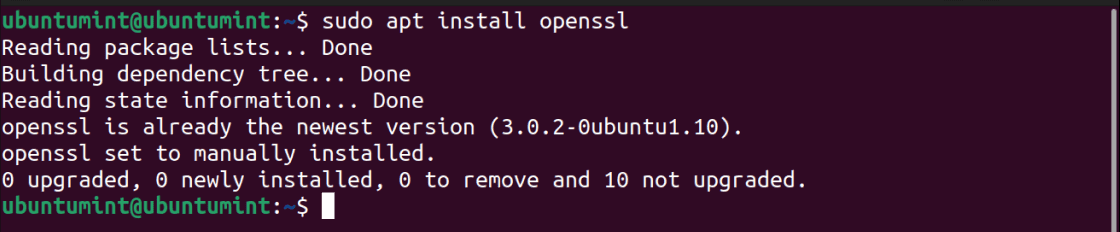
However, you will need OpenSSL to create SSL certificate. Run the command mentioned below to install OpenSSL in your Ubuntu:
$ sudo apt install openssl
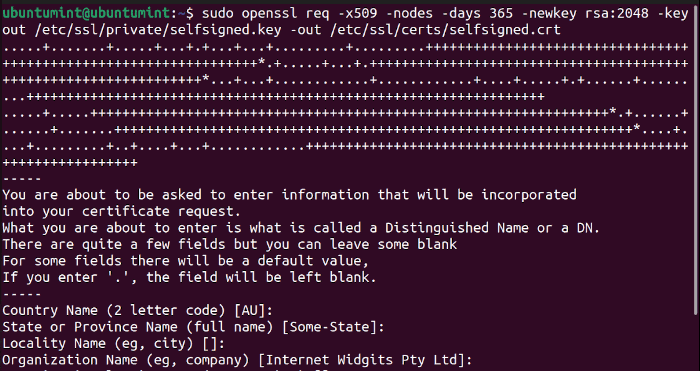
As the OpenSSL is installed successfully, we can execute the command to generate a self-signed certificate and a private key. The private key “selfsigned.key” and the certificate “selfsigned.crt” will store in the “/etc/ssl/private/” directory:
$ sudo openssl req -x509 -nodes -days 365 -newkey rsa:2048 -keyout /etc/ssl/private/selfsigned.key -out /etc/ssl/certs/selfsigned.crt
Let’s understand the above command a little bit more in detail:
- The “req -x509” indicated that this is a self-signed certificate.
- The “-nodes” refers that the private key should not be encrypted by utilizing a passphrase.
- The “-days 365” specifies that this certificate will be valid for a year (365 days).
The terminal will ask for further details, you can provide these details or type “.” to leave them blank. After doing this, your self-signed certificate will generate successfully.
Note: The self signed certificates are not recommended for production environments. You should get a trusted certificate signed by a recognized certificate authority for your production environment.
It’s time to open the configuration file of the Pure-FTPd server to use the certificate we just created. In this blog, we are using the nano editor to open this file, however, you can use any of your choice:
$ sudo nano /etc/pure-ftpd/pure-ftpd.conf
Inside your file, copy and paste the code mentioned below:
TLS=2
CertFile /etc/ssl/certs/selfsigned.crt
KeyFile /etc/ssl/private/selfsigned.key
After pasting the code, save the file and press the “CTRL + O” keys to exit the file.
As we made changes in the configuration file, it is required to restart the services of the Pure-FTPd server.
$ sudo systemctl restart pure-ftpd
Congrats! The Pure-FTPd server is ready for use. Let’s jump to our Windows machine, to see how we can access the server we just configured.
Access Pure-FTPd Server from Windows Using FTP Client
In Windows, open your web browser to download Filezilla, which is a popular open-source FTP software which can act as the server and client both.
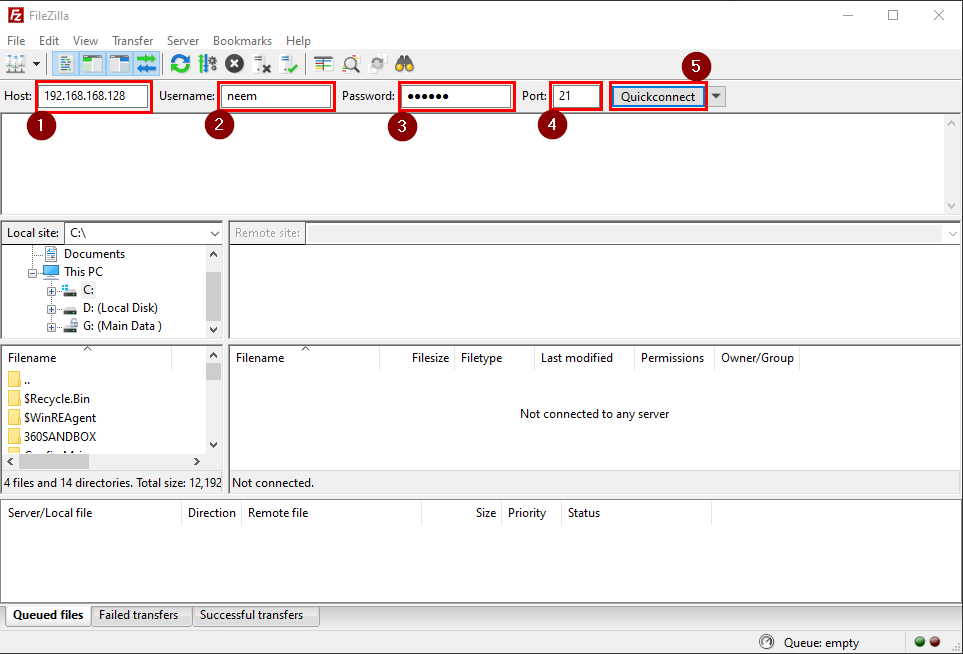
Once it is installed, open it by double-clicking on its icon. Now, for “Host” provide the “IP address” of the Pure-FTPd server. Enter the “username” of the user created earlier along with its password. Additionally, type “21” in the “Port” field and click on the “Quickconnect” button:
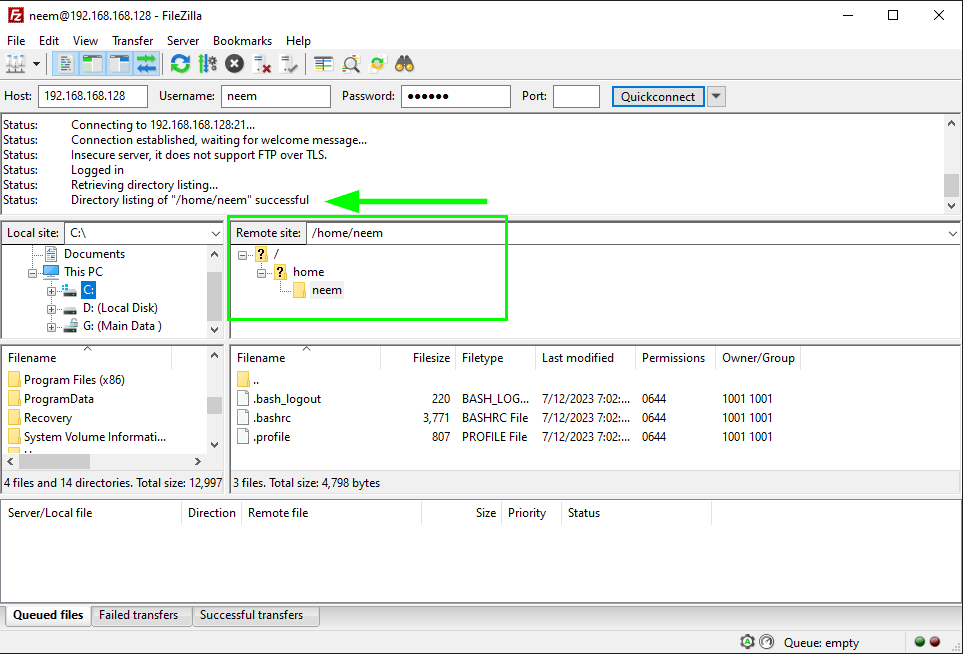
The Pure-FTPd server will connect successfully! You will be able to access its directory and files:
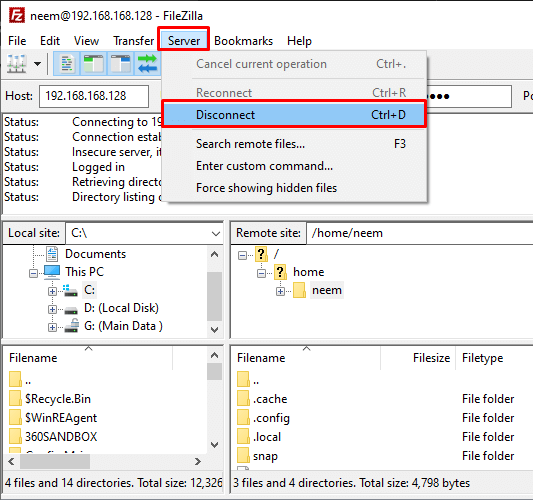
Now you can perform your desired tasks, such as uploading or downloading files from the server. After using the server, you can disconnect the server by opening the drop-down list of “Server” and clicking on the “Disconnect” option or simply by pressing the “CTRL + D” keys.
Conclusion
Pure-FTPd is a fast, secure, open-source and efficient FTP server that can be installed on multiple operating systems including Ubuntu. This server aids the user in accessing, managing and sharing files available on the server from the client machine.
In this guide, you learnt how to install and configure the Pure-FTPd server along with the process of accessing from Windows by using Filezilla (FTP client).
I hope that you enjoyed creating and accessing your Pure-FTPd server in such an efficient way.
Hi!
How do you change the user’s default directory? Where is the user’s information stored? Thanks!
@Linda,
You can change the user’s default directory by modifying the home directory path in the `/etc/passwd` file and user information is stored in this file as well.