Have you ever wished you could carry your favorite hacking toolkit with you wherever you go or travel? Well, with Kali Linux installed on a portable USB drive, that dream becomes a reality!
Whether you’re a cybersecurity professional or an ethical hacker, having Kali Linux on a USB drive enables you to conduct security assessments and penetration tests on any compatible computer. You don’t need to concern yourself with leaving your tools behind or configuring a new system every time you need to run tests.
But you might be wondering whether having Kali Linux on a USB could result in losing your important data or any modifications you make.
Fear not, because there’s a handy option known as “Live system with USB persistence” that guarantees you won’t lose a thing. This remarkable feature enables you to take Kali Linux along, complete with all your personalizations and crucial data, without worrying about data loss or system alterations.
Before we dive into the installation process, it’s important to take a look at the prerequisites needed to proceed with this guide:
- A fast 3.0 USB drive with a capacity of 16 GB or larger.
- Stable and fast internet connection.
Furthermore, we will need a Kali Linux Live image and Rufus, a popular open-source tool to create a bootable USB.
Now, let’s embark on an exciting journey of installing Kali Linux on a portable USB with persistence!
Install Kali Linux on a USB Drive with Persistence
Let’s begin the process by obtaining the stable version of Kali Linux Live Image by selecting from the different image options available for installation.
Next, go to the Rufus download page and grab the “portable” version of Rufus, which will automatically begin the download process.
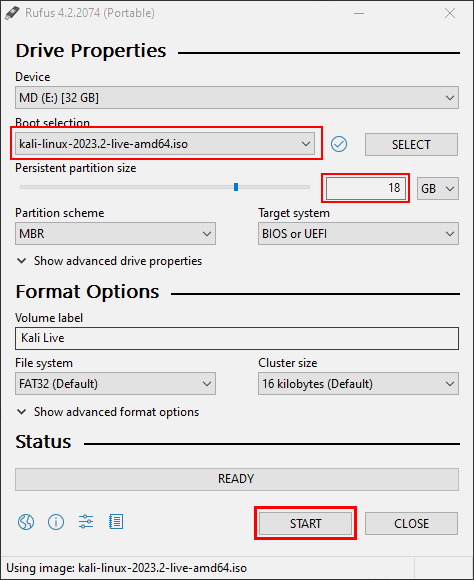
Once Rufus is downloaded, connect your USB to the system and then open Rufus. From the drop-down list labeled ‘Device‘, select your connected USB.
Additionally, click the ‘Select‘ button, and browse your system to locate and open the downloaded Kali Linux Live Image. Subsequently, define the ‘Persistent partition size‘, making sure to leave approximately 8 GB of spare space on the USB.
Finally, click the ‘Start‘ button to initiate the process.
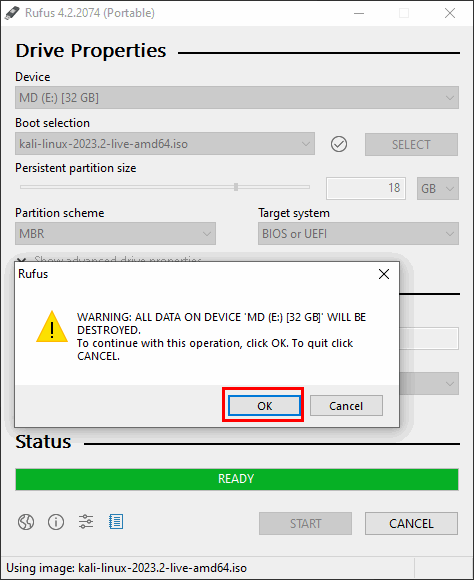
You will receive a prompt stating that all data on the USB will be deleted or destroyed. Don’t worry, just click the “OK” button. However, if you have any important data, ensure that you transfer it to another location before proceeding.
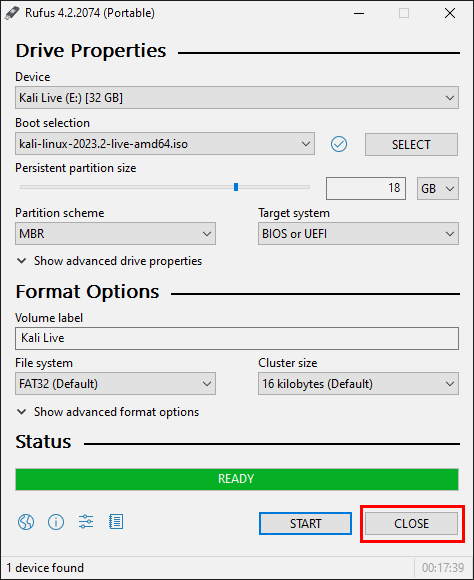
This process will take some time to prepare your USB. Once it’s ready, click the close button.
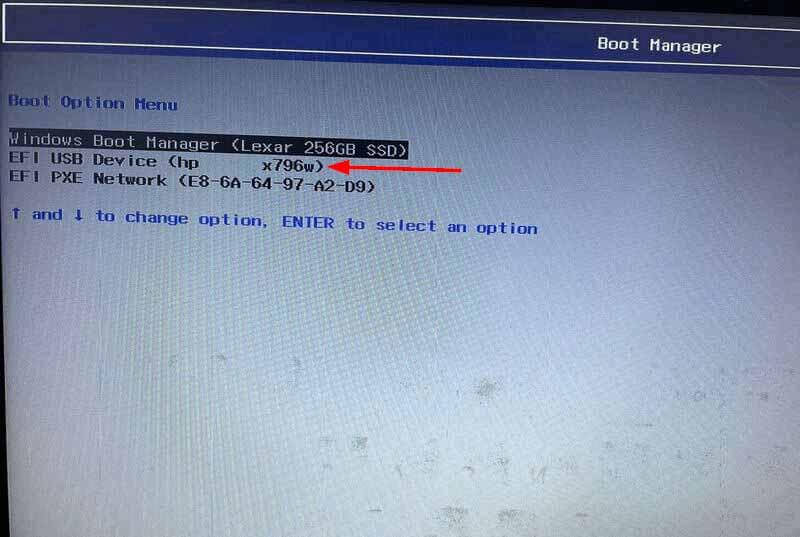
Now connect your USB to the system where you intend to use Kali Linux and power it on. Then, press the designated BIOS key (usually F2, F12, Delete, or Esc) to access the BIOS settings and choose the USB drive for booting.
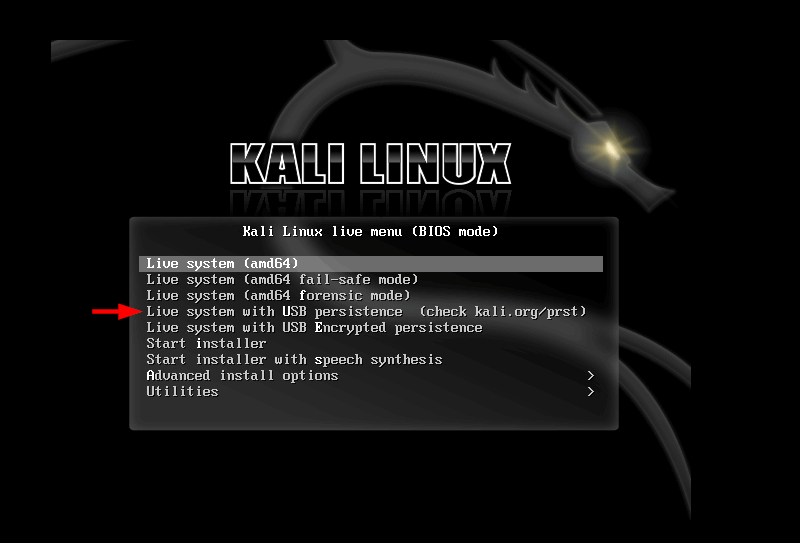
When the Kali Linux live menu appears, choose the option ‘Live system with USB persistence‘.
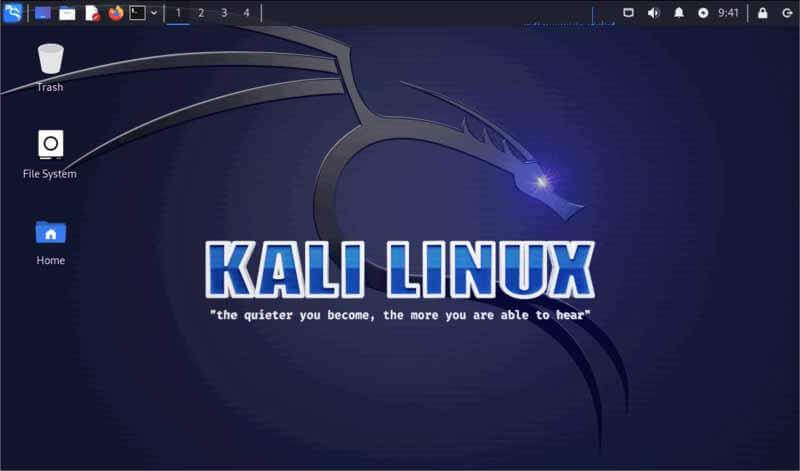
Kali Linux will boot into a live environment with persistence. You can now explore and use Kali Linux just like you would on a regular installation.
Remember that changes you make during your session will be saved to the USB drive’s persistence partition, which includes installed packages, configurations, and data. When you boot into Kali Linux next time, your changes will still be there.
Instead of using “Kali Linux Live Image” you can also obtain the Kali Linux Installer ISO file from Kali Linux’s official website and create a bootable USB drive using the Rufus utility as mentioned in the above method.
Once your USB is prepared, plug it into your system and proceed to boot the system from the USB drive. After successfully booting your system from the USB, you can follow our super easy article to boot your Kali Linux on your USB.
However, while selecting the options for disk partition, be sure to choose your USB instead of your hard drive/SSD. By doing this, you will ensure that Kali Linux runs from the portable USB rather than the internal storage.
That concludes our journey, for now, Linux enthusiasts! Enjoy the freedom of using Kali Linux on any system without the need to install it each time!
Conclusion
Having Kali Linux on a portable USB drive is an incredibly useful solution for cybersecurity professionals and hackers. It equips them with powerful tools on any system, enhancing their versatility and convenience.
Remember that running Kali Linux from a USB drive may be slower compared to an installed system, but it provides the benefits of portability and enhanced security.