Hey! Do you want to install your dream Operating System, Kali Linux, which contains all the tools for becoming an Ethical Hacker or Cyber Security expert? If yes, don’t worry, you have landed at the right place because here we will discuss the process of installing Kali Linux.
Before we start the installation journey, let’s take a moment to discuss Kali Linux, an OS that never fails to ignite excitement among curious beginners and seasoned pros alike!
What is Kali Linux
Kali Linux is a popular and free OS that was developed by Offensive Security, which contains all the tools which are required in the process of security auditing and penetration testing, such as Metasploit, Burp Suite, and Nmap.
Now that we have introduced Kali Linux, let’s head over to its official website and download the Kali Linux ISO image.
Once you’ve got that, the next decision is how to proceed with the installation: either directly on your system’s hardware or as a virtual machine using virtualization.
If you choose to install it on hardware, you can use tools, such as Etcher or Rufus to create a bootable USB, which will allow you to boot the Kali Linux from a USB drive.
On the other hand, if you prefer to create a virtual machine, you can simply use tools including VirtualBox, VMware, or QEMU.
The choice is entirely yours! Whichever method you choose, just remember to boot your installation media, and you’ll be all set to start the Kali Linux installation process.
Installation of Kali Linux
Now that you’ve successfully created the bootable USB media, you need to restart the computer and during the boot process, press the key (usually F2, F12, or Delete) to access the BIOS/UEFI settings or the boot menu.
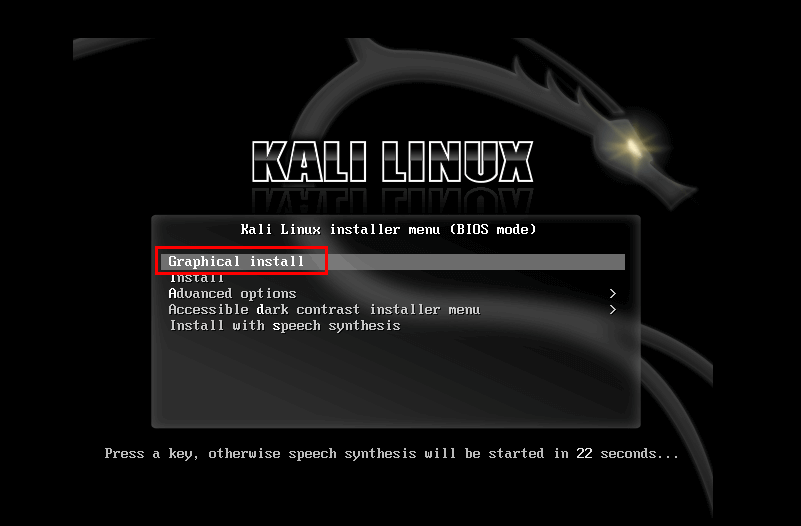
In the BIOS/UEFI settings or the boot menu, select the USB drive as the primary boot device, and restart the computer, which will now boot from the USB drive, and you will see the Kali Linux installation menu..
To proceed further, choose the “Graphical install” option and hit the “Enter” key to start the user-friendly graphical installation process.
After this, the installation process will prompt you to choose the language for the installation. Here, we selected “English“; however, you can choose according to your preference. Then, press the “Continue” button.

Next, select your location to set the timezone, and then click on “Continue”.

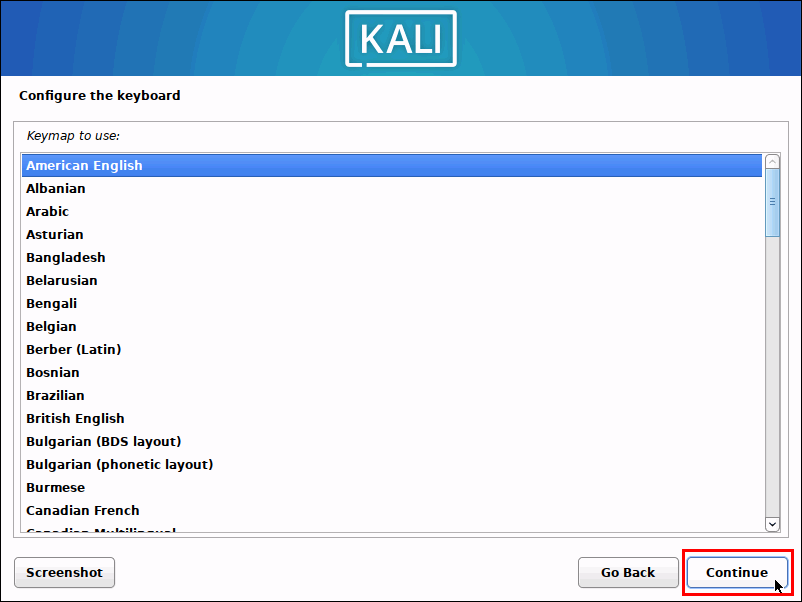
Afterward, it’s time to set your system’s keyboard layout for configuring the keyboard. In our case, we selected “American English” to proceed further.
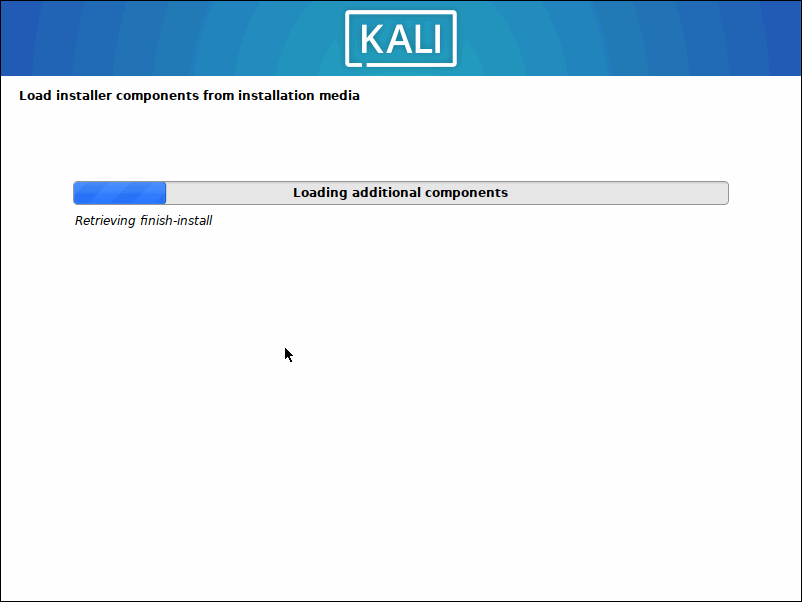
The installer will take some time to load the components of your Kali Linux.
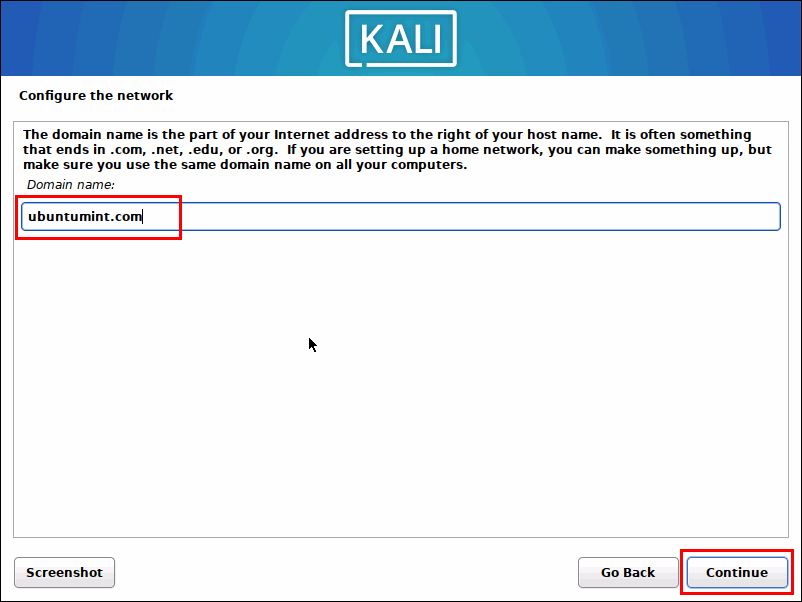
The next step is to configure the network settings, such as providing the hostname and domain name. In our case, the hostname is “ubuntumint”, a name that identifies your system over a network.
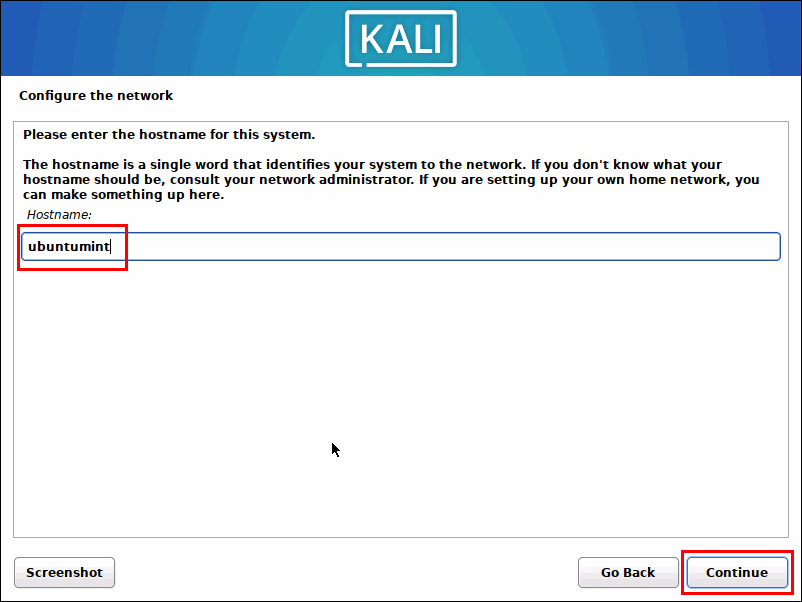
After providing the hostname, the installer will prompt for a domain name, which is entirely optional, either provide the domain name or leave it blank and press the “Continue” button.
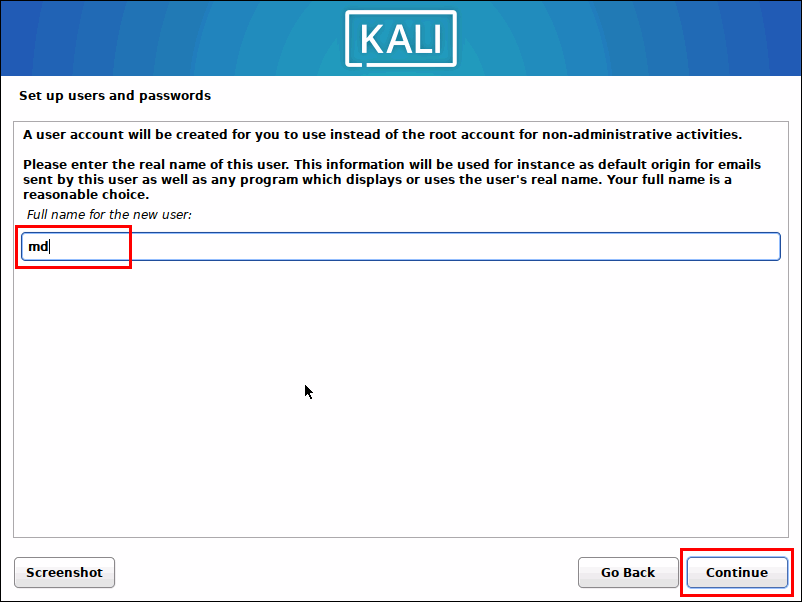
Next, you must create a new Kali Linux user. To do so, provide the user’s full name and press the “Continue” button.
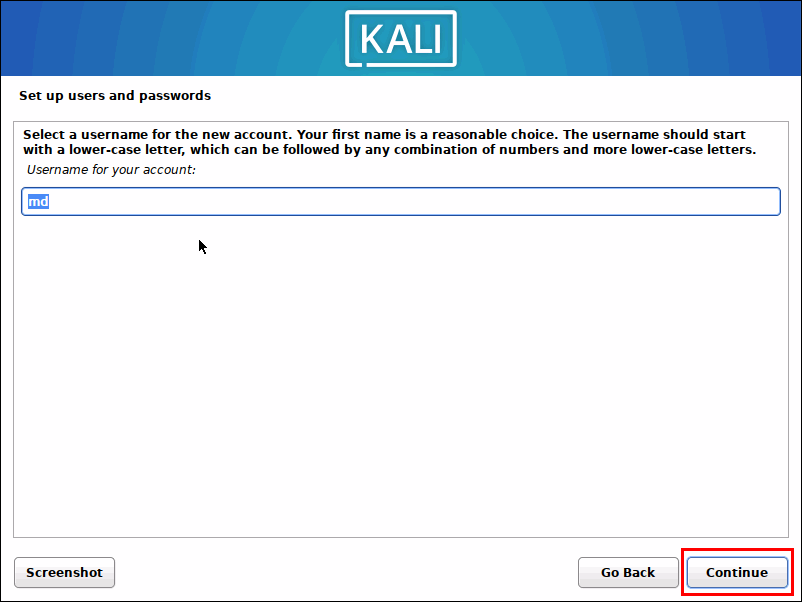
After that enter your Kali Linux user’s name and proceed further.
Then, set a strong password for your Kali Linux user and press the “Continue” button.

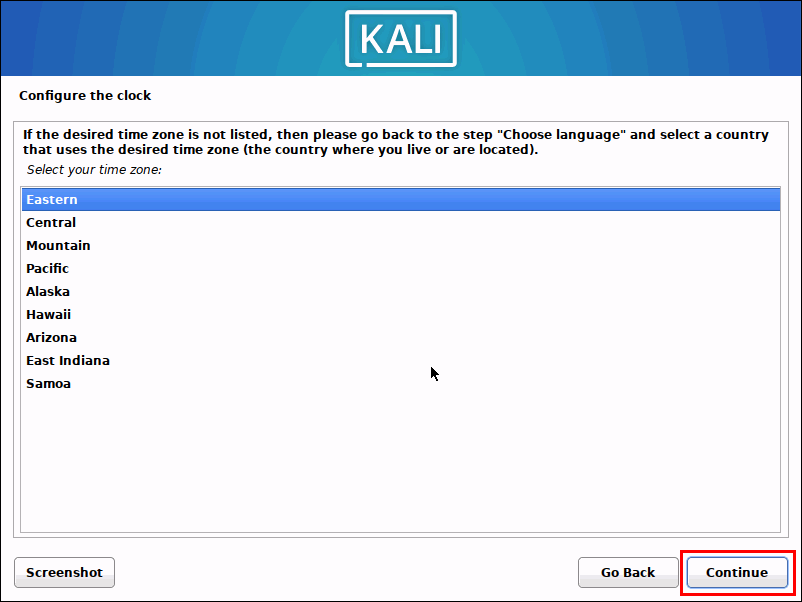
After setting the username and password, it’s time to choose the time zone for your system’s clock and proceed by pressing “Continue”.
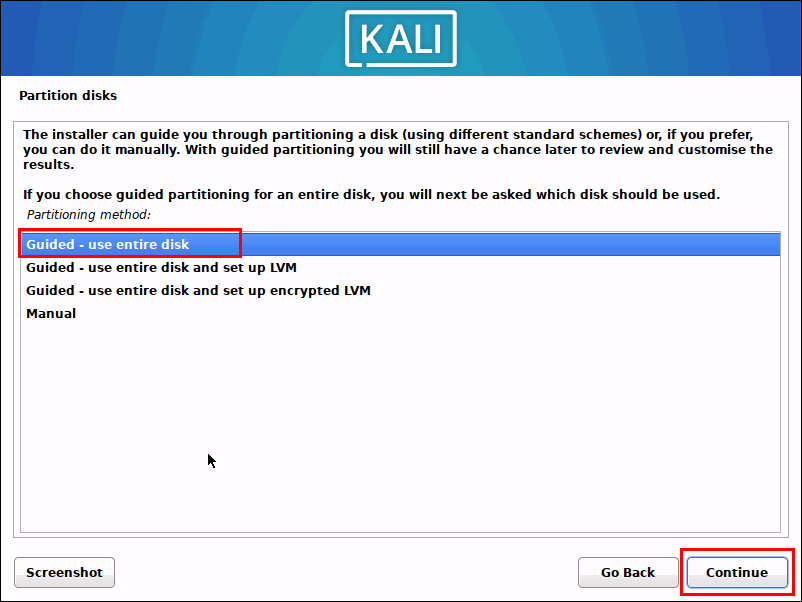
Now, let’s proceed with disk partitioning for your Kali Linux system. Being an experienced Linux user, you can utilize the manual method. However, for automatically partitioning the disk, select the “Guided – use entire disk” option.
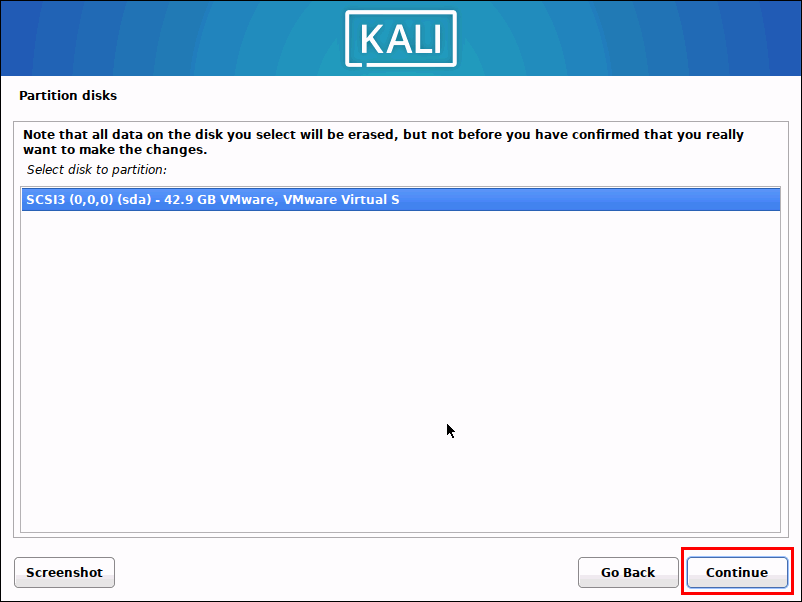
Choose the disk for partitioning and proceed further.
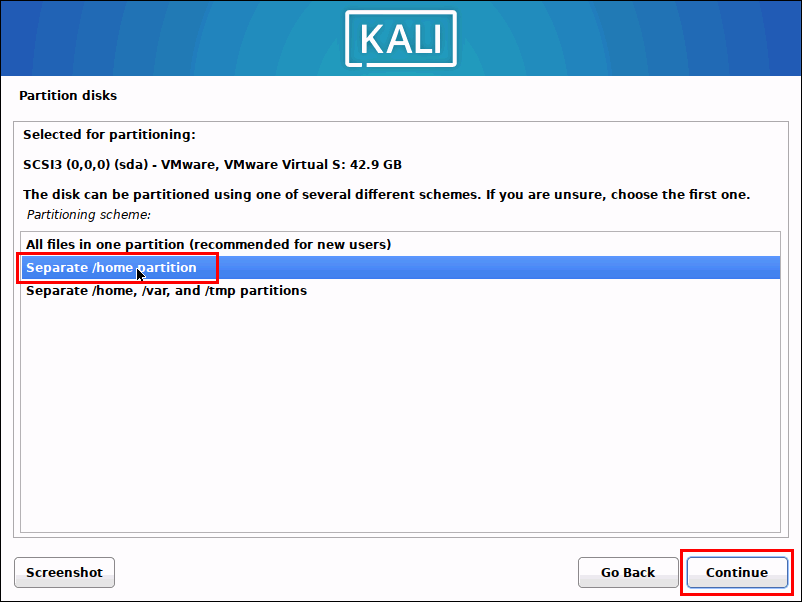
It’s time to select the partitioning scheme according to your desire and then, hit the “Continue” button.
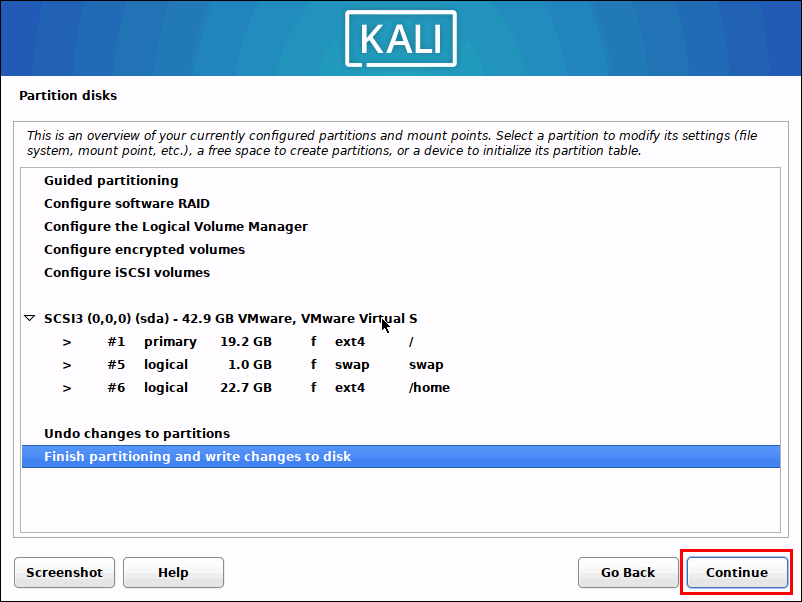
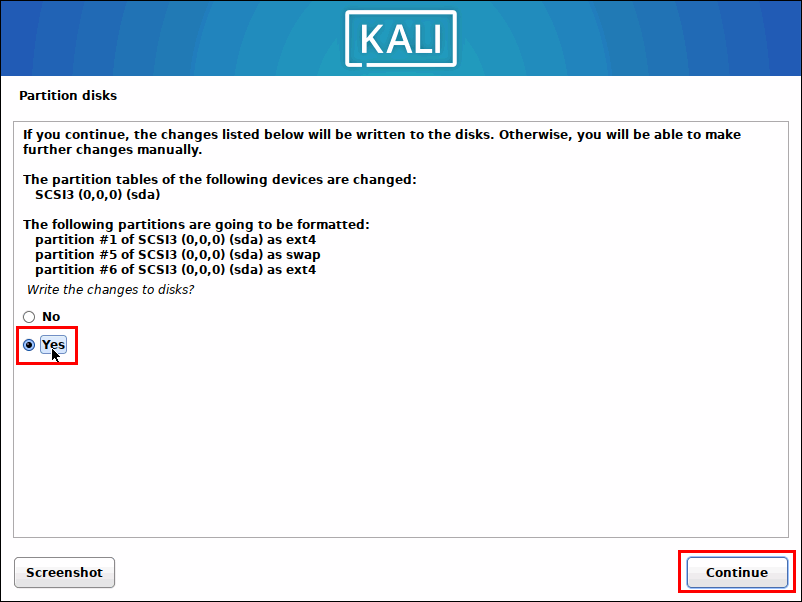
Review the setting of the disk partition and select the option to finish partitioning and write changes. Then, proceed further.
A confirmation prompt will display for writing changes. Select the “Yes” checkbox and click on “Continue”.
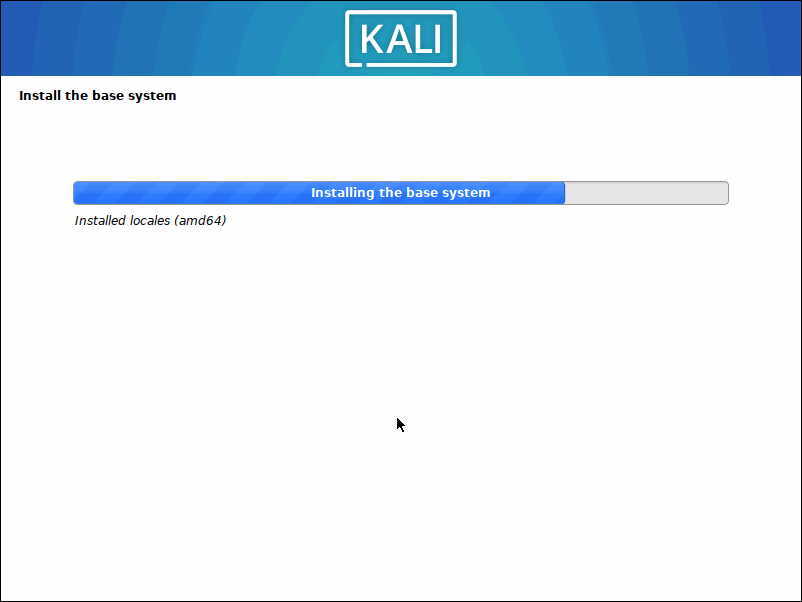
The base installation will begin, so wait for it to complete.
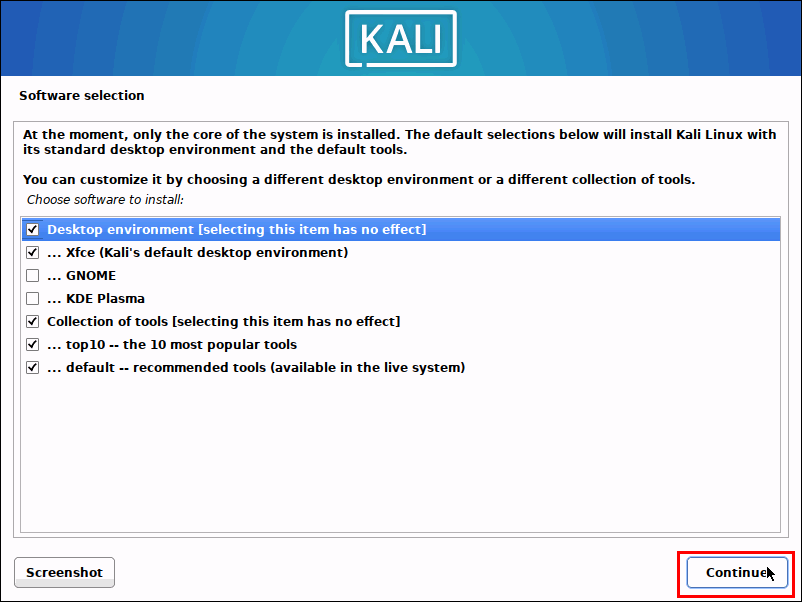
After installing the base system, the Kali Linux installer will display an additional software list for you to select from. Choose the desktop environment, necessary tools, and advanced tools according to your preferences. Then, proceed further.
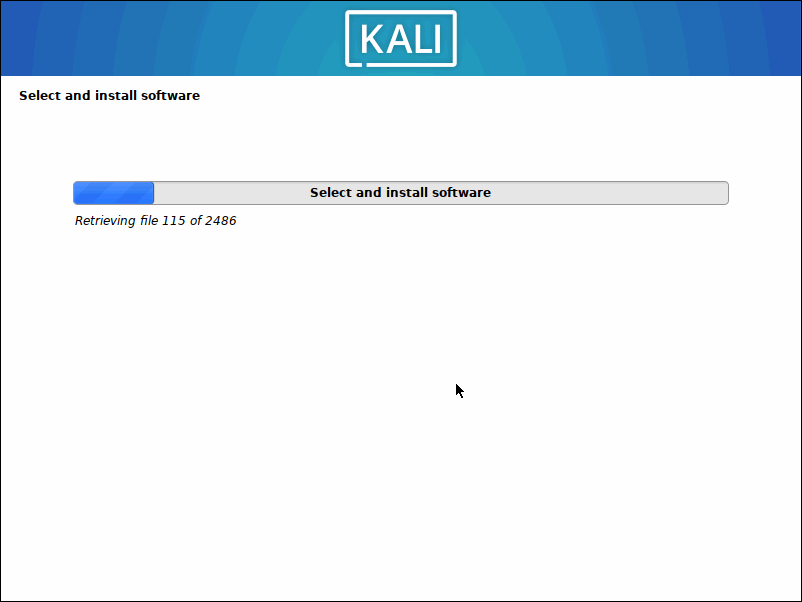
The additional installation process will consume some time and wait for its completion.
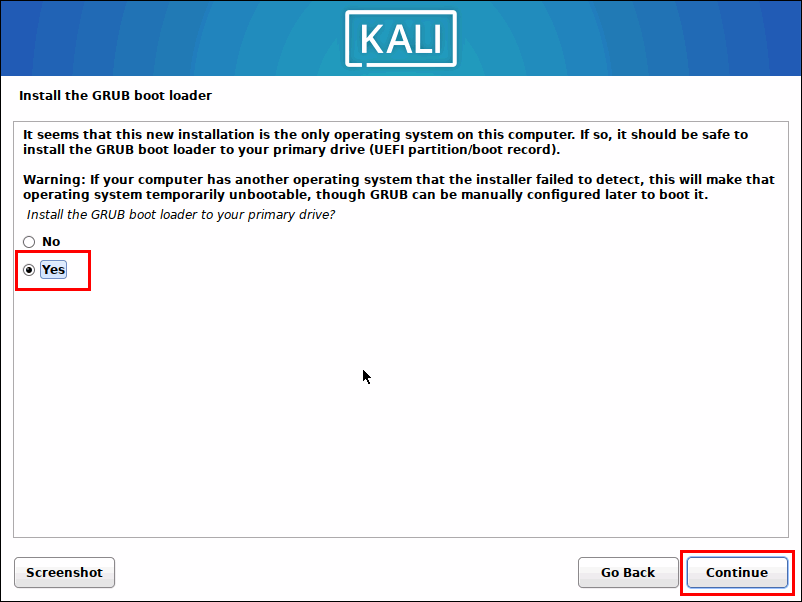
After this installation, it’s time to install and configure the GRUB boot loader on your Kali Linux’s primary drive. To do so, select the “yes” option and continue.
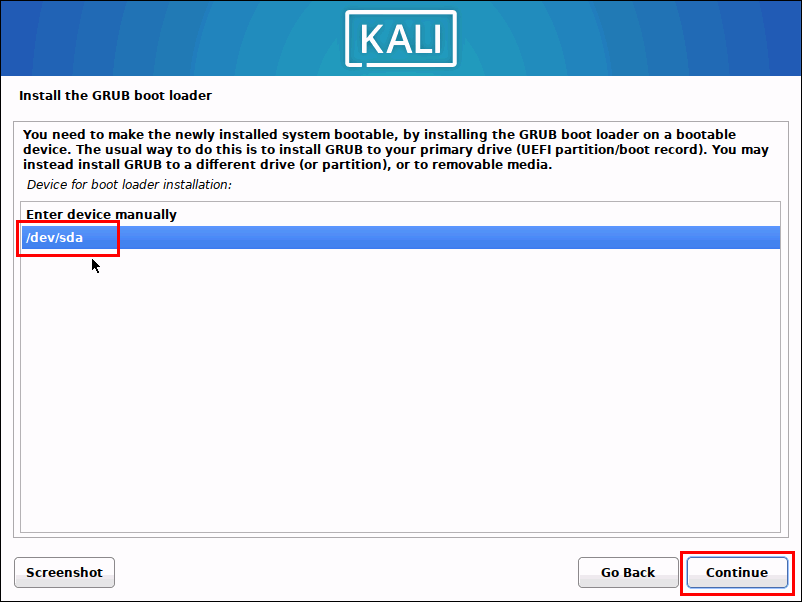
Then, choose the primary drive where the GRUB boot loader will install and proceed.
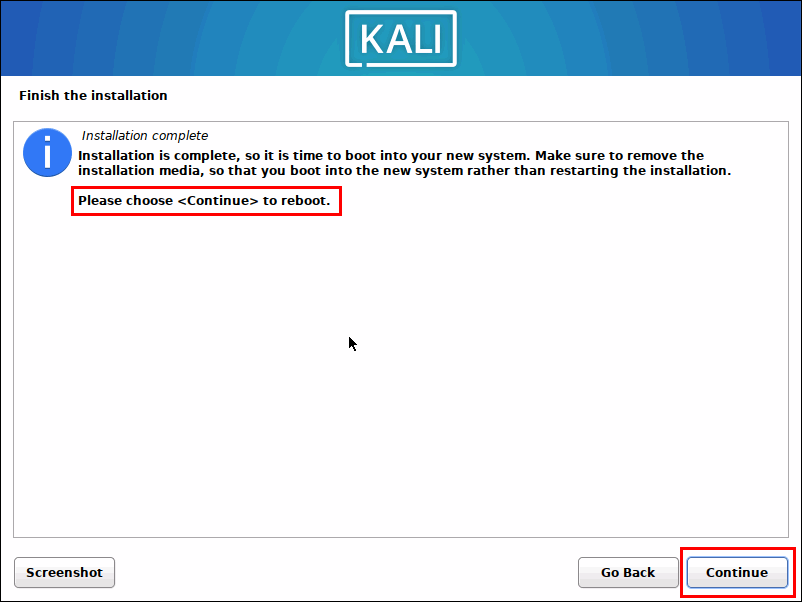
The Kali Linux installation is complete. Proceed to reboot the system.
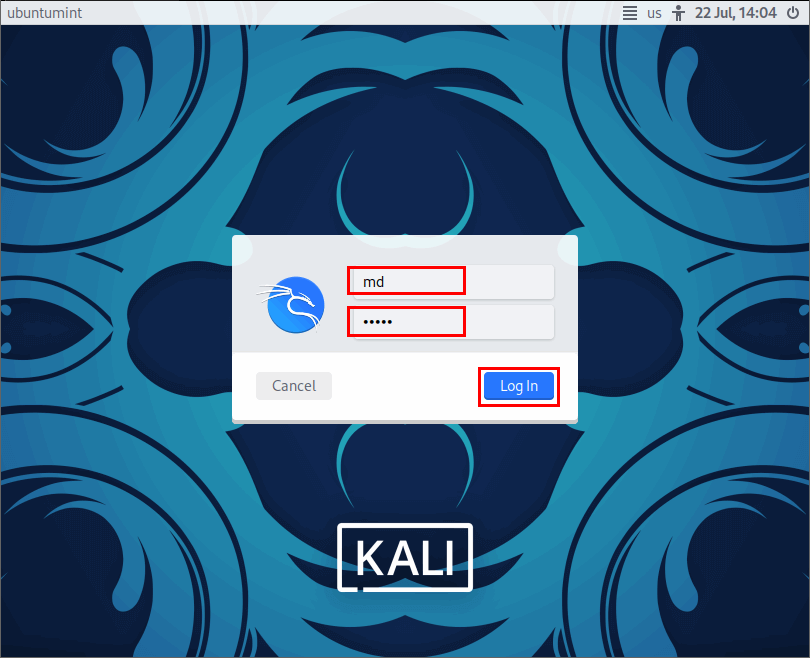
Once the system reboots, the login screen of your Kali Linux will display, enter its user’s credentials and click on the “Log In” button.
Now that you have successfully logged into your Kali Linux, explore it! You can open up its terminal to run your desired commands. However, you must update the newly installed system for up-to-date packages.
$ sudo apt update
Enjoy using your Kali Linux!
Conclusion
Kali Linux is a popular and dream OS for newbies who are looking forward to becoming Ethical hackers or penetration testers. Moreover, it is even enjoyed by experienced users.
Additionally, familiarize yourself with Kali Linux’s tools and features, as it is primarily designed for penetration testing and security assessments.