Effortlessly sharing files among different systems over a network is a fundamental part of network management. To share resources from your Ubuntu system, you can utilize various file-sharing tools like Samba.
Samba is file server software that enables file sharing between different operating systems, including Windows, macOS, and Ubuntu, over a network.
It is free and open-source software whose name is derived from the SMB (“Server Message Block”) protocol, which is utilized for sharing files, printers, and other resources among distinct systems within a network.
This guide will explore the process of installation and configuration of Samba on Ubuntu.
Let’s dive straight into installing Samba on your Ubuntu system.
Install Samba on Ubuntu
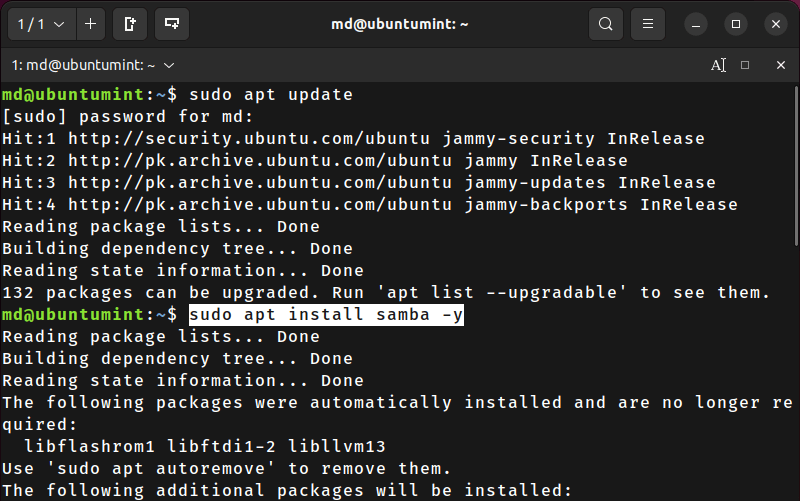
Before performing any installation on your Ubuntu system, first, ensure that you have the most updated repositories on your system about the available software packages.
$ sudo apt update
After upgrading the repositories of the software packages, let’s proceed to the installation of Samba.
$ sudo apt install samba -y
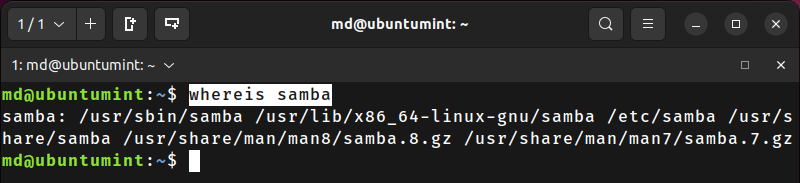
After completing the Samba installation, we can also verify its installation and the location where Samba is installed on your system.
$ whereis samba
Configure Samba as a File Server
Now after the successful installation of Samba, let’s head towards creating a folder that we will be shared with other computers.
$ mkdir -p /home/$USER/UbuntuMint
The -p flag creates the entire directory path specified. Simply provide the path where you want the folder to be created on your system.
Next, let’s assign an owner and group to the directory we’ve created using the chown command, which stands for “change owner“.
$ sudo chown nobody:nogroup /home/$USER/UbuntuMint
Please read this brief explanation to understand the above command:
- chown – It is utilized to change/define the ownership of a file or directory.
- nobody:nogroup – It specifies the new owner and group for the directory. In this case, it sets the owner to “nobody” and the group to “nogroup“. This is followed by the path of the directory whose ownership is being modified.
Note: The "$USER" variable is supposed to be replaced with the current user’s username.
Moving forward, let’s edit the configuration file of Samba known as the “smb.conf”. For this purpose, open this file using the nano text editor and make the necessary modifications to Samba’s configuration:
$ sudo nano /etc/samba/smb.conf
To define the permissions for sharing the specified directory using Samba, edit the configuration settings as follows:
[UbuntuMint]
    comment = Samba on Ubuntu by UbuntuMint.com
    path = /home/md/UbuntuMint
    browsable = yes
    guest ok = yes
    read only = no
    create mask = 0755
Now, let’s briefly understand the changes we’re making within the Samba configuration file:
- comment – This is a short explanation about the directory that is being shared through Samba.
- path – It refers to the path of the resource being shared. Here you will have to insert the path of your directory and change the username.
- browsable = yes – This indicates that the clients should be able to browse the shared directory.
- guest ok = yes – This allows the clients to access the directory without having to provide a username and password.
- read only = no – This line allows the clients to modify the contents of the shared directory.
- create mask = 0755 – This line sets the permissions for newly created files in the shared folder. In this case, it sets the file permissions to 0755, which means that the owner has permissions to read, write, and execute, while others have read and execute permissions only.
Up till now you’ve successfully configured Samba as a file server!
Enable Samba Configuration
The “smbd.service” and “nmbd.service” services are essential components of the Samba file server. After modifying the configuration file of Samba, we will restart its essential components to ensure that the changes take effect immediately.
$ sudo systemctl restart smbd.service nmbd.service
Let’s see the breakdown of the above command for a better understanding:
- systemctl – It is a command-line tool used to manage systemd services in Ubuntu.
- restart – This action restarts the specified services.
- smbd.service – It is the service responsible for the Samba file server daemon.
- nmbd.service – It is the service responsible for the Samba NetBIOS name server daemon.
Now that the Samba file server is set up on your system, you must allow file sharing and network access to the Samba server. To accomplish this, utilize the ufw command to manage firewall rules in our Ubuntu system:
$ sudo ufw allow samba

Rules updated
Rules updated (v6)
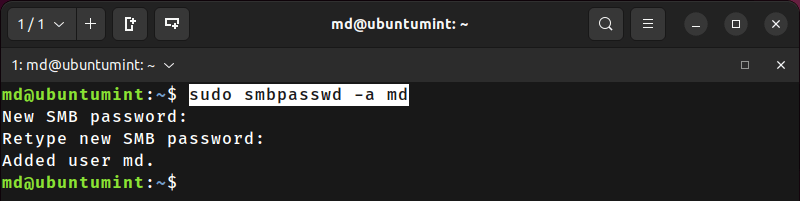
Proceeding further, let’s add a password to ensure the security of the directory that we’re sharing using the “smbpasswd” command, which is used to manage the user accounts and passwords of Samba.
Here we’ll add a new user account to the Samba password and username records, using administrative privileges by executing the following command:
$ sudo smbpasswd -a md
The “-a” flag in the above command defines a new user account. Additionally, “md” is the username associated with the account that we want to add to the Samba password database.
Now that you’ve added a new account to the Samba Password database, we should finally progress toward sharing the directory.
Connect to Samba Share Directory in Ubuntu
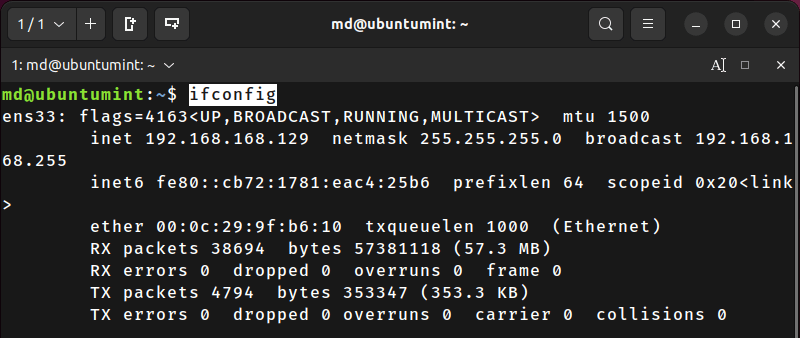
To share resources from one Ubuntu system to another, it’s necessary to know the IP address of your system using the ifconfig command:
$ ifconfig
The syntax to share a specified directory from one Ubuntu system to another is stated below:
smb://<ip-address>/UbuntuMint
The breakdown of the syntax is as follows:
- IP-address – This is the actual IP address of the server containing the resources you intend to share.
- /UbuntuMint – This refers to the specific shared resource named “UbuntuMint” on the server or device identified by the IP address.
By using the following command, you can access and interact with the shared resources located at the specified SMB network location.
Now, let’s assemble the command using the IP address of our system and the directory we intend to share:
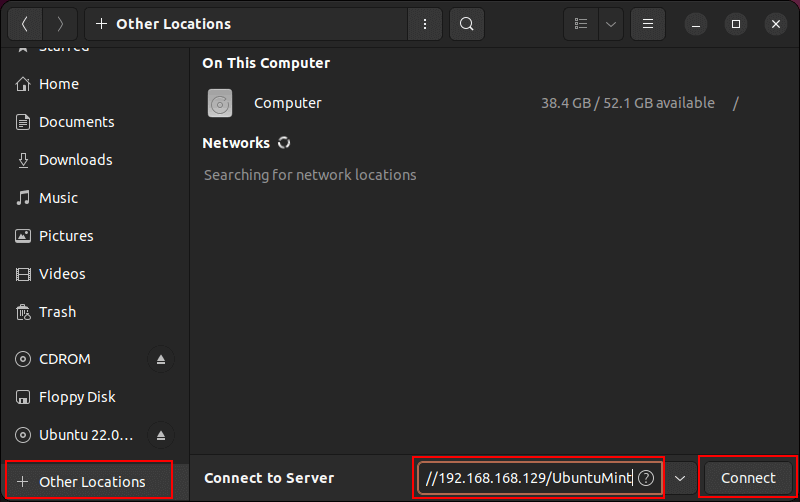
smb://192.168.168.129/UbuntuMint
Open “File Manager”, here you’ll find the “Other Locations” option in the sidebar. Upon clicking “Other Locations”, you will see the “Connect to Server” option.
Now copy and paste the command into this field and then press the “Connect” button.
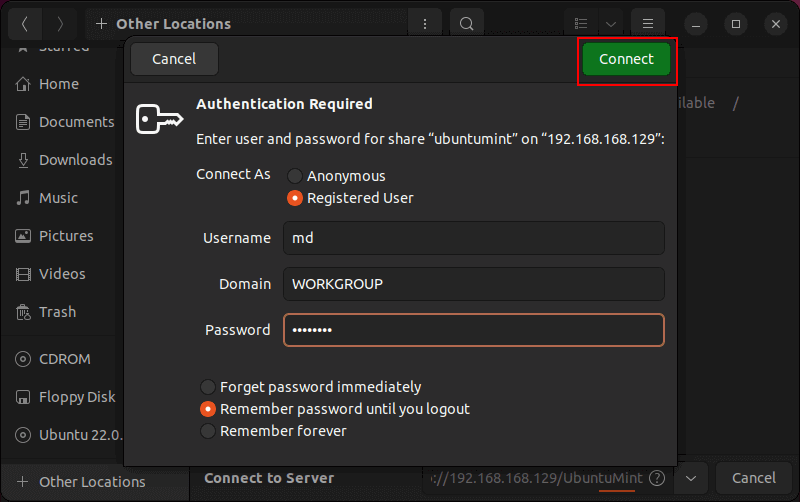
You’ll be prompted for authentication, which is the security layer that is added by the “smbpasswd” command. Only the users who possess the credentials can send the specified directory to another system.
Enter your Samba credentials here and then click on “Connect”.
Finally, the “ubuntumint” directory and its contents will be shared with Ubuntu. In our case, the directory is empty till now.
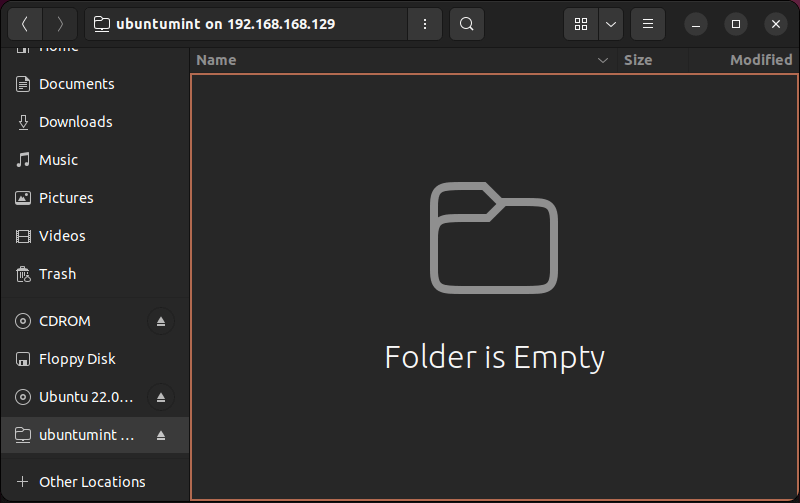
Well done! You’ve shared a directory from a Ubuntu system to another Ubuntu system. Now, let’s proceed to share the same directory with a Windows system.
Connect to Samba Share Directory from Windows
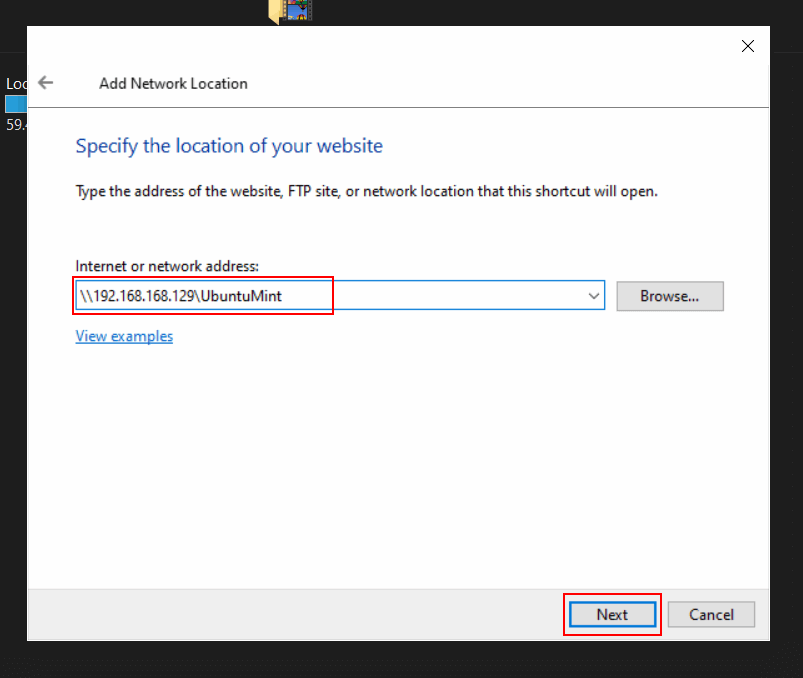
To share the directory with Windows, you’ll need the IP address of your Ubuntu along with the name of the directory intended for sharing, as shown below.
In our case, the command will look like this. Copy it further use:
\\192.168.168.129\UbuntuMint
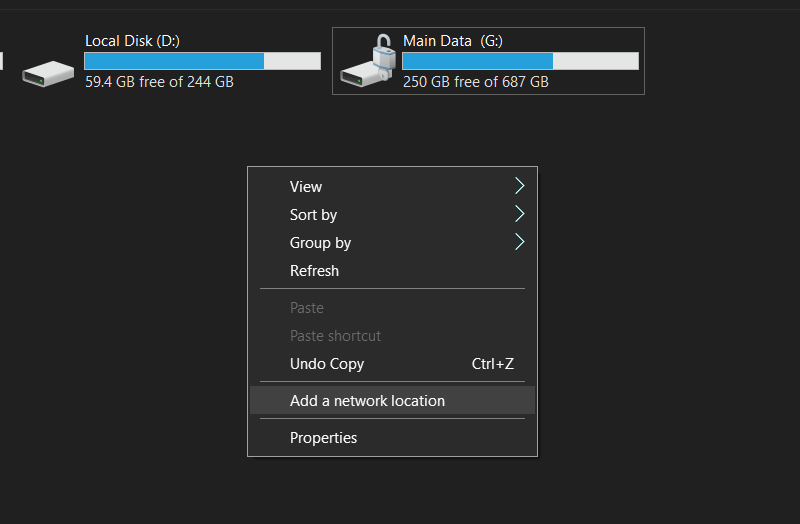
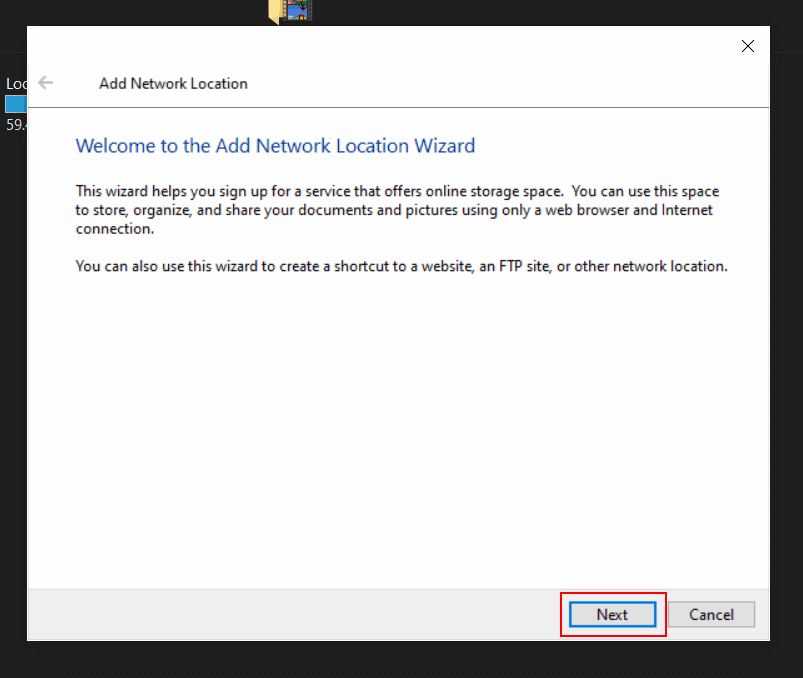
Go to “This PC” on your system and right-click in the empty space to open a drop-down list. Then, select the “Add a network location” option.
The following dialogue box will appear, here click on the “Next” button to move onward.
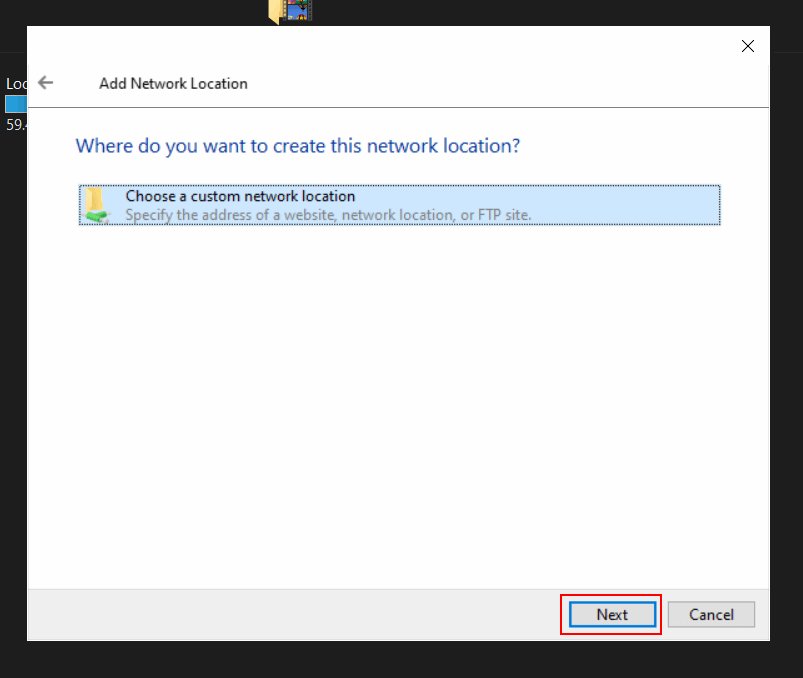
After this, you’ll be prompted to select a custom network location.
Next, you will be required to specify the location of the network address. Here, paste the IP address and the name of the directory to be shared and, then press “Next”.
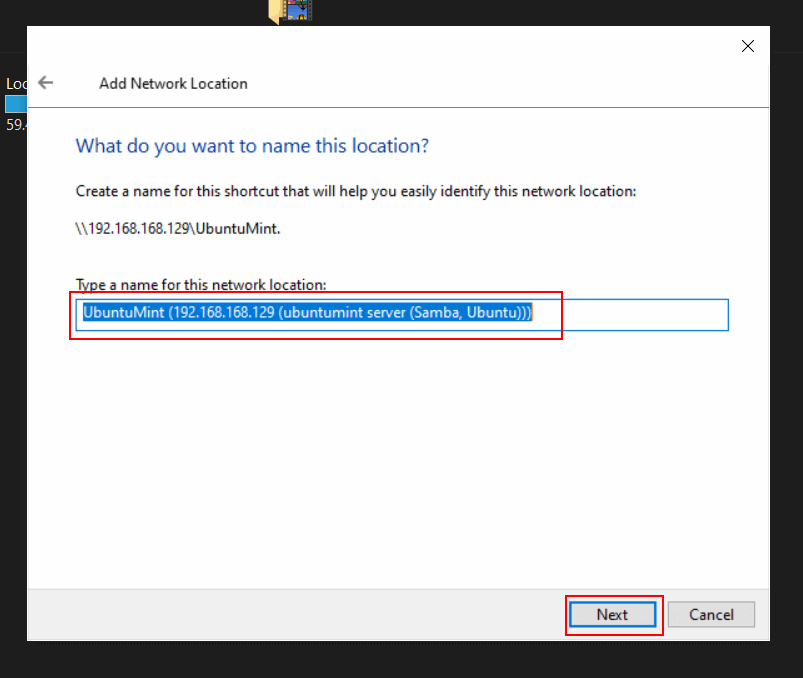
After specifying the location of the shared file, simply provide a name for this network location and hit the “Next” button.
Press “Finish” to move further.

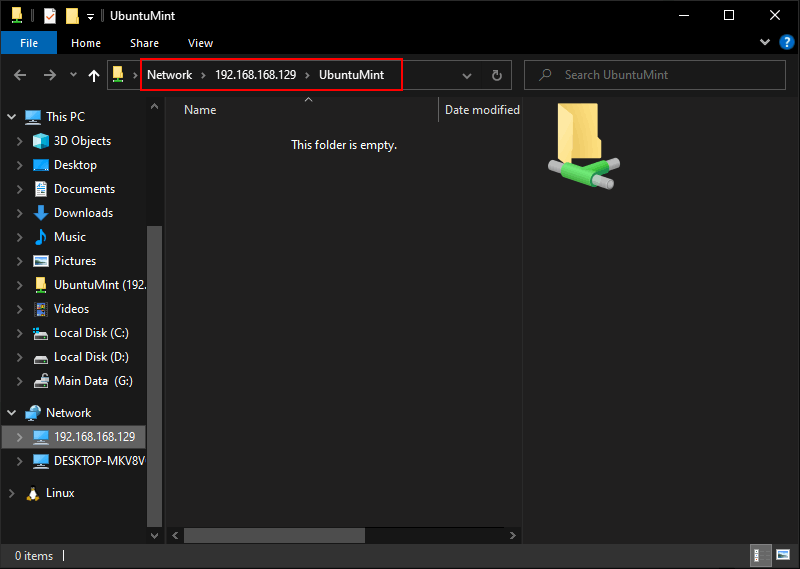
Your directory has been successfully shared with Windows, and you can now access it along with its contents.
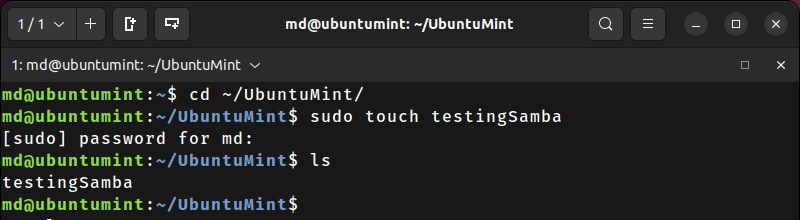
Now, let’s open the Ubuntu terminal for further verification. We’ll create a new file inside the “UbuntuMint” directory utilizing the touch command.
Afterward, use the ls command to display the contents of the “UbuntuMint” directory.
$ cd ~/UbuntuMint
$ sudo touch testingSamba
$ ls
Now, open the same folder in Windows to confirm that the file “testingSamba“, which we created in the Ubuntu terminal, is also present here.
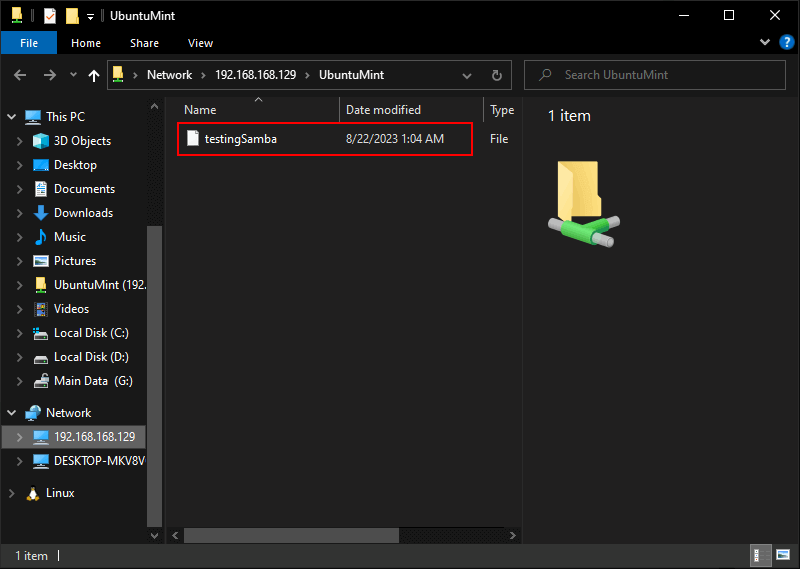
This serves as proof that we’ve successfully shared a directory along with its contents using Samba!!!
Conclusion
In this descriptive guide, we have learned to install and set up Samba, a file-sharing server, on our Ubuntu systems. We have also shared directories through Ubuntu and Windows operating systems.