Uninstalling Java from your Ubuntu system may seem like a simple task, but it involves more than just removing the package. To ensure the complete and thorough removal of Java, including any residual files and configurations, we will guide you through a comprehensive step-by-step process in this article.
Follow this guide to learn the process of completely uninstalling Java from the Ubuntu system.
How to Uninstall Java in Ubuntu
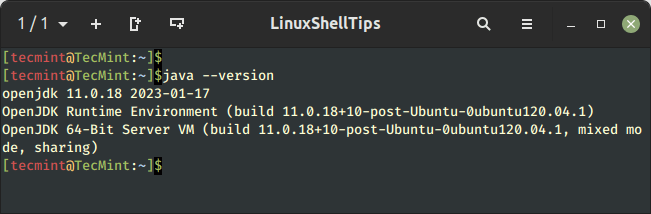
First, open the terminal on Ubuntu from the application menu and check the installed Java versions by typing the following command:
$ java --version
If you have multiple Java versions installed on your system, you have to execute the following command:
$ sudo update-alternatives --config java
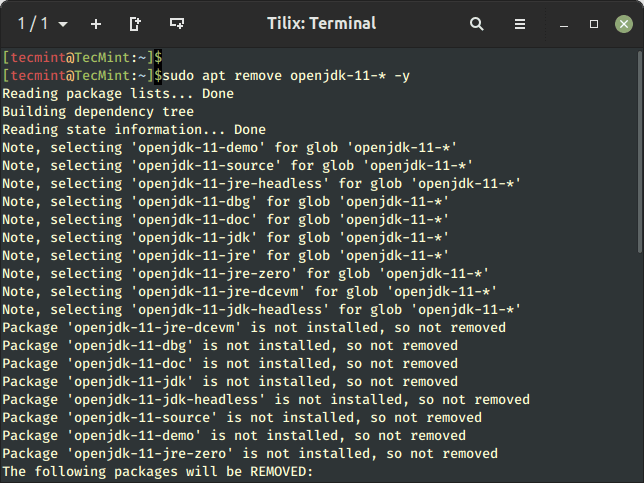
To uninstall a specific Java version on the Ubuntu system, you can use the apt remove command followed by the Java package name with * at the end.
The * character is a wildcard that matches any additional characters, so using it in the package name can help remove multiple packages that share a common prefix.
$ sudo apt remove <package_name>-* -y
Replace <package_name> with the name of the Java package, you want to remove. For example, if you want to remove OpenJDK 11 from the Ubuntu system, you can use the following command.
$ sudo apt remove openjdk-11-* -y
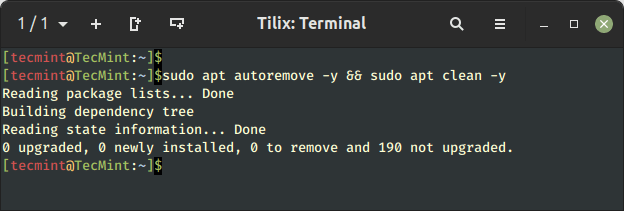
Remove Unused Dependencies in Ubuntu
To remove any residual packages, dependencies, and cached package files related to Java, it is recommended to run the following command.
$ sudo apt autoremove -y && sudo apt clean -y
Once the cleanup is done, you can verify the Java uninstallation on Ubuntu using the following command:
$ java --version
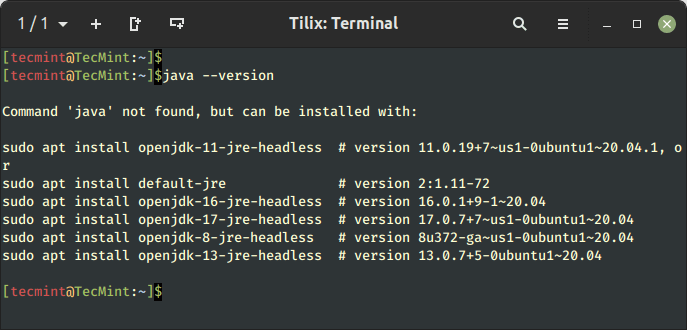
This ensures that you have successfully uninstalled Java from your system.
Conclusion
Removing Java from Ubuntu is simple and can be done using the apt remove command followed by the package name with a wild card character.
The wildcard character removes the Java package that shares the common prefix. There might be some residual files and configurations left behind, so to remove them completely, the users must go with the additional steps mentioned ins this article. This will help ensure the complete uninstallation of Java on the Ubuntu system.