If you are looking for a guide on how to install Ruby on your Ubuntu machine, you’ve come to the right place! This guide provides three comprehensive, step-by-step methods for installing Ruby on Ubuntu 22.04, Ubuntu 20.04 or later LTS versions.
While some of you are already aware of Ruby’s power, for those who are not, let me provide a brief explanation.
What is Ruby
Ruby is a robust object-oriented programming language that was developed by Yukihiro Matsumoto in 1996. As an open-source language, it gained significant popularity in the late 2000s, primarily due to its integration with the Rails web framework.
One of Ruby’s most notable strengths is its versatility, allowing developers to use it in both frontend and backend web development. Beyond web development, it is also a popular choice for scripting.
In this blog, you will walk through three distinct methods for installing Ruby, presented one after another.
If you only require a single stable version of Ruby then the apt package manager (Official Ubuntu Repository) method is recommended.
However, if you need to manage multiple versions or a specific version number of Ruby on your system, you should consider using RVM or rbenv.
These methods serve the same purpose, enabling developers to handle multiple Ruby versions side-by-side seamlessly throughout different stages of development, including development, testing, deployment, and production.
1. Install Ruby Using APT in Ubuntu
Ubuntu’s apt package manager offers a simple way to install the most recent stable version of Ruby in your system.
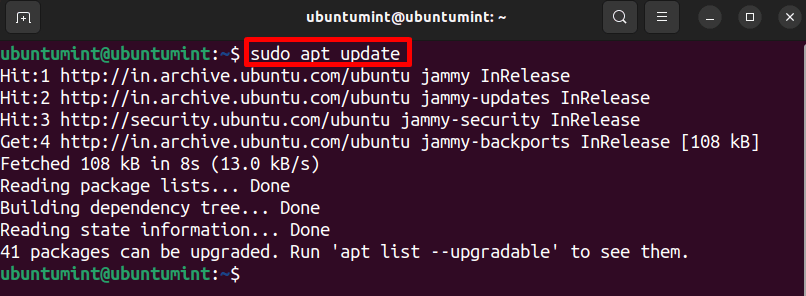
Before beginning any installation in Ubuntu, it is always recommended to update the local repository cache by using the apt update command:
$ sudo apt update
This command guarantees that the package manager has the latest information about available software packages, which aids in a reliable and up-to-date installation process.
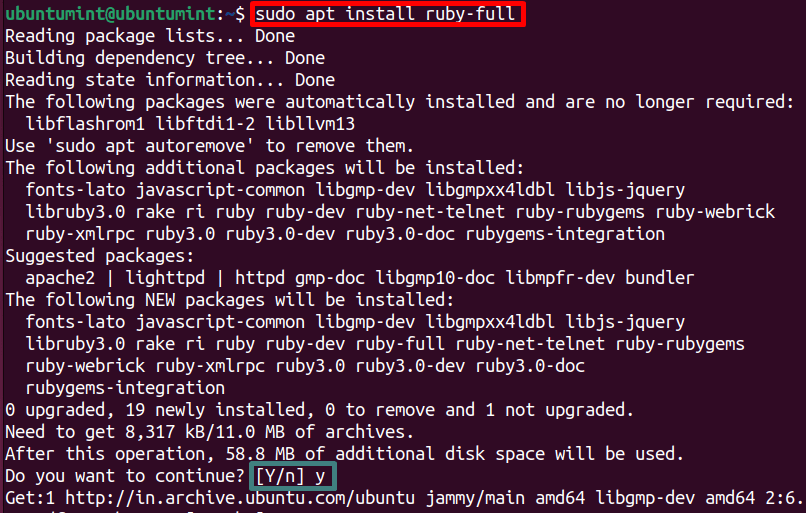
After updating the package list, run the command given below to install the “ruby-full” package from Ubuntu’s official repository. This package includes a comprehensive set of tools and resources for Ruby development, including the Ruby interpreter, standard library, and development headers:
$ sudo apt install ruby-full
This command will install a stable version of Ruby in your system. While installing this package, the terminal will show a continuity permission message. Simply type “y” to continue.
After successfully installing Ruby on your system, you can check the installed version by executing the “ruby -v” command:
$ ruby -v

ruby 3.0.2p107 (2021-07-07 revision 0db68f0233) [x86_64-linux-gnu]
In our case, the installed version is “Ruby 3.0.2” but your version may vary as this statement reflects the most recent stable version of Ruby available at the time of writing this blog.
2. Install Ruby Using RVM in Ubuntu
Let’s now use RVM (an acronym for “Ruby Version Manager”), which is a popular command-line tool that allows developers to install and manage multiple Ruby versions in your system.
It facilitates the installation of system-independent Ruby versions, modifies the shell environment accordingly, and allows for the installation of separate gems for each Ruby version.
To begin with this method, you have to install the required dependencies for Ruby by using the following command:
$ sudo apt install curl g++ gnupg2 gcc autoconf automake bison libc6-dev libffi-dev libgdbm-dev libncurses5-dev libsqlite3-dev libtool libyaml-dev make pkg-config sqlite3 zlib1g-dev libgmp-dev libreadline-dev libssl-dev -y
After installing the required dependencies, it’s time to import the gpg keys into our system:
$ gpg --keyserver keyserver.ubuntu.com --recv-keys 409B6B1796C275462A1703113804BB82D39DC0E3 7D2BAF1CF37B13E2069D6956105BD0E739499BDB
Once the keys are imported successfully, run the given command to update and upgrade the installed packages:
$ sudo apt update && sudo apt upgrade -y
Now you are ready to download the RVM installation script by using the curl command:
$ curl -sSL https://get.rvm.io | bash -s stable
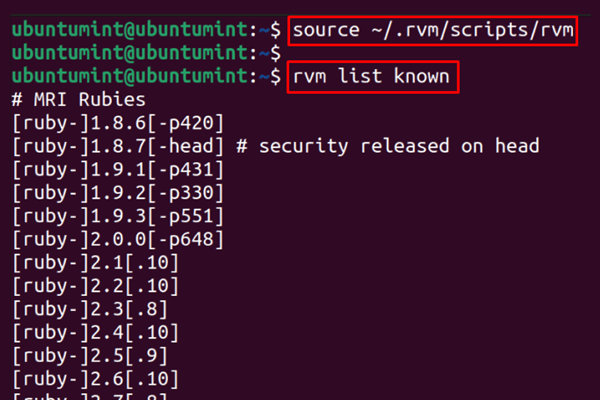
After installing RVM, execute the "source" command to load and execute the RVM script. Once the script is loaded, you can use the "rvm list known" command to display a list of known Ruby versions available for installation:
$ source ~/.rvm/scripts/rvm
$ rvm list known
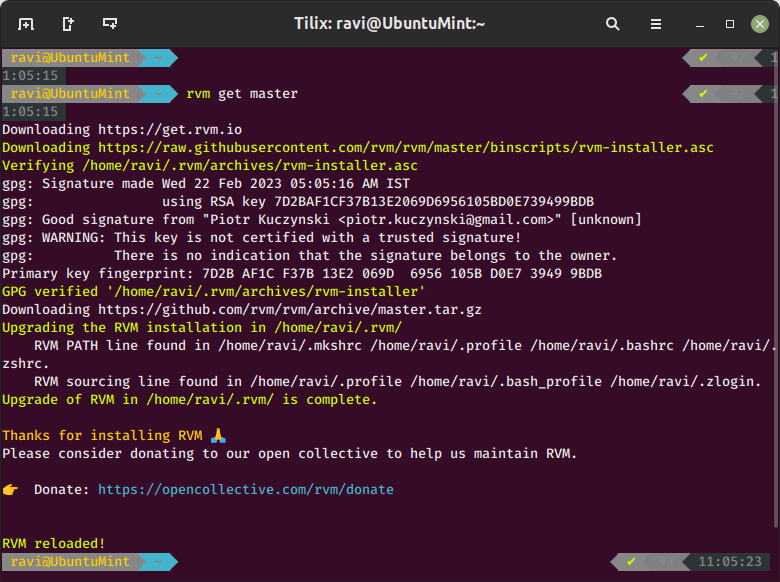
Now before installing any version, it is a good practice to run the below command to update your local RVM installation to the latest version from the “master” branch:
$ rvm get master
To install the most recent stable version of Ruby, you can utilize the following command:
$ rvm install ruby
However, the user can also specify any specific version number of Ruby which was mentioned in the output of the “rvm list known” command:
$ rvm install ruby-[version-number]
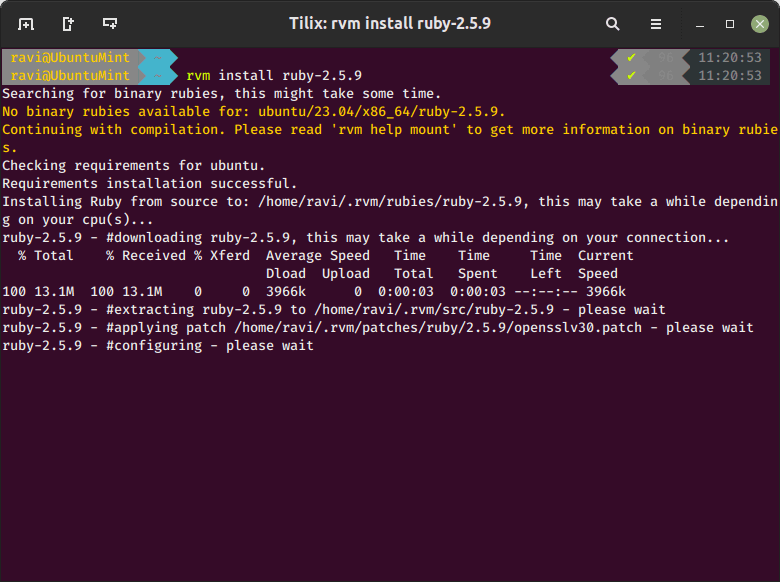
In this post, we will install the Ruby version “2.5.9“. You can accomplish this by executing either of the provided commands:
$ rvm install 2.5.9
or
$ rvm install ruby-2.5.9
After the installation of the desired version of Ruby, verify it by running the “ruby -v” command:
$ ruby -v

ruby 2.5.9p229 (2021-04-05 revision 67939) [x86_64-linux]
To use any specific installed version, execute the “rvm use [version-number]” command:
$ rvm use 2.5.9
Lastly, you can also set any version of Ruby as the default version for new shells by utilizing the “--default” flag in the command:
$ rvm use 2.5.9 --default
In case you face any error while installing Ruby by using RVM, refer to the official RVM webpage.
3. Install Ruby Using rbenv in Ubuntu
You can even utilize the rbenv, a lightweight Ruby version management command-line tool that allows developers to easily switch between different versions of Ruby on their system.
It allows developers to separate Ruby versions on a per-project or per-shell session basis by changing the PATH variable. It relies on system-installed Rubies and does not directly process gem sets.
Let’s begin the process of installing Ruby by utilizing rbenv. To do so first, update the local package repository cache and install the required dependencies to install Ruby by running the command given below:
$ sudo apt update
$ sudo apt install git curl autoconf bison build-essential libssl-dev libyaml-dev libreadline6-dev zlib1g-dev libncurses5-dev libffi-dev libgdbm6 libgdbm-dev libdb-dev
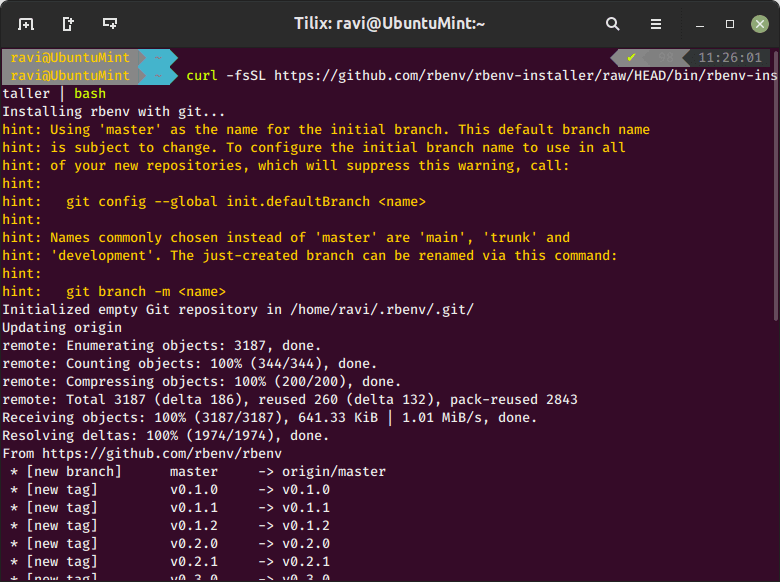
After installing the required dependencies, run the command mentioned below to fetch and download the rbenv script from its official GitHub page.
The downloaded script will be executed utilizing bash as the "pipe" symbol connects the output of curl to the input of bash:
$ curl -fsSL https://github.com/rbenv/rbenv-installer/raw/HEAD/bin/rbenv-installer | bash
Once rbenv is installed, execute the following command to update the “~/.bashrc” file, adding rbenv to the system’s PATH and initializing rbenv in the shell environment. Finally, use the source command to reload the updated “~/.bashrc” file:
$ echo 'export PATH="$HOME/.rbenv/bin:$PATH"' >> ~/.bashrc
$ echo 'eval "$(rbenv init -)"' >>>> ~/.bashrc
$ source ~/.bashrc
By executing the above commands, rbenv becomes integrated into the shell environment which allows you to utilize rbenv commands and manage Ruby versions effectively.
Once the rbenv is installed, verify the installed version by running this command:
$ rbenv -v

rbenv 1.2.0-67-g3112172
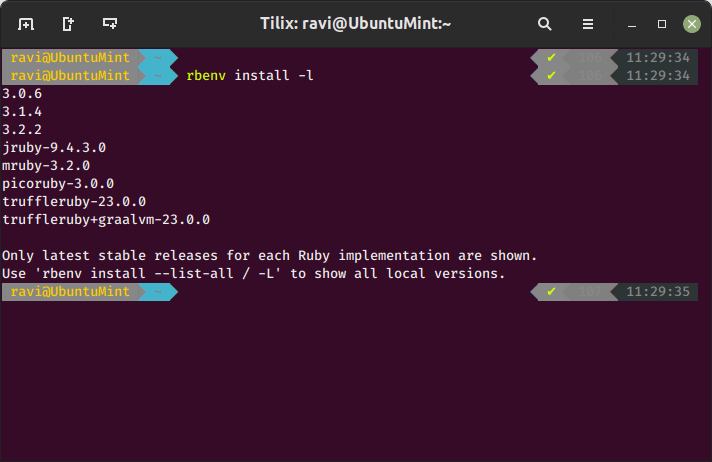
It’s time to display the list of all the latest stable versions of Ruby available for installation by using the given command:
$ rbenv install -l
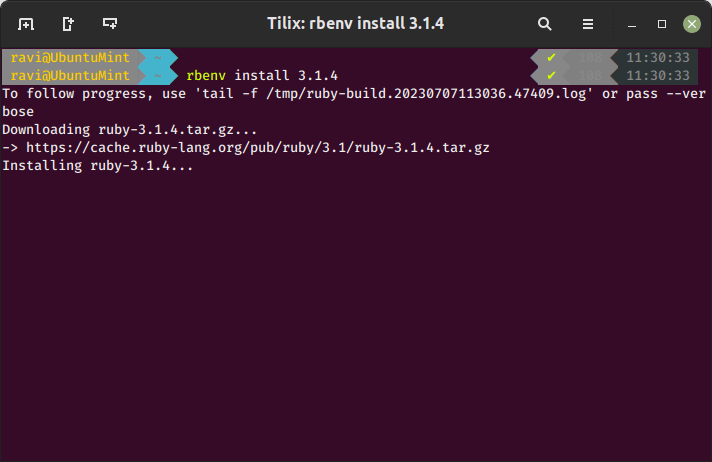
Let’s install the “3.1.4” version of Ruby by running this “rbenv install” command:
$ rbenv install 3.1.4
After installing the desired version of Ruby, you can set it as the default Ruby version for your Ubuntu machine by executing the following command:
$ rbenv global 3.1.4
To set a specific Ruby version for a particular directory, utilize this command:
$ rbenv local 3.1.4
To display the version of installed Ruby, run the “ruby -v” in the terminal:
$ ruby -v

ruby 3.1.4p223
Ruby is successfully installed on your Ubuntu 22.04.
Write Your First Ruby Program
Now that Ruby is installed, let’s create our first “Hello World” program in the Ruby language. To do so, let’s use the nano editor to create a new file named “ubuntumint.rb“.
Execute the given command to open the file in the nano editor:
$ nano ubuntumint.rb
In the file, write the following code and save it by pressing "Ctrl + S" and then "Ctrl + X" to exit the file:
puts "Hello World from Ubuntumint.com"
This code will display “Hello World from Ubuntumint.com” to the console when executed.
$ ruby ubuntumint.rb

Hello World from Ubuntumint.com
You can now explore the Ruby language and enjoy coding with Ruby!
Conclusion
Ruby is a robust programming language that can be utilized in web development and scripting. This guide offered three comprehensive methods for installing Ruby on Ubuntu 22.04.
If you prefer installing the latest stable Ruby version, utilize the official Ubuntu repository method. Alternatively, if you require multiple versions of Ruby on your system for development purposes. You can use either rbenv or RVM method discussed above. Both methods serve the same purpose, so select any as per your preference.
That’s all for now. Stay tuned with UbuntuMint for more interesting articles.