Ubuntu has gained immense popularity as a Linux distribution, enjoying widespread usage among users worldwide. Known for its stability, security, and open-source nature, Ubuntu is a highly versatile operating system based on Debian.
It caters to various needs, serving as a preferred choice for servers, cloud computing, and desktops. While Ubuntu offers an extensive collection of software and applications, certain media codecs are not included by default. These codecs play a crucial role in enabling the playback of diverse video and audio file formats.
In this tutorial, we will see how to install media codecs in Ubuntu and other Ubuntu-based distributions that will increase your overall experience of the system.
Understanding Media Codecs
In order to enjoy your favorite music and videos, your system needs specific codecs to run the files. Codecs are nothing but computer program that helps in encoding the files when they are stored and decoding them for viewing and editing.
There are many codecs available for different types of files, but you need combinations of these codecs to work with media files.
Ubuntu comes pre-installed with some of the popular codecs. The rest of the codec needs to be installed manually because of their proprietary licenses. You can check if you need additional codecs by playing video or audio files in your system with any player.
If you receive an error message, a black screen or the files do not open it’s time to install some additional codec packages.
Install Ubuntu Restricted Extras Package
Ubuntu-Restricted-Extras is a package in Ubuntu that includes all the essential software packages which are not installed by default due to copyright issues.
This package includes Support for MP3 and unencrypted DVD playback, Microsoft TrueType core fonts, Adobe Flash plugin, and codecs for common audio and video files.
To install ubuntu-restricted-extras package we need to first enable the multiverse repository in your system.
There are two ways to enable this repo.
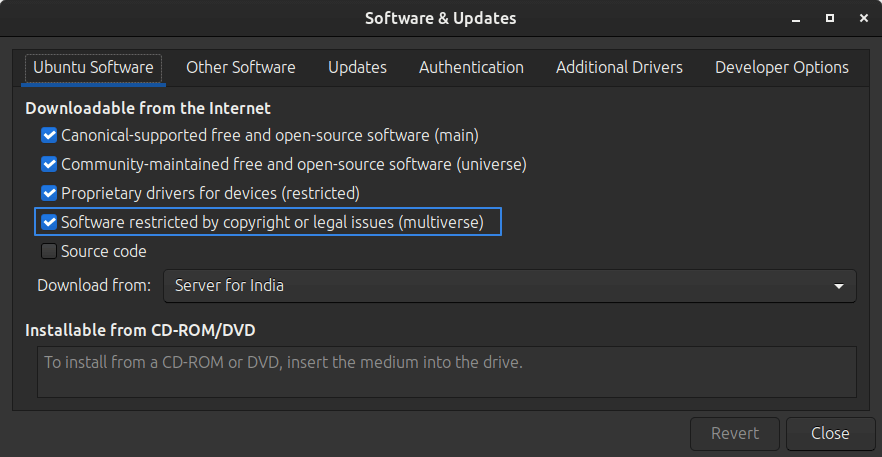
Enable Multiverse Repository Using GUI
Try looking for “Software & Updates” in the applications and check the “Software restricted by copyright or legal issues (multiverse)” if not already checked.
Enable Multiverse Repository Using Terminal
Fire up your terminal either by searching “Terminal” or just hitting the shortcut “CTRL + ALT + T” and run the following command to enable the repository.
$ sudo add-apt-repository multiverse
$ sudo apt update
$ sudo apt install ubuntu-restricted-extras
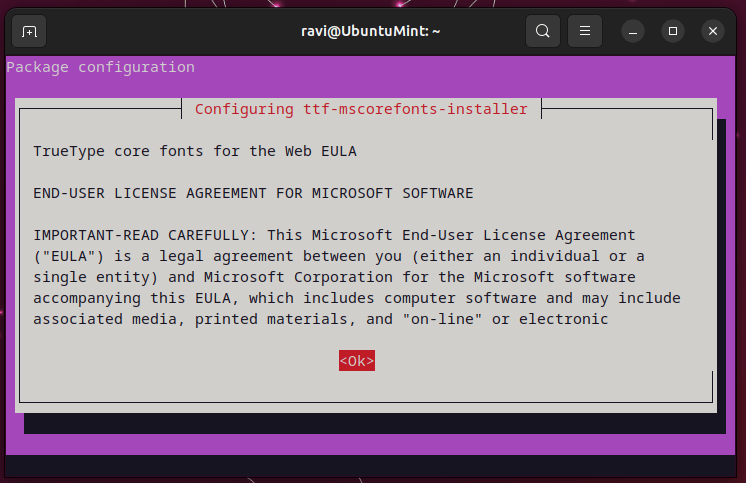
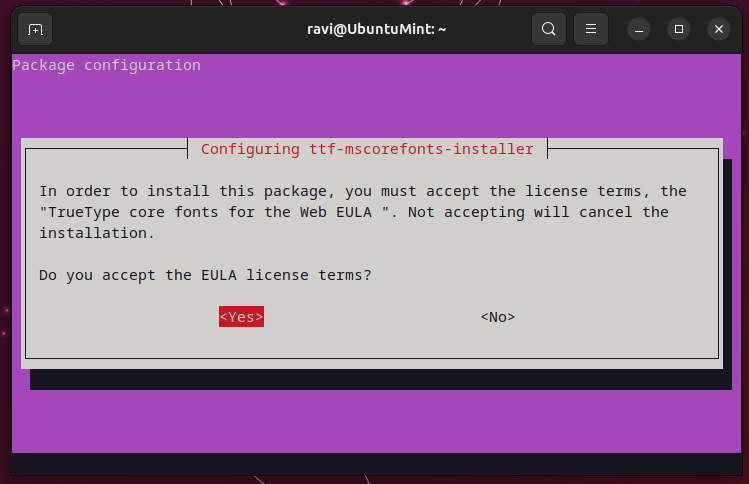
It may ask you to confirm EULA (End User License Agreement) license terms, use the TAB key to navigate through the menu, and accept the license.
If you are using any other Ubuntu-based distribution like Kubuntu, Lubuntu, or Xubuntu the whole process remains the same only the last command changes depending on your distribution run the following commands.
$ sudo apt install kubuntu-restricted-extras  [For Kubuntu]
$ sudo apt install lubuntu-restricted-extras  [For Lubuntu]
$ sudo apt install xubuntu-restricted-extras  [For Xubuntu]
Install Multimedia Codecs on Ubuntu
Even after installing the ubuntu-restricted-extras package, you are unable to play some media files that require any specific codec for your system. Yes, you can also install a specific codec depending on your requirement.
For example, install H.264 multimedia codec.
$ sudo apt-get install gstreamer1.0-libav
It is important to test the required codecs after installation to make sure they are operating properly. You can play a media file that had previously caused you issues and make sure it runs without any issues. To ensure complete compatibility, test files in various formats.
You can use media players like VLC for playing multimedia files, but make sure it is installed, if not install VLC simply by running the following command:
$ sudo apt install vlc -y
Conclusion
You should now understand media codecs and how to install them in Ubuntu after reading this guide. Having the proper codecs ensures a seamless and trouble-free experience whether you’re listening to music, watching a movie, or working with multimedia files.
Now that the installation procedure has been described, you can improve your Ubuntu system and take advantage of fluid media playback.
Not sure about the restricted ones but if you install either VLC or MPV, you should get all the necessary codecs without further ado.
You’re absolutely right. VLC and MPV are excellent media players that come bundled with a wide range of codecs, ensuring smooth playback of various audio and video formats.
In the article, we aimed to provide a comprehensive guide that covers both manual installation and the use of the “ubuntu-restricted-extras” package.
This is very old-fashioned. Don’t bother with codecs. Just use any ffmpeg-based player like popular VLC or mpv.
In the article, we aimed to provide a comprehensive guide that covers different methods, including both manual installation of codecs and the use of the “ubuntu-restricted-extras” package.
However, your suggestion to consider ffmpeg-based players as an alternative solution is valuable and can provide users with a streamlined approach. We appreciate your input!