PHP Composer is a widely utilized dependency management tool that mainly aims to facilitate PHP project creation by taking care of its required dependencies.
Are you looking for a guide that states the procedure for installing and using PHP composer in your Ubuntu 20.04 or Ubuntu 22.04? If “Yes”, then don’t worry, in this comprehensive tutorial, you will learn how to install and use it.
Many people often confuse PHP Composer with a package manager like “apt” and “yum”. However, it is a dependency manager, not a package manager as it does not install anything globally by default. Instead, it installs packages for individual projects.
To install Composer in our Ubuntu, we can utilize the script offered by PHP Composer’s official team. Let’s, not waste time and directly jump to the installation process of Composer.
Install PHP Composer on Ubuntu
In the terminal of your Ubuntu, execute the command provided below to update the local package repository and upgrade the installed packages:
$ sudo apt update && sudo apt upgrade -y
After the execution of the above command, run the following command to install all the required dependencies such as PHP CLI, cURL, and Unzip for the Composer:
$ sudo apt install php-cli unzip curl -y
The next step is to navigate to the Downloads directory and download the installation script of PHP Composer in your system by using the command stated below:
$ cd Downloads
$ curl -sS https://getcomposer.org/installer -o composer-setup.php

Now, let’s verify the hash of the downloaded script with its signature available on the Composer Checksums by utilizing the following command:
$ php -r "if (hash_file('sha384', 'composer-setup.php') === 'e21205b207c3ff031906575712edab6f13eb0b361f2085f1f1237b7126d785e826a450292b6cfd1d64d92e6563bbde02') { echo 'Installer verified'; } else { echo 'Installer corrupt'; unlink('composer-setup.php'); } echo PHP_EOL;"
The terminal will return the “Installer verified” message.

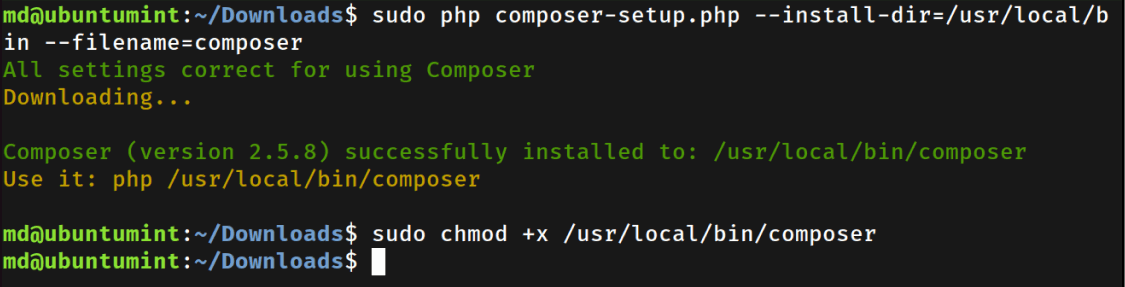
After validating the script security, execute the command to install PHP Composer on your Ubuntu machine:
$ sudo php composer-setup.php --install-dir=/usr/local/bin --filename=composer
The most recent stable version of Composer will install successfully. However, it is recommended to execute the command given below to ensure that Composer is executable and its commands can be executed directly from the terminal:
$ sudo chmod +x /usr/local/bin/composer
You can check the version number of the installed Composer by running the “composer version” command:
$ composer --version

Composer version 2.5.8 2023-06-09 17:13:21
To test the installed Composer, run the command mentioned below:
$ composer
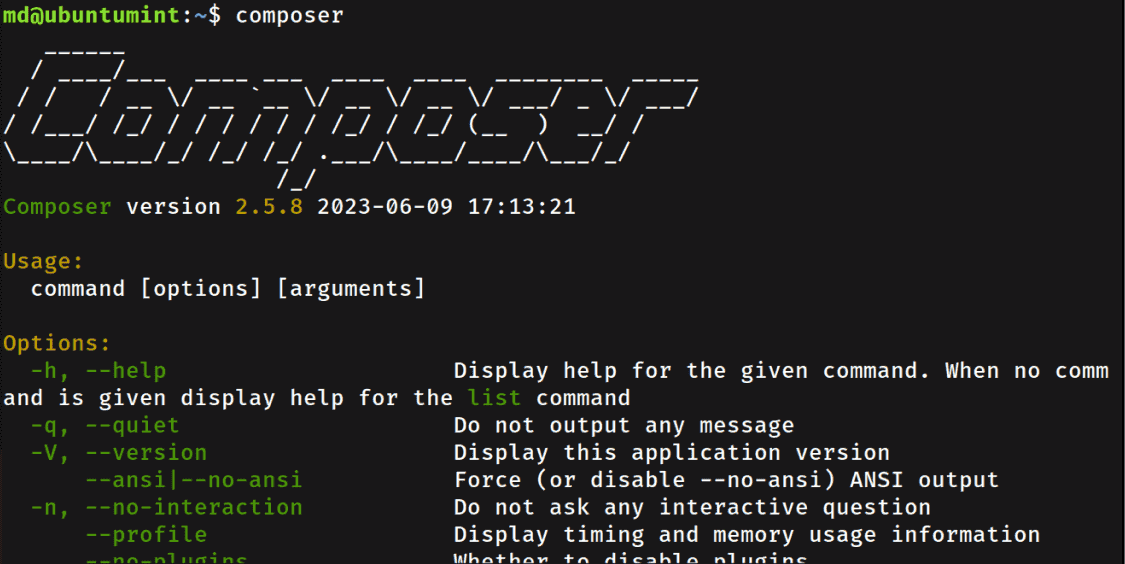
The terminal will display the options and usage of Composer for your help.
Upgrade PHP Composer in Ubuntu
Let’s discuss how you can upgrade Composer in your Ubuntu. You have two options: either uninstall the existing version and then install the latest version, or simply execute the command given below to upgrade the Composer to the latest version:
$ composer self-update

You are already using the latest available Composer version 2.5.8 (stable channel).
Now that you are aware of how to install and upgrade the Composer. Let’s learn about the usage of Composer on Ubuntu.
Create PHP Project using Composer
The PHP Composer can be utilized to create a project with all the necessary dependencies. The user can even directly add or remove any dependency from a project. Head to the PHP package repository website to find your desired dependency package name.
Let’s create a new project and initialize it with its required dependencies. Here, we are naming the directory “ubuntumintComposerProject”.
$ mkdir ubuntumintComposerProject
$ cd ubuntumintComposerProject
Inside this directory, execute the stated command to initialize the project using PHP Composer:
$ composer init
The terminal will prompt different questions, such as asking about package name, description, and more. Provide the inquired information. Once you will provide information about the project, the terminal will ask whether you want to define your dependencies, type “yes”:
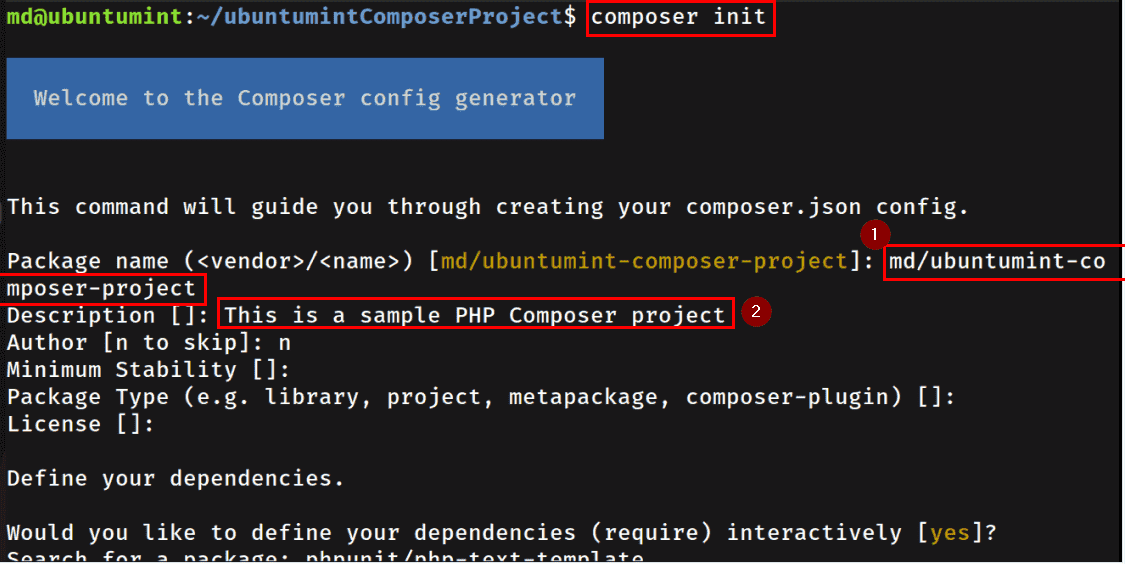
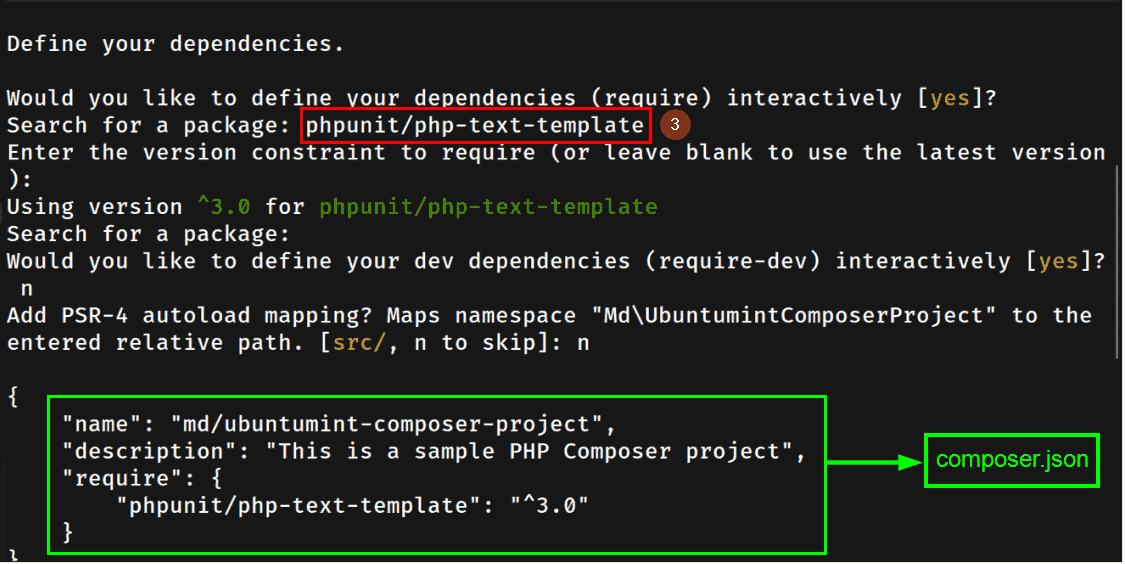
Moving on, type the package name that you want to install as the dependency. Additionally, specify a version or leave it blank to install the latest stable version of it. The terminal will also display more options, but for now, let’s type “n” to skip them:
The Composer will generate the content for the configuration file named “composer.json” and will prompt for a confirmation message for file generation, type “yes” to proceed.
Then, the terminal will prompt you to confirm that either you want to install dependencies now. Type “yes” to proceed with the installation. However, if you choose to type “no”, you can still install the dependencies later:
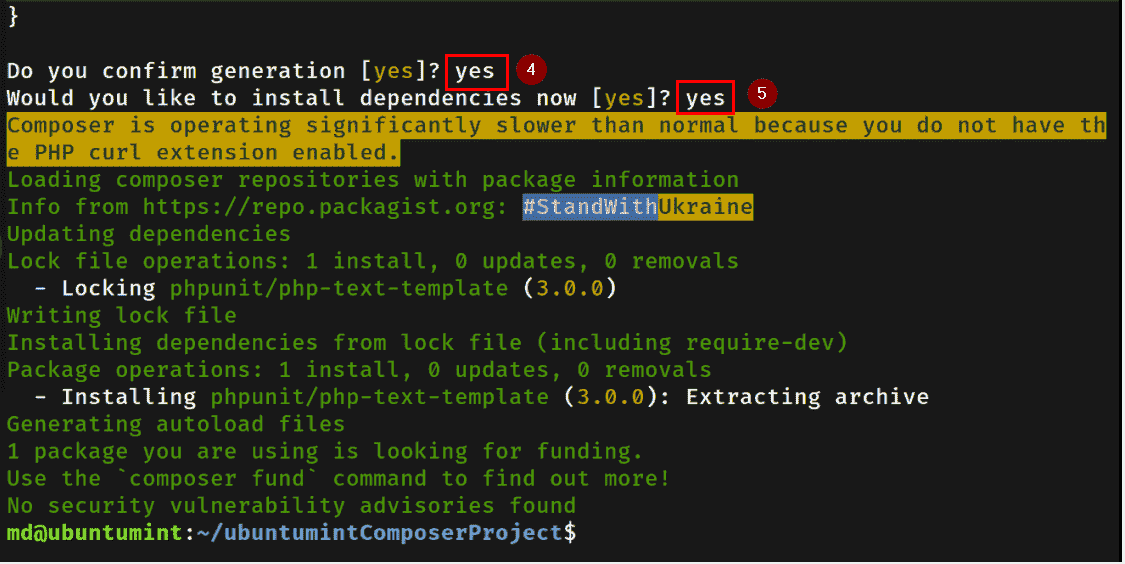
After the execution of the “init” command, your “composer.json” file will create successfully:
{
    "name": "md/ubuntumint-composer-project",
    "description": "This is a sample PHP Composer project",
    "require": {
        "phpunit/php-text-template": "^3.0"
    }
}
However, if you typed “no” earlier and your dependencies haven’t been installed yet, type this command to install the dependencies mentioned in the “composer.json” file:
$ composer install
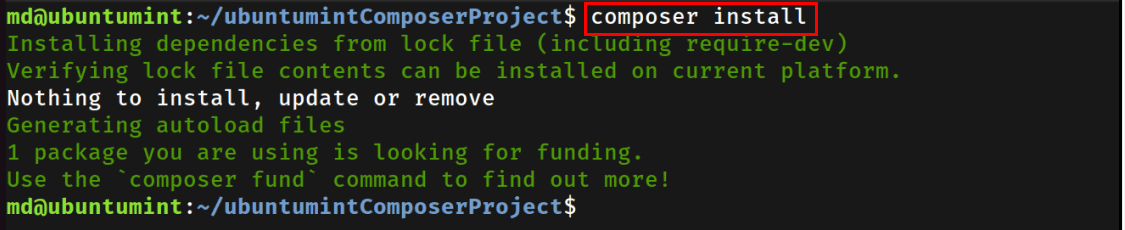
Your project is ready with the required dependencies installed.
Install a Package Dependency Using the PHP Composer
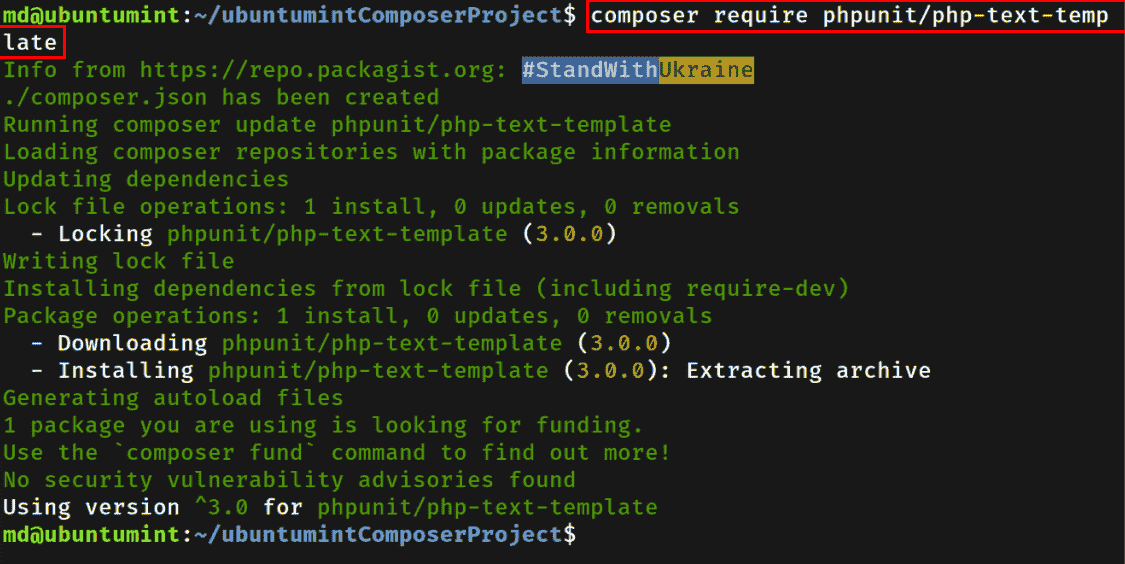
Moving further, let’s discuss how you can add any dependency to an already existing project or a module of a project.
For that purpose, navigate to the project directory and run the “composer require” command to install the specified dependency in the project:
$ composer require phpunit/php-text-template
Remove a Package Dependency Using the PHP Composer
If you do not require any package already installed as a project dependency anymore, remove it by executing the command stated below:
$ composer remove phpunit/php-text-template
Note: change the name of the package according to your preference.

That was all for now! You can now install and use PHP Composer in your development journey.
Conclusion
PHP Composer (also known as “Composer”) is a popular dependency manager that aids developers in creating projects, installing and managing their dependencies.
This step-by-step guide provided a solution for installing Composer in your Ubuntu 20.04 or Ubuntu 22.04, as well as, it demonstrated its use.