In this blog, you will learn the step-by-step procedure for installing and configuring an RDP server using XRDP on your Ubuntu 22.04. Furthermore, you will also learn how to access the RDP server from Windows.
Before beginning the procedure, let’s get familiar with the RDP and XRDP.
What is RDP?
RDP (stands for “Remote Desktop Protocol”) is a network protocol offered by Microsoft to share the graphical interface of a machine (server) and access it remotely from another machine (client), which is similar to a VNC Server in functionality.
It operates on a server/client model and is available for Windows. However, you can set up an RDP server on your Ubuntu by utilizing the XRDP tool.
What is XRDP?
XRDP stands for X Window System Remote Desktop Protocol, which is a popular open-source implementation of an RDP server that allows operating systems other than Windows to offer a complete functional RDP-compatible remote desktop experience.
In short, XRDP allows you to connect to a Linux machine from another computer using the Remote Desktop Connection (RDP) protocol, which is commonly used for remote access in the Windows, macOS, or Linux operating systems.
To install and configure the RDP server using XRDP in your Ubuntu, simply stick to the end of this guide and implement the provided procedure.
Install XRDP in Ubuntu
Let’s install the XRDP in Ubuntu, it’s a straightforward process, which ensures a smooth installation journey, run the following apt command to update the package index and upgrade the already installed packages:
$ sudo apt update && sudo apt upgrade -y
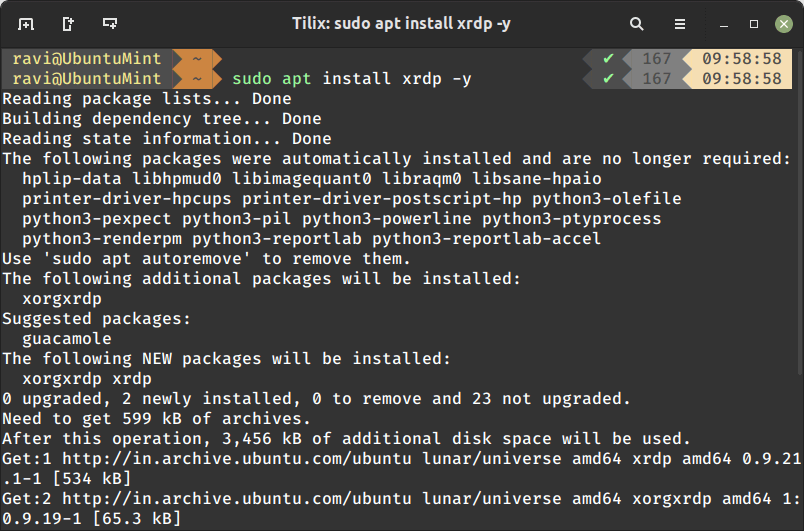
Once the system is updated and upgraded, install the XRDP from Ubuntu’s official repository by utilizing the stated command:
$ sudo apt install xrdp -y
After successfully installing XRDP, start its service by executing the systemctl command:
$ sudo systemctl start xrdp
The next step is to enable XRDP to start automatically after reboot by running the following command:
$ sudo systemctl enable xrdp
Afterward, you can check the status of the XRDP service by using the “systemctl status” command:
$ sudo systemctl status xrdp
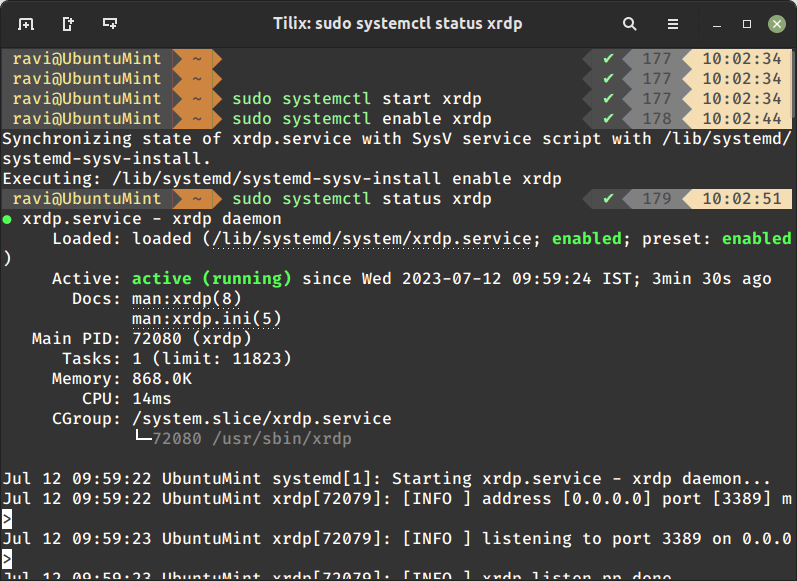
As we can see, the XRDP service is active and running, which means we have successfully installed the RDP server using XRDP. Now the next step is to configure our RDP server.
Configure XRDP in Ubuntu
The XRDP session utilizes a certificate key named “ssl-cert-snakeoil.key” which is located in the “/etc/ssl/” directory. To add the certificate key for the current user, run the following command:
$ sudo usermod -a -G ssl-cert xrdp
Now, let’s restart the XRDP services by running the provided command:
$ sudo systemctl restart xrdp
The next step is to configure the firewall by allowing the incoming connections to the XRDP server through port number “3389”. To do so, execute the command stated below:
$ sudo ufw allow 3389
As the firewall rule is updated, let’s reload the firewall by running the “ufw reload” command:
$ sudo ufw reload
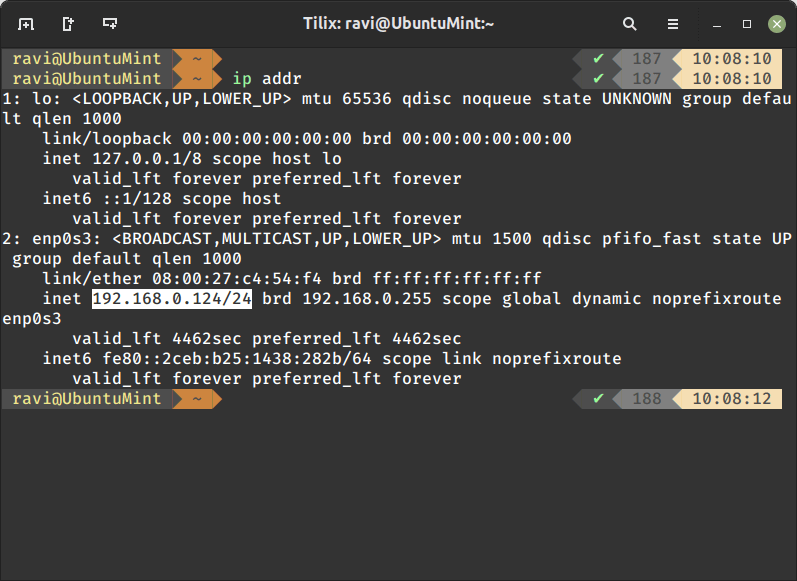
Now that the firewall is reloaded, we have successfully configured the XRDP server. Let’s execute the “ip” command to check the IP address of your Ubuntu:
$ ip addr
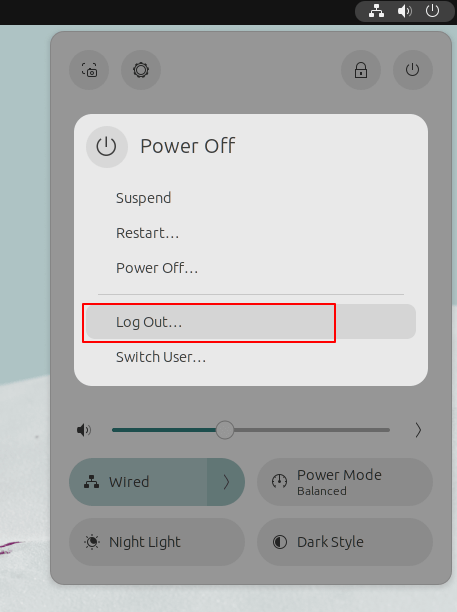
Point to Note: The latest RDP server does not allow users to create multiple sessions of a single user, so to sort out this issue we have two solutions.
Either create a new user and log in to the RDP client using the new user’s credentials or log out of the current session and log in to the RDP client using the current user’s credentials.
In this blog, we will log out of the current session so that we can access this server remotely without any error from the RDP client. For this purpose, click on the “Power” icon and then click on the “Power Off/ Log Out” drop-down list. Finally, click on the “Log Out” option:
Congrats! Finally, you are ready to access this RDP Server from your Windows machine.
Access Ubuntu Desktop Remotely from Windows
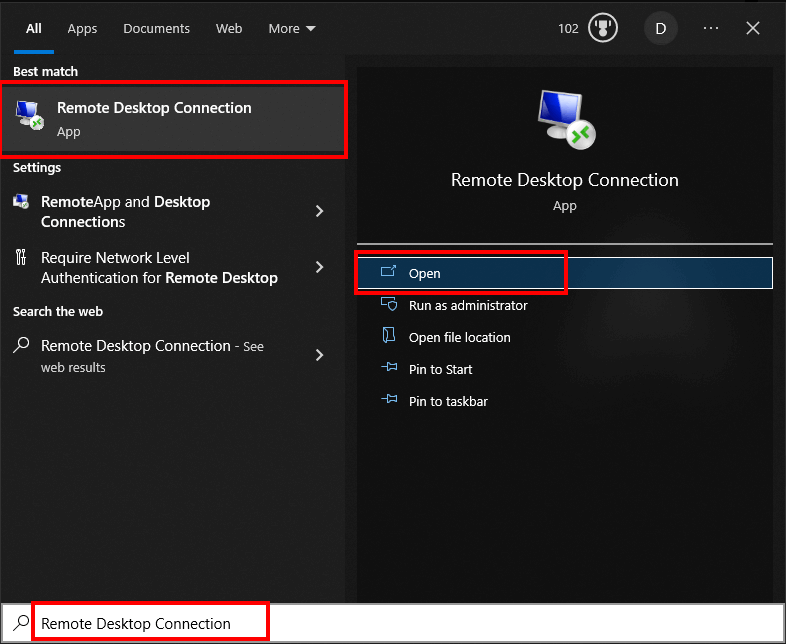
In the Windows machine, press the “Windows Logo + S” keys and search “Remote Desktop Connection”. Now, click on the “Open” button:
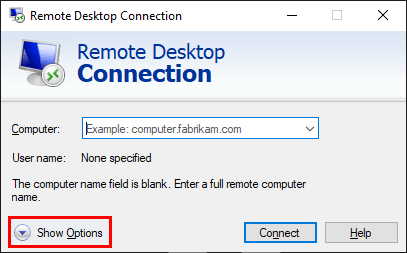
In the Remote Desktop Connection, click on the “Show Options”:
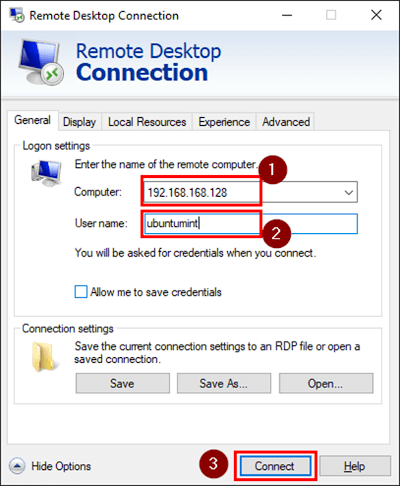
Now, provide the IP address of the RDP server in the “Computer” field and the “User name”. Then, click on the “Connect” button:
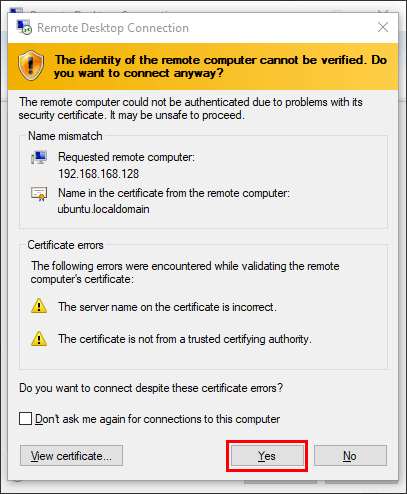
A window will prompt asking about the security concern, just simply press the “Yes” button:
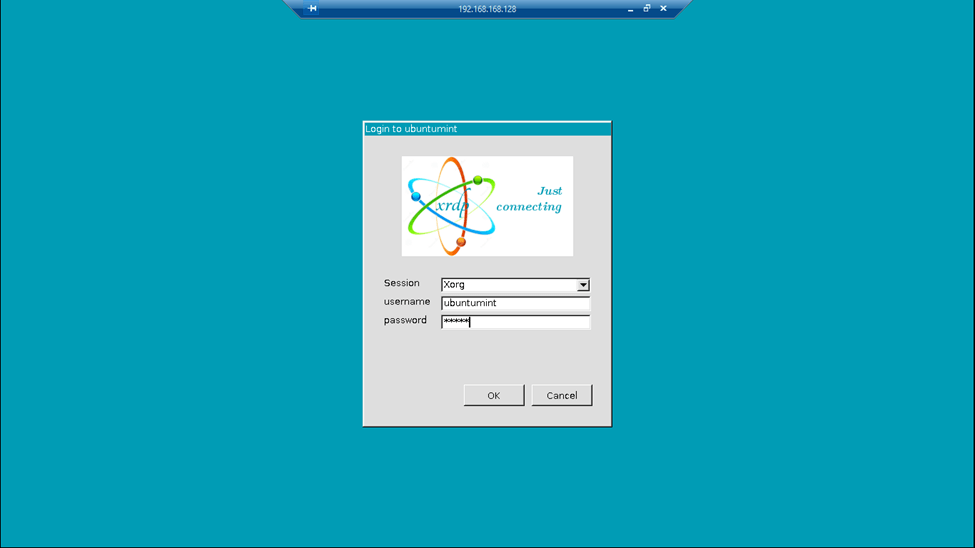
After doing so a login screen of XRDP will open, enter the “username” and “password”. Then, click on the “OK” button:
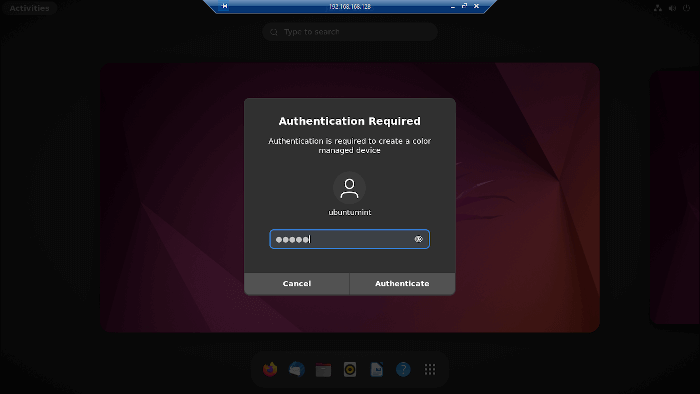
The authentication screen will pop up for confirmation, provide your Ubuntu password and click on the “Authenticate” button:
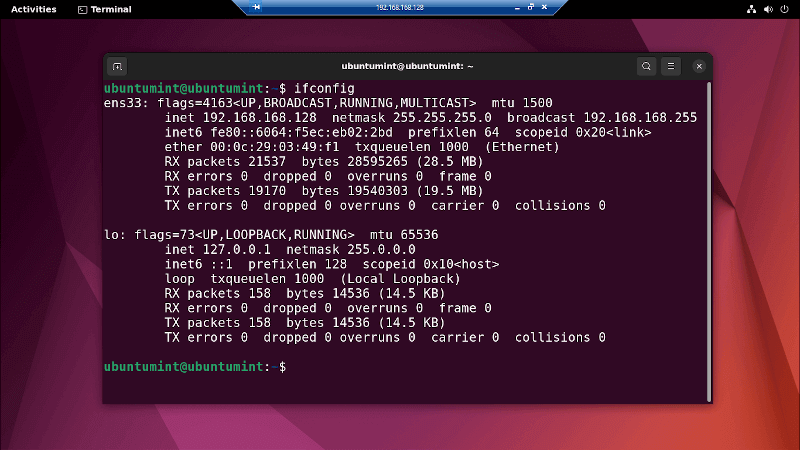
After the authentication, your RDP server will connect to your Ubuntu desktop successfully which can be then controlled easily. You can also execute Linux commands in your RDP server’s terminal. Here, we executed the “ifconfig” command in our RDP server from Windows:
Conclusion
RDP is a network protocol for sharing the graphical desktop environment of a Windows server. However, the user can set up the RDP server on Ubuntu by using the XRDP tool.
This guide provided a comprehensive solution for installing an RDP server using XRDP and then configuring it. Additionally, this blog provided the procedure for accessing this server from Windows.
That was all for now, I will see you soon with another interesting topic.
XRDP would be great if that ugly and completely redundant login screen was removed for good.
Terrible UX design.
@Grokker,
I understand that you have concerns about the login screen in XRDP, but you may be able to customize the login screen appearance by exploring the documentation or online resources of XRDP.
Alternatively, you could explore alternative remote desktop solutions that offer different login screen options. Some popular remote desktop solutions include TeamViewer, AnyDesk, and VNC (Virtual Network Computing).
My point is that the XRDP login screen is redundant. It shouldn’t exist. The user has already provided the values that the login screen is asking for.
Of course, there are alternatives, but you have forgotten the best by far: Rustdesk. Anyway, this is about XRDP and a bad software design issue: don’t ask the user the same in two different places.
@Grokker,
While it may seem redundant in certain situations, the login screen in XRDP serves important security and user experience purposes, ensuring that remote desktop sessions are secure and easily manageable.
Additionally, thank you for mentioning RustDesk as an alternative remote desktop solution. It is always helpful to have various options available to meet different preferences and requirements